
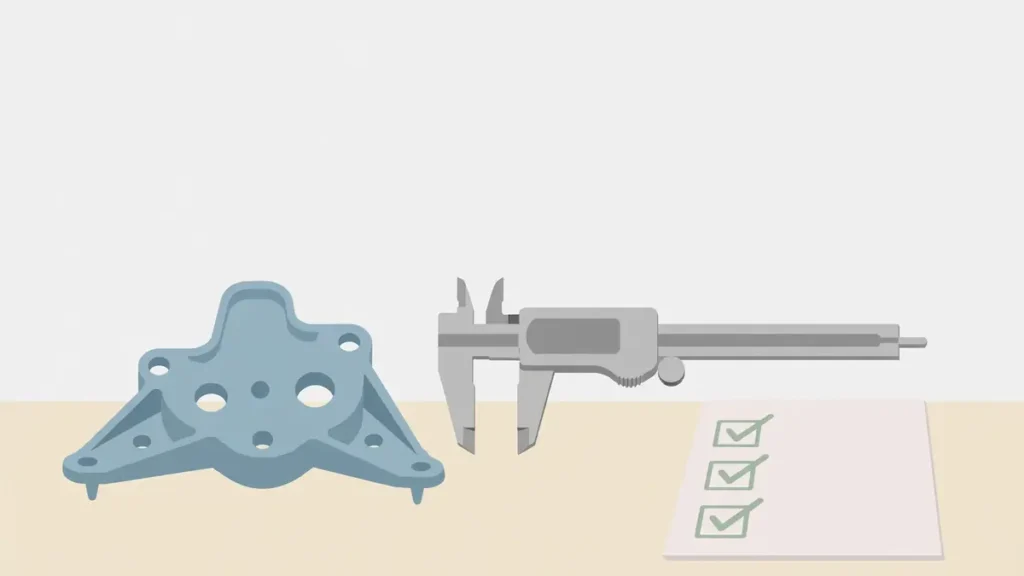
The T1 samples have arrived, the dimensions look acceptable, and the supplier is asking you to release the tool for production — the point where a weak approval causes the most expensive failures.
Approve production only when the evidence identifies the exact part revision, the cavity and material lot behind every result, and a written disposition for every deviation. If any of those three is missing, the decision is conditional or rejected — whatever the samples look like.
How to use this guide: check the evidence package first, then cavity coverage and the measurement method. The approval-record table at the end is the form the decision should leave behind.
T1 samples and first-article inspection are not the same decision
A T1 sample is a trial-stage result: the first trial of a finished mold, showing whether the tool fills, cools and ejects and whether the first parts are close to the drawing. A first-article inspection (FAI) is a planned evidence package tied to a released part definition and a specific approval decision — and a T1 sample can supply evidence for it only when the tool, material, process conditions, sample identity and inspection scope match the release basis you agreed.
The two decisions release different things: T1 approval usually means "correct what is listed and run the next trial," while first-article approval means "this defined part meets the agreed requirements, and production may start under the agreed controls."
The trial is only one step in the process. The injection molding cycle runs through clamping, filling, packing, cooling and ejection, and a trial tests whether the mold performs each phase correctly — it does not, by itself, prove production requirements have been met. Production starts only after the trial parts are approved and the process window is recorded.
A first-article inspection is a controlled decision, not a dimensional spreadsheet. Protolabs’ injection moulding inspection page sets out the reports a buyer can require — partial first-article inspection of critical features, a 30-part dimensional capability study, and PPAP — with the measurements and sample plan for each.
The evidence package to require before you sign
Ask for the package before the samples ship: a supplier who knows what evidence you need can build it into the trial. Agree it in the purchase order or quality agreement, and name who approves it on your side.
A complete package has five blocks. If a block is missing, say so in writing and record what is still owed — do not fill the gap by assuming it.
| Evidence block | What it should answer | What to check first |
|---|---|---|
| Part and sample identity | Which part revision, cavity, tool, material lot and manufacturing date were inspected? | The drawing and CAD revision on the report match the revision you released. Samples are labelled by cavity. |
| Dimensional results | Do the measured characteristics meet the released limits, under the stated method and conditions? | Every result shows nominal, limits, actual value, unit, method and pass or fail. No result without a limit. |
| Material and process context | What resin grade, colour basis and process state produced the samples? | The resin grade and lot are named; any substitution, regrind direction or colour change is disclosed. |
| Visual and functional checks | Do appearance, fit and use-related requirements meet the agreed criteria? | Visual standards name lighting, viewing distance and the reference sample. Functional tests name the fixture and the pass criterion. |
| Deviation and disposition | What does not meet the baseline, and who accepted the risk or required correction? | Every out-of-tolerance result is visible, with a named owner and a corrective action or concession. |
Two details decide whether the package is usable. First, separate critical-to-function features from ordinary dimensions: a sealing diameter, a locating boss or a connector interface can stop assembly, while a general wall thickness usually cannot. If every drawing line carries equal weight, the result that matters is buried. Second, the package must state its own limits — prototype tooling, a substitute resin, a single cavity, parts made before a correction. A limitation stated plainly is manageable; one discovered later is a dispute.
Agree the inspection method before the trial, not after. Cavity Mold’s quality-control page sets out the stage checkpoints — input, tooling release, T1 or first-off, in-process, and final — and the rule that method and limits should be confirmed for the part, not copied from a generic checklist.
Cavity coverage: one good part does not prove a multi-cavity tool
This is the most common gap in first-article packages. One passing part proves one cavity — a multi-cavity tool can pass in one cavity and fail in another, through different fill balance, cooling, venting or wear.
Before the trial, agree the coverage in writing: which cavities need dimensional and which need visual evidence, and how samples are linked to their cavity. For insert or overmolding, name the insert, the interface and the assembly condition the evidence must represent.
There is no universal sample count: it depends on cavity count, characteristic risk, variation, functional testing and customer requirements. What is universal is that the report must never imply all cavities were proven when only one was measured. A single composite result — one average, one "representative" part — hides cavity differences by design. If the package gives you one part in total, ask for the rest before you decide.
Keep sample groups separate when anything relevant changes — resin lot, tool condition, colour, texture or secondary operation. Mixing groups makes it impossible to say which condition produced which outcome. A sample matrix agreed before the trial lists each evidence area against its planned coverage and the traceability each result must carry. Protolabs Network’s FAI guide lists the documents a first-article inspection should produce — a full dimensional report measured on a CMM, material certification, a production flowchart, a control plan and a signed parts acceptance letter.
How to judge the dimensional evidence
A dimensional result is only as useful as the method behind it. Before you accept a pass, check four things.
The datum and the method match the feature. A caliper suits a simple dimension; positional relationships and profiles usually need a CMM (coordinate measuring machine); fit or assembly may need a functional fixture. Ask for the instrument type, fixture, datum strategy and measurement force when they affect interpretation. Measurement equipment selection is part of inspection planning: match the method to the requirement.
The part condition is stated. Flexible parts deflect under a probe, and molded parts change dimension after molding, conditioning or assembly. State when and under what conditions dimensions were taken: without that, a hot result and a cold result are not comparable.
Near-limit results get a second look. If a result sits close to a limit, ask whether method variation or uncertainty could change the disposition. Metrological traceability — a documented, unbroken chain of calibrations back to a reference — supports the result but does not guarantee it is fit for the purpose. A pass by a margin smaller than the method’s own variation is a risk to record.
Out-of-tolerance results stay visible. Never accept a package in which an inconvenient result has been replaced by a corrected value without an audit trail.
For general tolerances on moulded parts, buyers commonly reference ISO 20457, which describes tolerances and acceptance conditions for plastics moulded parts; the part-specific agreement is still yours to set. For sampling, ISO 2859-1 provides a framework for inspection by attributes, but an AQL-style plan does not prove every unit conforms.
What approved, conditionally approved and rejected should mean in writing
A signature without a defined meaning is not a decision. Agree the three dispositions before the trial, and write the one you choose with its scope, conditions and expiry.
| Disposition | What it releases | What must be written with it |
|---|---|---|
| Approved | Production may start under the agreed process, material and inspection controls. | Part and tool revision, cavities and samples covered, process window reference, and the date of the decision. |
| Conditionally approved | Limited production or a pilot run may start, but only inside the named conditions. | Each condition, its owner, its due date, and what happens if it is not met. A condition without an owner is not a condition. |
| Rejected | Production may not start. A correction and a new trial are required. | The failing characteristics, the required correction, and what evidence the next trial must supply. |
Do not use a generic "approved" stamp when production is restricted by a pending test or an accepted deviation. A conditional approval naming the test, the owner and the date protects both sides; a bare approval with a verbal side-agreement protects neither.
Note what a first article does not release. It does not authorize an unreported material substitution, a cavity repair, a tooling modification or a supplier transfer. Each of those is a change, and each needs its own review. Link the approval record to the change record for the part, and define in advance which events trigger renewed inspection.
Deviations and concessions: how to handle them without losing the record
An out-of-tolerance result does not automatically make a package useless, and a package with no recorded deviation is not automatically reliable. Handle deviations in four steps.
First, confirm the result is real: check part identity, drawing revision, method, datum, unit, instrument and repeatability before debating the fix.
Second, classify the issue — drawing interpretation, tool condition, molding variation, material effect, measurement issue, cosmetic difference or functional risk — because the classification decides who owns the correction.
Third, if the deviation is to be accepted rather than corrected, write a concession naming the exact characteristic, the affected quantity or samples, the risk assessment, whether it is temporary or permanent, the containment, the corrective action and the approving authority. Commercial acceptance does not automatically mean engineering acceptance.
Fourth, decide whether a partial or full re-inspection is needed after any correction, and write that decision before the change is released.
Golden samples and limit samples: what to keep
Once a part is approved, keep the evidence future production will be judged against. A golden sample is an approved part kept as the reference for appearance, colour and texture. A limit sample shows the boundary of what is acceptable — the worst acceptable gate witness, the faintest acceptable weld line, the lightest acceptable texture.
Agree which cavity and trial each sample came from, where it is stored, and who can change or replace it. A reference sample with no identity is just a part in a drawer. Write the visual standard down with the sample — lighting, viewing distance and comparison method — because two people judging the same sample under different light will reach different verdicts.
When a correction needs a new trial
Not every correction needs a full repeat of the first-article package, but every correction needs a decision about what must be re-checked. Define the triggers in advance, in the quality agreement or the approval record.
A new trial — full or partial — is normally needed after a drawing revision, a resin grade change, a cavity repair, a gate or cooling change, a texture change, a tool relocation, a revised process setting, a new measurement method or a secondary-operation change. A targeted recheck may be enough for a narrow correction, but its scope should be justified and documented.
Published first-article guidance for aerospace suppliers follows the same principle — a documented change review, and a full or partial decision when changes invalidate prior results. Write the trigger list down before the first correction arrives, when it is cheapest to agree.
The tool side has its own checklist: Cavity Mold’s mold inspection checklist covers the tool checks behind a correction, so part evidence and tool evidence stay connected.
The buyer approval record
Use this table as the record of the decision. It is an example format with illustrative entries — replace every row with your part’s actual requirements and results before you sign it.
| Requirement | Evidence requested | Result (example) | Method | Disposition |
|---|---|---|---|---|
| Sealing diameter Ø25.00 ±0.05 mm, drawing rev C | Dimensional result, cavity 1 and cavity 2 | Example: 24.98 mm (cavity 1), 25.01 mm (cavity 2) | CMM, datum A/B | Approve |
| Snap-fit retention force ≥ 40 N | Functional test, 5 parts, cavity 1 | Example: 42–47 N | Functional fixture, as agreed | Approve |
| Colour match to agreed master sample | Visual comparison under agreed lighting | Example: matches master; one cavity slightly darker | Visual, D65 lighting, 600 mm | Conditional — confirm colour on next lot |
| Gate witness within agreed limit | Visual, cosmetic zone 1 | Example: within limit sample | Visual vs limit sample | Approve |
| Resin grade and lot identity | Material certificate and lot record | Example: grade and lot named, certificate attached | Document review | Approve |
| Weld-line position, cosmetic zone 2 | Visual, all cavities | Example: visible in zone 2 on cavity 2 | Visual vs reference | Reject — tool correction, then re-trial on cavity 2 |
Never approve on any one of these alone: photos with no measurements; results from one cavity presented as proof of the whole tool; a report that names no drawing revision; a package with no material or lot identity; a trial with no process record; a "passed" statement with no datum, method or acceptance rule behind it.
Before you sign, check: the revision on the report is the one you released; every cavity that matters is represented; every out-of-tolerance result has a disposition; every condition has an owner and a due date; the retained samples are identified; and the re-inspection triggers are written down.
Frequently asked questions
Is T1 sample approval the same as a PPAP submission?
No. A T1 approval is a trial-stage decision about one tool and its samples. A PPAP (Production Part Approval Process) submission is a customer-specific package — typically used in automotive programs — that adds a control plan, capability data and material certification to the first-article evidence. If your customer requires PPAP, name that obligation in the purchase documents.
What to send for your next project
If you are preparing a trial, or reviewing a first-article package you are unsure about, send the same evidence this guide asks for. Contact Cavity Mold with the STEP file and the 2D drawing with its revision, the resin grade, the quantities you plan to order, the key tolerances, the surface finish, the delivery region and your timing — and, if you already have trial evidence, the report and the decision you need to make. You can also reach the team at jerry@cavitymold.com.