
Thin-Wall Injection Molding Defects: Causes and Troubleshooting
Answer in one sentence: Thin-wall injection molding defects require a coordinated review of wall ratio, flow length, resin rheology, gate design, venting, injection speed, temperature, cooling, and validation data.
Engineering scope: This guide separates design assumptions, process controls, inspection evidence, and buyer decisions so the recommendation can be verified on the actual resin, mold, machine, and production requirement.
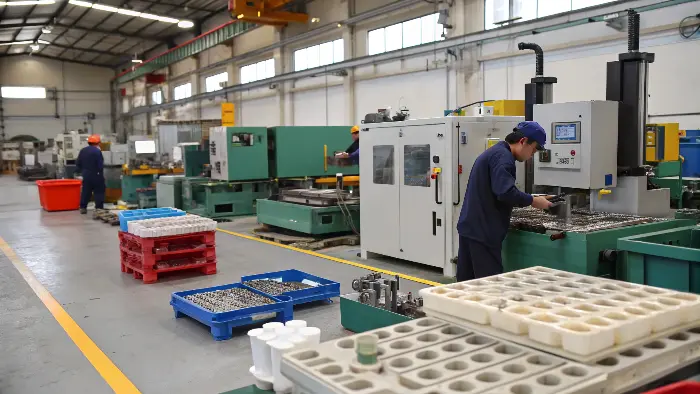
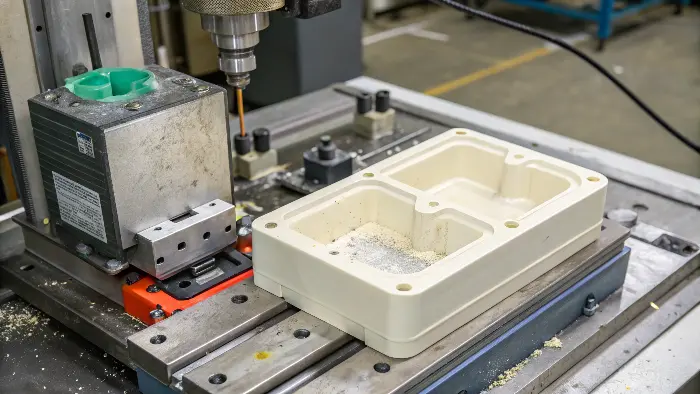
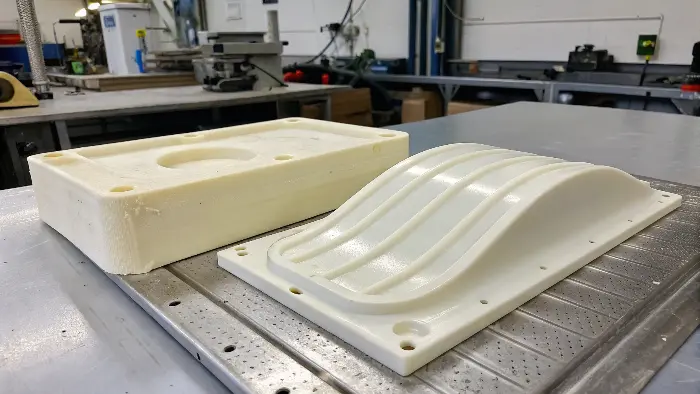
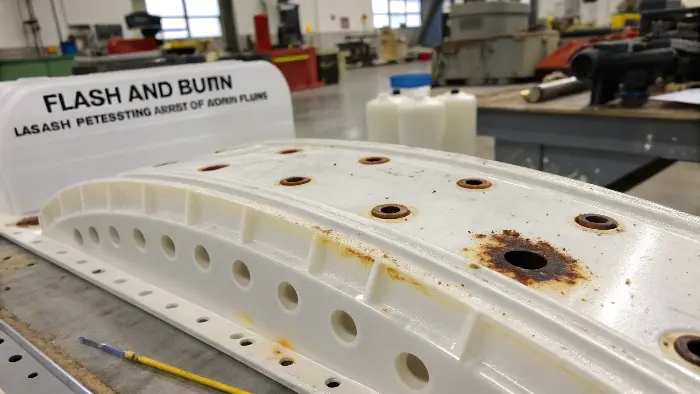
Why thin walls narrow the process window
A thin section freezes quickly relative to the flow front. Small changes in resin temperature, mold temperature, injection speed, gate condition, venting, or material lot can therefore change whether the cavity fills, welds, traps air, or develops stress.
Do not define thin-wall feasibility by thickness alone. Flow length-to-thickness ratio, resin viscosity, gate-to-end distance, geometry transitions, surface texture, machine response, and required appearance all matter.
Defect-to-cause map
Short shots and unfilled ribs often point to premature freeze, excessive pressure loss, poor gate location, inadequate venting, or insufficient injection speed. Weld-line weakness can reflect flow-front meeting conditions, temperature, geometry, or an unavoidable gate strategy. Warp and cosmetic variation can be linked to uneven cooling, wall transitions, or orientation.
Use the defect location and timing as evidence. A defect at the same end-of-fill region across cycles suggests a flow or venting issue; a defect that moves with the cavity or material lot suggests balance, handling, or material variation.
Corrective sequence
First verify resin identity, drying, material lot, machine capability, and measurement. Then review the part and tool: uniformity, radii, draft, gate, runner, vents, cavity balance, and cooling. Only after that tune injection speed, melt temperature, mold temperature, pack, and switchover within safe limits.
- Confirm the CAD wall map and flow-length risk before modifying the tool.
- Check vents and trapped-air evidence before simply increasing pressure.
- Use a controlled fill study and a small process window instead of changing speed, pressure, and temperature together.
What to validate
Approve a representative part at the actual resin, cavity, cosmetic standard, and production cycle. Record fill pressure, fill time, cavity balance, weight, dimensions, weld-line or leak performance, and visual results so thin-wall decisions remain traceable.
Frequently Asked Questions
What is the first check for a thin-wall short shot?
Confirm material, drying, gate and vent condition, actual fill speed, temperature, pressure capability, and flow-length-to-thickness risk before making large setting changes.
Can faster injection always solve thin-wall filling?
No. Faster filling can reduce freeze-off but may increase shear, flash, air compression, or burn risk. It must be balanced with venting, material, tool, and machine limits.
Why do thin-wall parts warp?
Uneven cooling, orientation, wall transitions, packing imbalance, material shrinkage, and residual stress can all contribute. The cause should be separated through geometry, tool, and process evidence.
What makes a thin-wall design production-ready?
A stable fill and cooling window, repeatable cavity balance, acceptable dimensions and function, controlled cosmetic quality, and documented material and process limits.
Related Cavity Mold Services
Engineering and DFM; Mold making; Plastic injection molding; Contact Cavity Mold.
For a drawing, resin, tolerance, finish, cavity-count, or process-window review, contact Cavity Mold.