
Injection Mold Temperature Setting Analysis: A Practical Method
Answer in one sentence: Injection mold temperature setting analysis requires resin data, tool thermal behavior, sensors, filling, packing, cooling, start-up stability, and part-level validation.
Engineering scope: This guide separates design assumptions, process controls, inspection evidence, and buyer decisions so the recommendation can be verified on the actual resin, mold, machine, and production requirement.
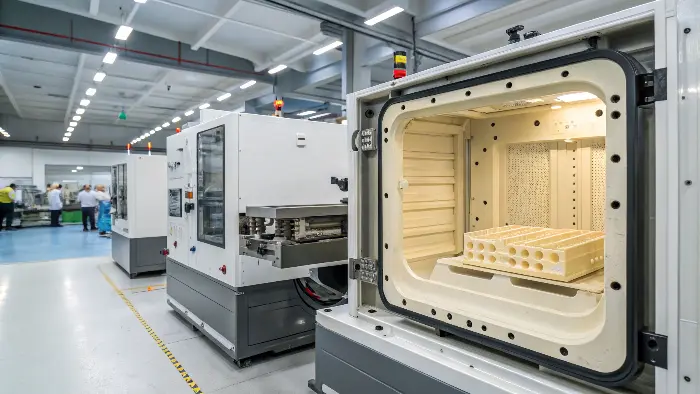
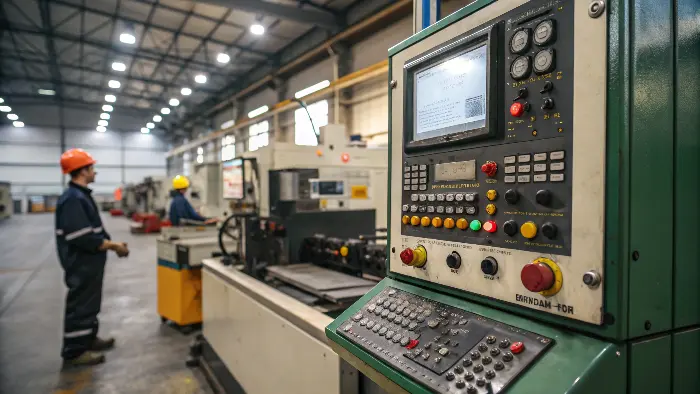
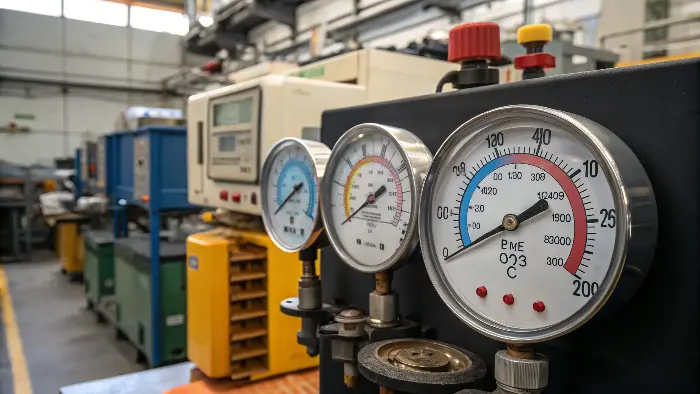
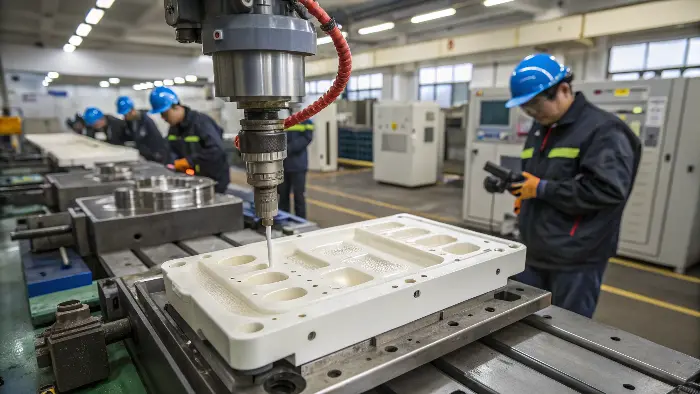
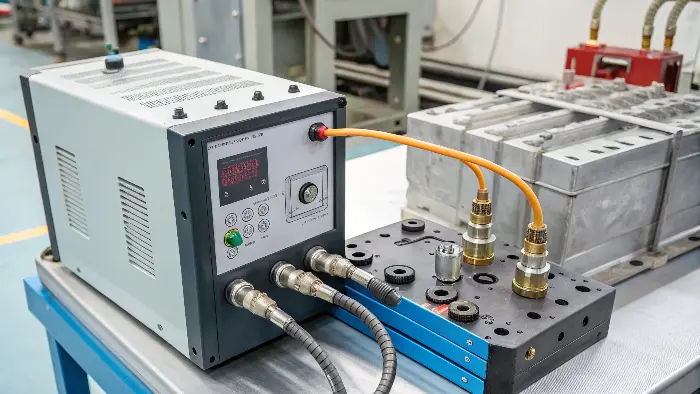
Setpoint is not the whole thermal condition
A controller setpoint, coolant supply temperature, return temperature, cavity surface temperature, and average tool temperature are different measurements. Flow rate, channel layout, sensor location, heat loss, cycle, and start-up state can make the actual cavity condition differ from the displayed value.
A five-step analysis
First confirm the resin grade and supplier temperature guidance. Next map the part’s wall thickness, gate, cosmetic zones, cooling circuit, and material shrinkage. Then review filling, packing, cooling, and warpage risks. Measure the tool during a stable trial. Finally validate dimensions, appearance, function, and cycle across the permitted range.
- Define which temperature is controlled and where it is measured.
- Check zone-to-zone balance, flow, pressure, filters, and sensor calibration.
- Separate start-up stabilization from steady-state production data.
- Record temperature with the same material, cycle, and cavity conditions used for approval.
Use a process window, not a single number
A practical window includes mold temperature, melt temperature, fill speed, pack, cooling, and cycle interactions. Raising mold temperature may improve surface replication or weld-line appearance but can change shrinkage, cycle, and ejection. Lowering it may shorten cycle while increasing stress or cosmetic risk.
Drift and reaction plan
Define alarm limits, sampling, cleaning and flow checks, start-up release criteria, and what happens when a temperature zone drifts. For critical parts, correlate thermal data with dimensional or functional results instead of relying only on controller alarms.
Frequently Asked Questions
Is the mold-temperature controller setpoint enough for process control?
No. Actual tool thermal behavior depends on flow, sensors, channels, losses, cycle, and start-up state. Measure and correlate it with parts.
What defects can mold temperature affect?
Filling, weld lines, surface replication, shrinkage, warpage, residual stress, cycle time, and ejection can all respond to thermal conditions.
How should temperature trials be run?
Use stable material handling and defined fill, pack, cooling, and cycle settings; change temperature in controlled steps and measure part outputs at each condition.
Why does start-up matter?
The tool and coolant system may not be thermally stable at the first cycles. Release criteria should distinguish transient start-up behavior from steady production.
Related Cavity Mold Services
Engineering and DFM; Mold making; Plastic injection molding; Contact Cavity Mold.
For a drawing, resin, tolerance, finish, cavity-count, or process-window review, contact Cavity Mold.