
Key takeaway: Injection molding jetting occurs when melt enters the cavity without stable wall contact, so gate design, flow direction, speed, temperature, and trials must be reviewed together.

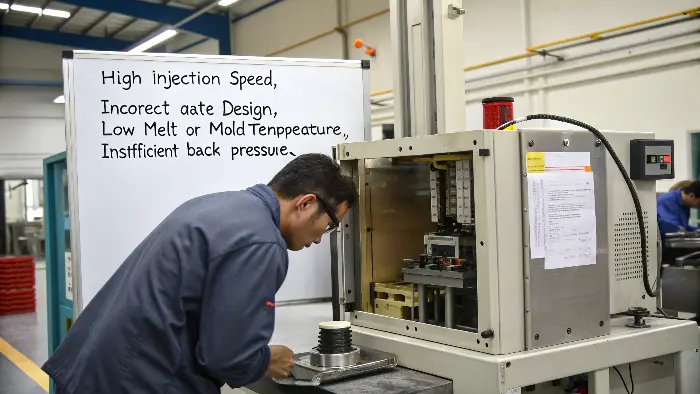
Recognize the mechanism
Jetting often appears as a snake-like, meandering mark near a gate or on the first flow path. It can happen when a fast melt stream leaves a restrictive gate or nozzle and travels through open space without stable contact with the mold wall before folding over.
Do not classify every flow mark as jetting. Record the location, direction, cavity, gate type, material, temperature, speed profile, and whether the mark follows a geometry change. That evidence helps distinguish jetting from splay, weld lines, blush, or contamination.
- Compare the mark with the actual first-fill path.
- Check whether the symptom follows one gate or cavity.
- Retain samples from the same material and setup revision.
Correct the flow path first
The durable correction is usually to guide the melt into a stable wall-contact path. Depending on the geometry, options can include changing gate location or type, adding a fan or tab-style transition, adjusting gate land or overlap, or changing the flow target. The correct choice depends on vestige, shear, filling balance, and cosmetic requirements.
Process changes can support the correction: reduce the initial injection speed, use a controlled speed profile, and review mold and melt temperature. Avoid simply slowing the entire fill if it creates premature freeze or a new weld-line problem.
- Review gate location, size, and entry direction.
- Control the initial speed and transition points.
- Use a trial matrix that separates geometry and process effects.
Prove the result
A jetting correction is complete only when the visible mark, dimensions, fill balance, and cycle meet the agreed criteria across repeat shots. Inspect the gate and vent after the trial and document the approved setting or tool change so the correction is reproducible.
- Check cosmetic zones under approved lighting.
- Confirm the process window is not unreasonably narrow.
- Update the mold and setup record after approval.
Frequently Asked Questions
What does injection molding jetting look like?
It is commonly a snake-like or meandering flow mark associated with an unstable free jet near the gate or first-fill path.
What is the most durable correction?
Guide the melt into stable mold-wall contact through gate or flow-path design, then tune speed and temperature with controlled trials.
Can lowering injection speed fix jetting?
It can help in some cases, but a blanket speed reduction may create other defects; confirm the mechanism and validate the full process window.
Need a part-specific review? Share the 3D model, resin or grade, annual volume, finish requirement, tolerance concerns, and target launch date through our contact page. We can then align DFM, mold design, process, inspection, and delivery assumptions.
Sources and further reading
Related Cavity Mold Services
For a connected review of design, tooling, molding, and launch requirements, see our engineering service, mold-making service, injection molding service, or contact our team.
Correct the flow path, not only the speed
Jetting often appears as a ropy or snake-like flow mark when the melt enters an open region without controlled wall contact. The visible line is a clue to gate entry, geometry, venting, material condition, and injection profile.
| Decision | What to check | Boundary |
|---|---|---|
| Confirm the pattern | Map the mark from gate to the flow front and compare cavities or shots. | A location pattern is more useful than a defect name alone. |
| Gate and geometry | Review gate direction, wall transition, barrier, core, and flow length. | A geometry or gate change may be safer than a setting-only fix. |
| Process condition | Check injection profile, melt condition, drying, residence, and machine response. | Use the selected grade’s processing guidance. |
| Verify correction | Inspect appearance, dimensions, weld lines, stress, and cycle after the change. | A jetting fix should not create a new critical defect. |
Jetting investigation
- Preserve samples and trace the mark.
- Identify whether the flow enters a wall or free space.
- Test a controlled gate, profile, or geometry hypothesis.
- Recheck the full acceptance set.
Use engineering to review the gate and part, then capture the correction in the process record.