
Plastic mold polishing should connect steel condition, polishing sequence, specified finish, draft, texture, inspection, and the molded part acceptance standard. A named finish does not guarantee the same appearance on every resin or geometry unless the part-level requirement is defined.
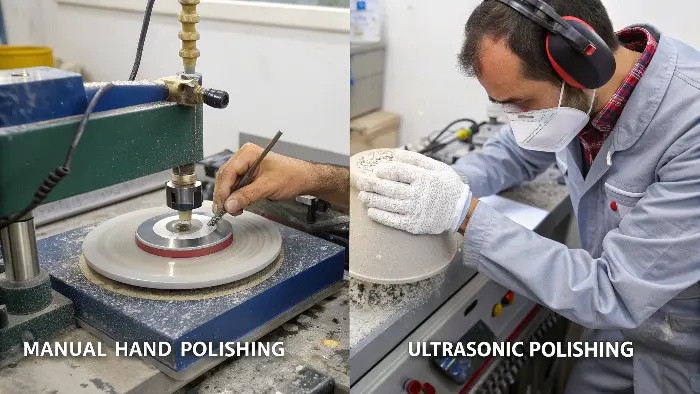
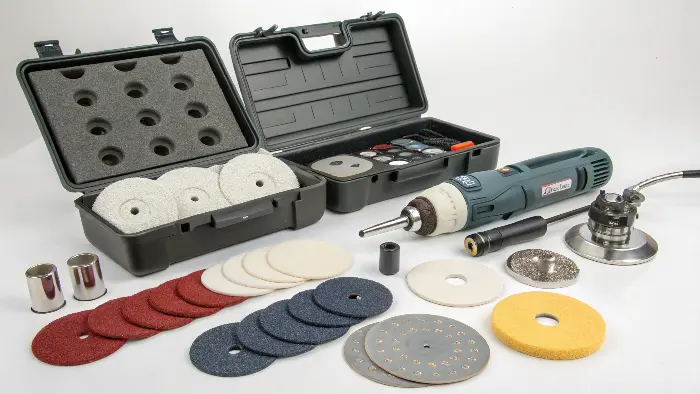
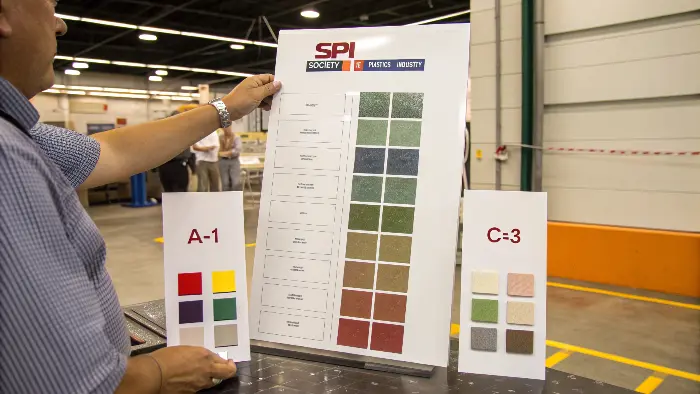
Specify the surface before polishing
- Identify cosmetic, optical, sealing, sliding, and non-cosmetic surfaces on the drawing or 3D data.
- Choose a recognized finish callout such as SPI or VDI where appropriate, but also define gloss, texture, grain direction, witness limits, and viewing conditions.
- Check draft and ejection because roughness and texture increase release resistance.
Control the polishing sequence
- Verify steel grade, heat treatment, EDM recast, machining marks, weld repairs, hardness, and geometry before polishing.
- Use a controlled progression of stones, papers, abrasives, or texturing steps that preserves edges, shutoffs, radii, and dimensions.
- Protect parting lines, vents, gates, inserts, logos, and optical features from over-polishing or rounding.
Inspect the tool and the molded surface
Use comparison standards, lighting, gloss or roughness measurement where needed, and molded samples from the production resin. Confirm that the finish meets the customer acceptance standard after filling, cooling, color, and handling are included in the evaluation.
Plan the next step
Share your part, resin, annual volume, critical dimensions, finish, and timing with the Cavity Mold team through our contact page. We can review the manufacturing risks and recommend a practical next step.
Related Cavity Mold resources
- Injection mold making services
- Injection mold engineering services
- Plastic injection molding services
- Contact Cavity Mold
Technical references
- Autodesk mold surface classifications
- Xometry mold classes and surface finishes
- Plastic Technology Alliance surface finish guide
Make finish intent inspectable
“High gloss” or “SPI finish” is not a complete acceptance method. The product surface, steel condition, polish direction, texture transition, lighting, viewing distance, and comparison reference should be understood before polishing starts.
| Decision | What to check | Boundary |
|---|---|---|
| Surface intent | Mark cosmetic zones, optical zones, grain direction, and hidden surfaces. | The same finish may not be appropriate across the part. |
| Steel condition | Review steel, EDM texture, weld repair, hardness, and remaining stock. | Polishing cannot erase every underlying condition. |
| Process direction | Define polishing sequence, access, corner limits, and texture transition. | Direction and edge control can change appearance. |
| Inspection | Set lighting, reference, viewing, cleaning, and measurement or comparator method. | Record the location and acceptance decision. |
Finish-definition sequence
- Mark the finish on the drawing or model.
- Agree the reference and viewing condition.
- Inspect steel before final polish.
- Retain evidence of accepted surfaces and repair boundaries.
Use surface engineering to map appearance and put the agreed polishing scope into the RFQ.