
Thin-wall injection molding is a system decision involving material flow, wall transitions, gates, vents, cooling, ejection, machine capability, and validation. There is no universal thin-wall cutoff because resin, flow length, geometry, surface requirements, and equipment change what is feasible.


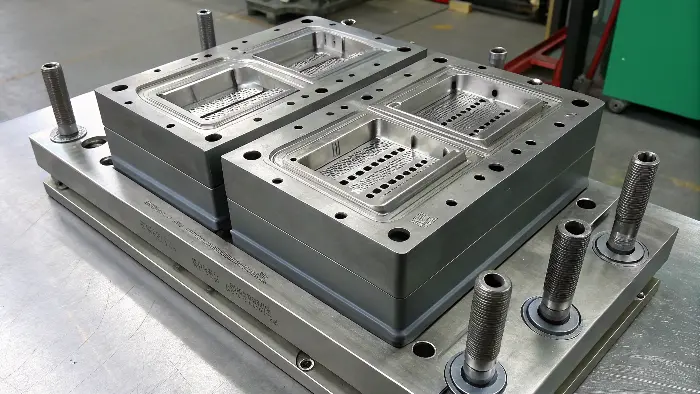


Design for flow and strength
- Keep walls and transitions as uniform as the function allows; use radii, gussets, and controlled thickness transitions.
- Check flow length, resin grade, gate location, weld lines, air traps, pressure, and freeze-off risk.
- Define cosmetic zones, parting lines, texture, draft, ejector locations, and handling loads before tool design.
Build the tool and process together
- Balance gates, runners, vents, cooling, ejection, steel support, and machine injection rate.
- Use simulation or structured trials where the pressure, fill-time, warpage, or temperature risk is material.
- Make sure clamp capacity and pressure control are adequate without relying on an unverified rule of thumb.
Validate the real part
Run the actual grade and geometry, then check short shots, warp, sink, weld-line strength, flash, dimensions, appearance, and functional durability. If the thin wall is driven by weight or cycle goals, compare those gains with tool complexity, scrap, and inspection risk.
Plan the next step
Share your part, resin, annual volume, critical dimensions, finish, and timing with the Cavity Mold team through our contact page. We can review the manufacturing risks and recommend a practical next step.
Related Cavity Mold resources
- Injection mold engineering services
- Injection mold making services
- Plastic injection molding services
- Contact Cavity Mold