You’ve perfected your design using 3D printing, but now you need to scale up for the market. You’re stuck wondering when to make the expensive jump to injection molding. This indecision is risky; move too soon and you waste your budget on tooling, but move too late and you can’t meet demand.
The transition from 3D printing to injection molding is driven by production volume and cost-per-part. You should switch when you need hundreds or thousands of identical parts, as injection molding offers a much lower unit cost at scale. For prototyping, custom one-offs, or very low volumes, 3D printing remains the superior choice due to its speed and lack of tooling costs.
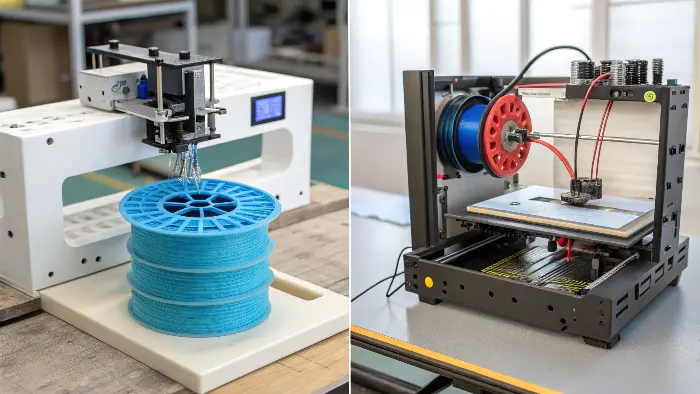
I see project managers like Alex face this question all the time. It’s not about which technology is "better," but which one is right for your project’s current stage. Both are incredibly powerful tools. The real skill is knowing exactly when to put down the screwdriver and pick up the hammer. Let’s walk through the decision-making process so you can make the switch with confidence.
What are the three advantages that 3D printers have over injection molding?
You hear about the magic of 3D printing, but you’re not sure if it’s just hype. You might be hesitant to rely on it for your initial prototypes, worried it won’t deliver the quality you need for real-world testing. This uncertainty can slow down your entire design phase, costing you valuable time.
The three main advantages of 3D printing are speed, cost-effectiveness for low volumes, and unparalleled design freedom. You can get a physical part in your hands in hours, not weeks, without any tooling investment. This makes it perfect for rapid iteration and creating complex geometries that are impossible to mold.
These advantages are precisely why 3D printing has become an essential tool for modern product development. It fundamentally changes the early stages of a project by removing traditional manufacturing barriers. I remember a client who needed to test five different ergonomic handle designs for a new power tool. Using 3D printing, we had all five variations in their hands within 48 hours. This kind of rapid, tangible feedback is impossible with any other method.
Let’s break down these three key benefits:
1. Speed for Rapid Iteration
The most significant advantage is speed. You can go from a CAD model on your screen to a physical part you can hold in a matter of hours. In contrast, creating even a simple prototype injection mold can take weeks. This speed allows your design team to iterate quickly. They can print a part, test its fit and function, make small adjustments to the CAD file, and print a new version the same day. This cycle of rapid iteration accelerates the development process, reduces design flaws, and ultimately leads to a better final product.
2. Cost-Effectiveness for Single Units
Injection molding involves a very high upfront cost for the mold itself, which can range from thousands to tens of thousands of dollars. 3D printing has no tooling cost. The cost is calculated based on the amount of material used and the machine’s run time. While the cost per part is high, the initial investment is virtually zero. This makes it the undisputed champion for producing one-offs, custom parts, or a very small batch of prototypes. You can test an idea without committing a huge portion of your budget.
3. Unmatched Design Freedom
Injection molding has rules. You need to design for the process, considering things like draft angles, uniform wall thickness, and avoiding undercuts. 3D printing has very few of these constraints. It allows engineers to create highly complex and organic shapes, internal lattice structures to reduce weight while maintaining strength, and consolidated parts that combine multiple components into a single print. This frees designers to focus purely on function and aesthetics without being limited by how the part will be made.
When should we use injection molding instead of additive manufacturing?
Your 3D printed prototypes look and work great, but now you have your first big purchase order for 5,000 units. Trying to fulfill that order with a 3D printer would be incredibly slow and astronomically expensive. You’re facing a major production bottleneck before you’ve even started, putting the entire project at risk.
You should switch to injection molding when your required production volume makes the cost-per-part significantly cheaper than 3D printing. This crossover point is typically between 100 and 1,000 units. Use injection molding when you need superior material properties, tight tolerances, and a consistent, high-quality surface finish for thousands or millions of identical parts.
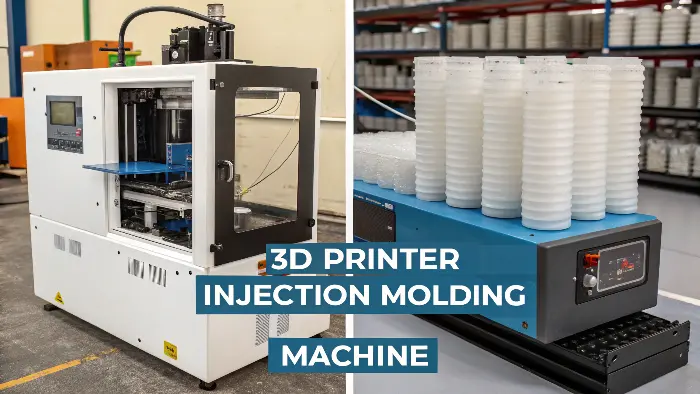
The decision to invest in an injection mold is a financial one, centered on economies of scale. The high upfront cost of the tool is spread out over the total number of parts you produce. While the first part is technically very expensive, the 10,000th part costs mere cents. I worked with a client developing consumer electronics enclosures. For their first 50 beta units, 3D printing was perfect. But when they launched and needed 20,000 units for their first production run, we built a 4-cavity mold. The tool cost about $15,000, but the part price dropped from $12 (3D printed) to $0.85 (injection molded). The savings on the first run alone more than paid for the tool.
Here are the key triggers for making the switch:
The Cost Crossover Point
This is the most critical factor. 3D printing has a high but flat cost per part. Injection molding has a high initial cost but a very low cost per part. There is a specific quantity where the total cost of injection molding (Tooling Cost + Part Cost x Volume) becomes less than the total cost of 3D printing (Part Cost x Volume). This is your crossover point. For most projects, this happens somewhere between 100 and 1,000 pieces.
Superior Material Selection and Properties
Injection molding offers a massive library of thermoplastic resins, each with specific and reliable engineering properties. Whether you need the impact strength of ABS, the clarity of polycarbonate, the chemical resistance of polypropylene, or the flexibility of TPE, there is a production-grade material for the job. 3D printing materials are more limited and often have anisotropic properties, meaning they are weaker along the layer lines. For a final product that needs to be strong, durable, and reliable, injection molding is the standard.
Scalability, Consistency, and Finish
Injection molding is built for mass production. A well-made mold can produce millions of parts, and every single part will be virtually identical in terms of dimensions, finish, and strength. This repeatability is essential for quality control and assembly. The surface finish of molded parts is also typically far superior to 3D prints, which often show layer lines and require post-processing to look like a finished product.
Is 3D printing better than injection molding?
People often frame the debate as a competition, making you feel like you have to pick a "winner." This black-and-white thinking is confusing and doesn’t reflect the reality of modern product development. You might worry about choosing the "wrong" technology, when in fact, they are both right for different stages of your project.
Neither technology is inherently "better"; they are different tools for different jobs. 3D printing is better for speed, complex designs, and iteration during prototyping. Injection molding is better for cost-efficiency, material strength, and consistency in mass production. The best product development strategies use them as complementary partners in a product’s lifecycle.
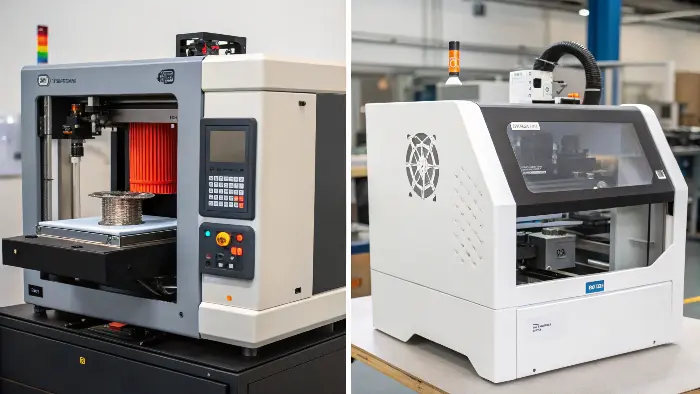
Thinking of these two processes as rivals is a mistake. It’s like asking if a hammer is better than a screwdriver. They are both essential tools, and a good builder knows when to use each one. At CavityMold, we see them as two stages of the same journey. Clients like Alex often come to us with a perfectly refined 3D printed prototype. This physical model is invaluable; it serves as a perfect reference and helps us understand the design intent as we begin the Design for Manufacturability (DFM) process for the production mold.
Let’s put them side-by-side to make the comparison clear:
Head-to-Head Comparison
| Feature | 3D Printing (Additive) | Injection Molding (Subtractive/Forming) |
|---|---|---|
| Best Use Case | Prototyping, custom parts, complex geometry | Mass production, high-volume runs |
| Ideal Volume | 1 – 100 units | 1,000 – 1,000,000+ units |
| Cost Structure | No tooling cost, high cost per part | High tooling cost, very low cost per part |
| Speed | Fast for single parts (hours) | Slow for tooling (weeks), very fast for parts (seconds) |
| Material Options | Limited but growing; often weaker | Vast library of production-grade polymers |
| Part Strength | Good, but often anisotropic (weaker between layers) | Excellent and isotropic (uniform strength) |
| Design Complexity | Almost unlimited | Limited by mold-making process (draft, undercuts) |
| Consistency | Can vary between prints and machines | Extremely high repeatability |
The most advanced companies don’t choose one over the other; they build a workflow that leverages the strengths of both. They use 3D printing to fail fast and cheap, iterating on designs until they are perfect. Then, once the design is locked and the market is validated, they transition to injection molding for scalable, cost-effective, and reliable mass production.
How do you transition from prototype to production?
You’ve made the decision to move from your 3D printed prototype to injection molding, but the path forward seems complex. You know that a 3D model designed for printing is not ready for tooling. You’re worried about making a critical mistake that could lead to expensive mold rework and major production delays.
The transition from prototype to production centers on a critical step called Design for Manufacturability (DFM). This involves working with an experienced mold maker to optimize your 3D model by adding draft angles, ensuring uniform wall thickness, and simplifying geometries. This DFM process is essential to ensure your part can be molded efficiently and without defects.
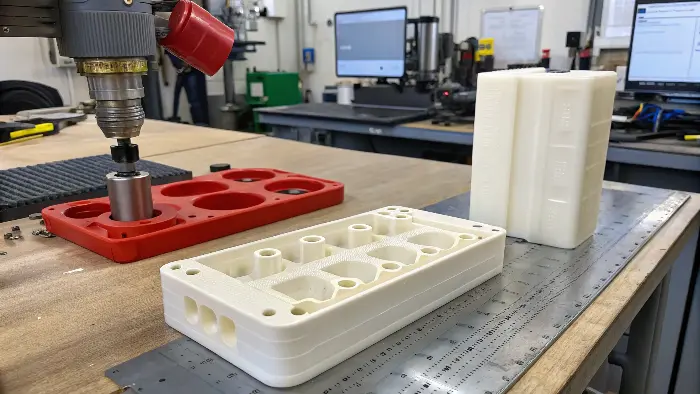
This is the most important phase of the transition, and it’s where a good manufacturing partner proves their worth. A file that prints perfectly can be a disaster to mold. I’ve seen it happen. A client once brought us a design for a housing that had no draft angles and sharp internal corners. If we had cut the steel based on that file, the parts would have been impossible to eject from the mold without damage. The DFM analysis we performed saved them from scrapping a $10,000 tool.
Here is the step-by-step process for a smooth transition:
Step 1: Finalize Your Design
Before you even think about cutting steel, your design must be 99.9% "frozen." Use your 3D printed prototypes for all necessary fit, form, and function testing. Once you commit to a mold, changes become incredibly expensive and time-consuming.
Step 2: The DFM Analysis
This is a collaborative review between your design team and your mold maker. We analyze your CAD model and identify any features that will be problematic for injection molding. Key adjustments include:
- Adding Draft Angles: Tapering the vertical walls of the part slightly (usually 1-3 degrees) so it can be pushed out of the mold easily.
- Ensuring Uniform Wall Thickness: Thick sections cool slower than thin sections, which can cause sink marks, voids, and warping. We help you design consistent walls.
- Adding Radii and Fillets: Rounding sharp internal and external corners improves plastic flow and reduces stress concentrations in the final part.
- Solving Undercuts: Identifying features that prevent the part from being ejected and designing solutions like side-actions or lifters into the mold.
Step 3: Select the Right Material
The material you used for 3D printing is likely not what you’ll use for production. Now is the time to choose the exact thermoplastic resin based on your product’s requirements for strength, flexibility, temperature resistance, color, and cost.
Step 4: Mold Flow Analysis
Before cutting the mold, we often run a computer simulation called a mold flow analysis. This software predicts exactly how the molten plastic will flow into and fill the cavity. It helps us optimize the gate location, predict potential defects like weld lines or air traps, and ensure the part will be molded perfectly from the first shot.
Step 5: Tooling and First Article Inspection (FAI)
Once the DFM is complete and the design is approved, we build the mold. After it’s built, we produce the first batch of samples (often called T1 samples) and send them to you for a full inspection. Once you approve these first articles, we are ready for mass production.
Conclusion
3D printing and injection molding are not competitors; they are powerful partners in your product development journey. Embrace 3D printing for its incredible speed and flexibility during prototyping. When you’re ready to scale, transition to injection molding for its unmatched cost-efficiency and reliability in mass production. Knowing when and how to make that switch is the key to a successful launch.
