Struggling with inconsistent part quality or long cycle times? Your mold temperature might be the culprit, causing a heap of production headaches. Getting this setting right is key to smooth, efficient molding.
Analyzing injection mold temperature settings means systematically finding the best temperature for your mold. This considers material type, part design, and desired quality, ensuring proper cooling and better parts. It’s all about precision, really.
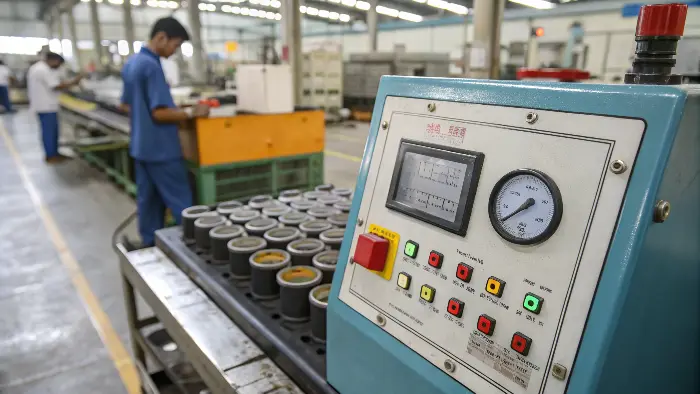
Getting that mold temperature just right can feel like a bit of an art, but there’s a lot of science to it. If you’ve ever wondered how we nail this down for consistent results, stick around. I’m going to break it down for you, based on my years here at CavityMold.
So, What Are the Key Settings in Injection Molding Anyway?
Feeling overwhelmed by all the parameters in injection molding? It’s easy to get lost in the numbers and miss what truly matters. But a few key settings really drive your success, trust me on this.
Key injection molding settings include melt temperature, injection pressure, speed, holding pressure, cooling time, and, crucially, mold temperature. Each one plays a vital role in the final part quality and overall efficiency.
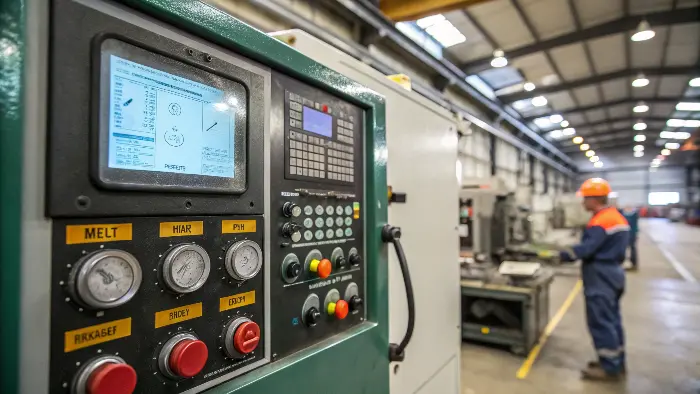
When we talk about injection molding, it’s not just about squirting hot plastic into a hole, right? There’s a whole control panel of things we need to get spot on. I remember when I first started in this business, oh boy, it felt like trying to pilot a spaceship! But really, it boils down to a few critical things that you, as a project manager like Alex, would want to keep an eye on.
First, there’s the Melt Temperature. This is how hot the plastic is when it goes into the mold. Too cool, and it won’t flow right, leading to short shots. Too hot, and you can degrade the material, which is just a waste. Then you’ve got Injection Pressure and Speed. This is about how hard and fast we push that melted plastic. It affects how well the mold fills, especially for complex parts.
And then, super important, is Holding Pressure and Time. After the mold is full, we keep some pressure on to pack it out and compensate for shrinkage as it cools. And speaking of cooling, Cooling Time is a big one – it’s often the largest part of the cycle. And tied directly to that is the Mold Temperature itself, which we’re focusing on today. Get these wrong, and you’re looking at warpage, sink marks, or parts that are just plain weak. It’s a balancing act, for sure, and something we’ve gotten pretty good at over the years.
| Setting Category | Key Parameters | Why It Matters for Your Project |
|---|---|---|
| Material Preparation | Drying Time & Temperature | Prevents defects like splay from moisture; critical for nylons! |
| Injection Unit | Melt Temperature, Screw Speed, Back Pressure | Ensures proper plasticization and a consistent shot |
| Injection Process | Injection Speed, Injection Pressure, Switchover | Fills the mold correctly, avoids flash or short shots |
| Packing & Holding | Holding Pressure, Holding Time | Compensates for shrinkage, improves part density |
| Cooling & Ejection | Mold Temperature, Cooling Time | Solidifies the part, affects cycle time & properties |
It’s like baking a cake; every ingredient and step has to be just right for the perfect result. One wrong move and, well, you don’t get cake.
How Do We Actually Determine the Right Mold Temperature?
Guessing mold temperatures and hoping for the best? That’s a recipe for defects and wasted material, something none of us want, especially when deadlines are tight. There’s a much smarter way to approach this critical setting.
Determining mold temperature involves analyzing material data sheets, part geometry, and quality needs. Simulations and trial runs then help fine-tune it for optimal cooling, minimal stress, and top-notch part quality.
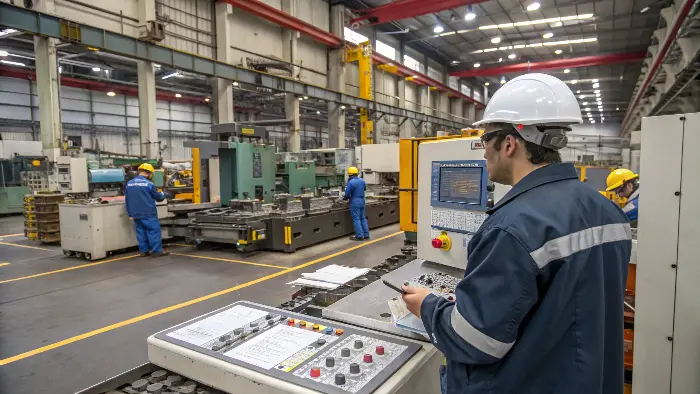
Figuring out the ideal mold temperature isn’t just a shot in the dark; it’s a systematic process. This is where that "setting analysis" really comes into play, and it’s something we take very seriously. First off, I always, always look at the material supplier’s datasheet. They give you a recommended range, and that’s your non-negotiable starting point. You ignore that, and you’re asking for trouble. I learned that the hard way early on with a tricky polycarbonate job – went too cool based on a hunch, and the parts were brittle as anything. Lesson learned!
Then, we consider the part’s geometry. A thick-walled part needs different cooling than a thin, intricate one. If it’s complex, with varying wall thicknesses, we might even run a mold flow simulation. These simulations are fantastic these days; they can predict how the plastic will flow and cool, highlighting potential hot spots or areas that might warp. This helps us decide if we need uniform temperature or if some parts of the mold need to be hotter or cooler – sometimes we even design molds with separate cooling circuits for this.
And of course, desired quality and cycle time are huge factors. Sometimes a slightly warmer mold gives a better surface finish but extends the cycle time. It’s a trade-off we discuss with clients like you, Alex. We often do a few trial runs, adjusting the temperature in small increments and inspecting the parts carefully. We’re looking for things like good fill, no sink marks, minimal warpage, and the right surface gloss. It’s an iterative process, really. We document everything meticulously, so for repeat orders, we know exactly where to start. This systematic approach, considering material, geometry, and quality, is key to minimizing internal stresses and getting those great parts you expect from CavityMold.
What’s a Typical Temperature Range for an Injection Mold Then?
Wondering if your mold temperature is in the right ballpark for your current project? Using a temperature that’s way off can lead to all sorts of part problems, from cosmetic to structural. Knowing typical ranges gives you a good starting reference.
Typical injection mold temperatures vary widely based on the plastic. For example, polyethylene might use 20-60°C (68-140°F), while PEEK could need 150-200°C (302-392°F). Always check material specs!
Okay, so you want numbers, right? It’s tricky because "typical" really depends on the plastic you’re running. There’s no one-size-fits-all, unfortunately. For common commodity plastics like Polypropylene (PP) or Polyethylene (PE), we’re often looking at mold temperatures anywhere from, say, 10°C to 70°C (50°F to 160°F). These materials are pretty forgiving, which is nice. I remember a project with PP living hinges; we ran the mold a bit warmer, around 50°C, to get better flow and ensure the hinge had excellent flexibility. It worked like a charm.
Then you move up to something like ABS or Polystyrene (PS), and you might be in the 40°C to 80°C (104°F to 176°F) range. A warmer mold here helps with surface finish – makes it nice and glossy – and reduces internal stress. For engineering plastics like Nylon (PA) or Polycarbonate (PC), the mold needs to be hotter, often 70°C to 120°C (158°F to 248°F), sometimes even higher for glass-filled grades. If the mold is too cold for these, you’ll get poor mechanical properties, believe me. The parts might look okay, but they won’t perform.
And then there are the high-performance plastics like PEEK or PPSU. For these, you’re talking serious heat – mold temperatures can go from 120°C all the way up to 200°C (248°F to 392°F) or more! It’s crucial to get this right for proper crystallization and to achieve the material’s full potential. So, you see, "typical" is a broad spectrum. The material datasheet is your best friend here, no doubt about it.
| Plastic Type | Typical Mold Temperature Range (°C) | Typical Mold Temperature Range (°F) | My Quick Notes |
|---|---|---|---|
| Polyethylene (PE) | 10 – 70 | 50 – 158 | Lower end for HDPE, higher for LDPE sometimes. |
| Polypropylene (PP) | 10 – 80 | 50 – 176 | Warmer for better flow, clarity, and living hinges. |
| Polystyrene (PS) | 30 – 65 | 86 – 149 | General purpose grades, pretty straightforward. |
| ABS | 40 – 85 | 104 – 185 | Good surface finish needs a warmer mold. |
| Nylon (PA6, PA66) | 60 – 120 | 140 – 248 | Crucial for crystallinity and mechanical properties! |
| Polycarbonate (PC) | 70 – 120 | 158 – 248 | Prevents brittleness, improves toughness. |
| PEEK | 150 – 200+ | 302 – 392+ | High temp for optimal mechanical properties. |
Always, always start with the supplier’s recommendation and then fine-tune based on the part and machine. It’s a bit of an art backed by solid science.
How Exactly is Temperature Controlled in Injection Molding?
Setting a target mold temperature is one thing, but how do you actually achieve and maintain it consistently throughout a production run? Poor control means unstable production and fluctuating part quality, a real nightmare for everyone involved.
Mold temperature control uses circulating fluids (water or oil) through channels designed into the mold. Thermolators heat or cool this fluid, and sensors monitor mold surface temperature to ensure it stays stable.
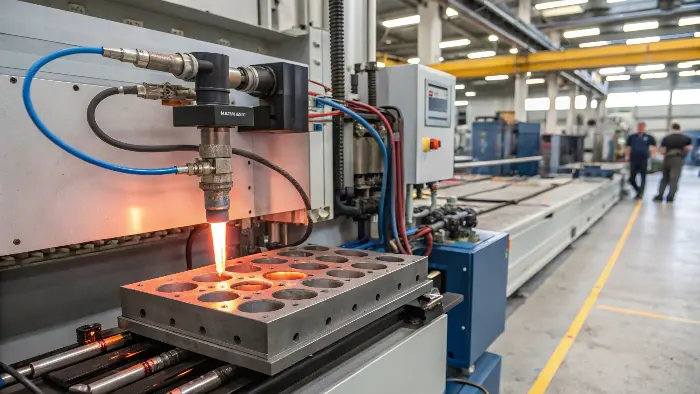
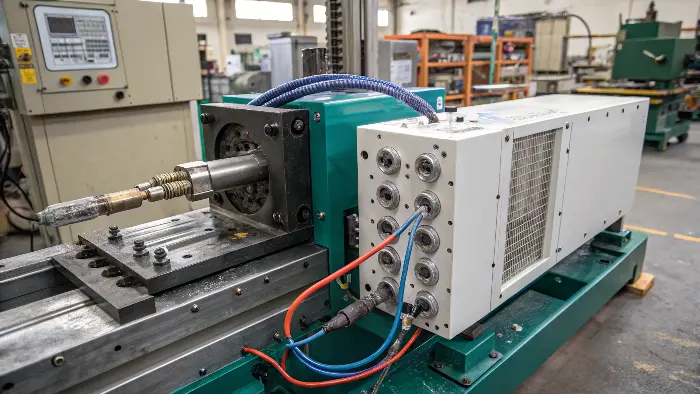
So, we’ve talked about why mold temperature is important and how to figure out the target, but how do we actually control it? It’s not magic, though sometimes it feels like it when everything runs smoothly! The most common way is using a mold temperature controller, or what we often call a thermolator. This unit circulates a fluid – usually water for temperatures up to about 90-95°C (around 200°F), and specialized heat transfer oil for higher temperatures. I’ve seen some pretty complex cooling channel designs in my time, especially for intricate parts where uniform cooling is a challenge. The design of these channels is a big part of good mold design, something we pride ourselves on at CavityMold.
These thermolators can both heat and cool the fluid. So, if the mold is too cold (like at startup), it heats the fluid. If the molding process itself makes the mold too hot (which it often does from the continuous injection of hot plastic), the thermolator circulates cooled fluid. It’s a constant balancing act to maintain that setpoint.
We also use thermocouples or sensors placed in strategic locations in the mold, or sometimes we use thermal imaging cameras to measure the surface temperature directly. This feedback helps ensure the temperature stays within a very tight window, often +/- 1 or 2 degrees Celsius. Some advanced systems even allow for variotherm control, where different zones of the mold are controlled at different temperatures, or the temperature is intentionally changed during the cycle. This can be super useful for complex parts or achieving specific surface effects like high gloss on one area and matte on another. Consistent temperature control is absolutely vital for consistent part quality and stable cycle times. Without it, you’re just guessing, and that’s not how we help clients like Alex succeed. We aim for precision, every single time.
Conclusion
Nailing your injection mold temperature analysis isn’t just a small detail; it’s fundamental to successful molding. It impacts everything from part quality and appearance to cycle times and ultimately, your bottom line. Get this right, and you’re well on your way to mastering molding.
