
You are likely rushing to get your ABS consumer electronics parts into production, but defects keep popping up. It is frustrating when sink marks and warpage ruin a perfect design. Without addressing the specific behaviors of Acrylonitrile Butadiene Styrene (ABS), you risk costly tool modifications and delayed launches.
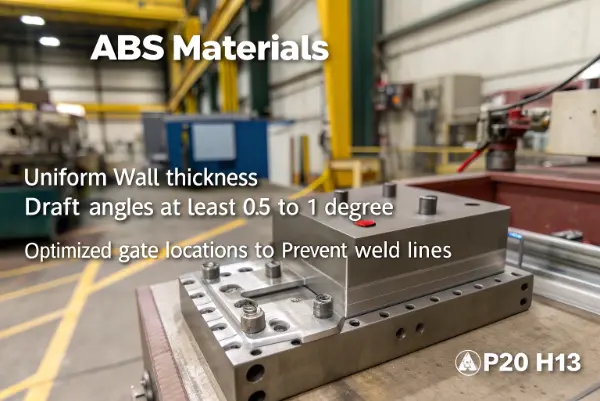
Designing injection molds for ABS requires careful attention to wall thickness uniformity, draft angles of at least 0.5 to 1 degree, and optimized gate locations to prevent weld lines in cosmetic areas. Additionally, steel selection like P20 or H13 is vital for durability, and venting must be strategically placed to avoid burn marks from trapped gas.
In my years at CavityMold, I have seen many project managers underestimate ABS. It is a forgiving material compared to some engineering resins, but it still bites back if you ignore the basics. I remember a project last year where a client ignored our advice on gate placement, and the resulting cosmetic defects cost them three weeks. To help you avoid this, let’s dive into the specifics of getting your ABS mold design right the first time.
How Does Wall Thickness Impact ABS Mold Performance?
Inconsistent wall thickness is the number one enemy of a quality ABS part, leading to immediate stress and failure. If your design has thick and thin sections transitioning abruptly, you invite sink marks and internal voids that compromise structural integrity.
For ABS parts, maintain a uniform nominal wall thickness between 1.5mm and 3.5mm whenever possible. If transitions are necessary, they must be gradual to ensure smooth material flow. Proper coring out of thick sections using ribs helps maintain strength without the risk of sink marks.
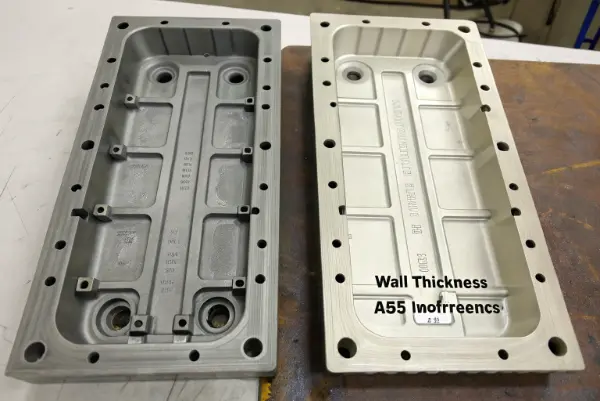
Let’s break this down further. When we talk about wall thickness, we are really talking about cooling rates. Thicker areas cool slower than thin areas. In ABS, this differential cooling creates internal stress. The material wants to shrink towards the center of the mass. If the outside skin hardens while the inside is still molten, the material pulls inward, creating a depression on the surface—a sink mark.
I often use a simple rule of thumb for ribs. The base of a rib should not exceed 50-70% of the nominal wall thickness it is attached to. This prevents a heavy mass of material from accumulating at the intersection.
Here is a breakdown of common wall thickness issues and solutions:
| Issue | Cause | Solution for ABS |
|---|---|---|
| Sink Marks | Thick sections cooling slowly. | Core out thick areas; follow the 60% rib rule. |
| Voids | Vacuum bubbles forming inside thick walls. | Reduce wall thickness; check holding pressure. |
| Warpage | Uneven shrinkage due to variable walls. | Keep walls uniform; ensure balanced cooling channels. |
| Short Shots | Walls too thin for the flow length. | Increase wall thickness or improve venting/pressure. |
When designing, always use radii at corners. Sharp corners in ABS are stress concentrators. A radius allows the material to flow smoothly and distributes stress more evenly across the part.
Why Are Draft Angles Essential for ABS Part Ejection?
Imagine trying to pull a bucket out of a stack of identical buckets; without the right angle, they stick together tight. If your mold lacks sufficient draft, the ABS part drags against the steel during ejection, causing scuff marks or white stress whitening marks.
You generally need a minimum draft angle of 0.5 to 1 degree on all vertical walls for standard ABS parts. If the surface has a texture, you must increase this angle significantly, typically adding 1.5 degrees for every 0.025mm of texture depth to prevent drag marks.
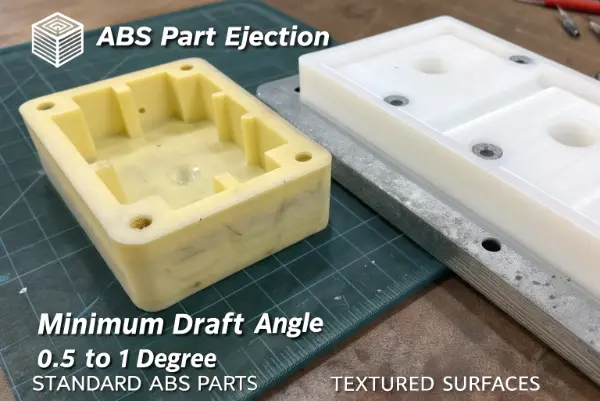
Draft angles are not just a suggestion; they are a mechanical necessity. When ABS cools, it shrinks onto the core of the mold. This creates a tremendous amount of friction. Without a draft angle (a slight taper), the friction is constant throughout the entire ejection stroke. With a draft angle, the part releases from the steel the moment the ejector pins push it forward.
I recall a project where a designer insisted on zero draft for a "clean vertical look." We warned them. The first sample parts came out with terrible drag lines, and the ejector pins actually punched through the plastic because the part was stuck so tight. We had to modify the tool, which was an expensive lesson.
Here are the specific draft recommendations we use at CavityMold for different surface finishes:
- Polished Finish (SPI A2/A3): 0.5 degrees is usually sufficient.
- Matte Finish (SPI B2/C1): 1 degree is recommended.
- Light Texture (MT-11010): 1.5 to 2 degrees.
- Heavy Leather Texture: 3 degrees or more.
Also, consider the "shut-off" angles. If your mold has sliding cores or lifters, you need at least 3 to 5 degrees of draft where the metal faces touch. This prevents the metal components from galling (wearing down) over thousands of cycles.
What Is the Best Approach for Gate and Runner Design in ABS Molds?
Choosing the wrong gate type or location creates aesthetic nightmares like weld lines and jetting in visible areas. If the molten ABS enters the cavity too fast or from the wrong angle, the surface finish will be inconsistent and weak.
For ABS, edge gates, sub-gates, and hot tip gates work well, provided they are sized correctly to minimize shear stress. The gate should be located in the thickest section of the part to allow for proper packing, and positioned so that the flow front directs air towards the vents.
The gate is the entry point for the plastic. Its location dictates how the mold fills. In ABS, we worry about "shear sensitivity." If the gate is too small, the material heats up due to friction as it is forced through. This can degrade the rubber particles in the ABS, leading to splay (silver streaks) on the part.
Here is a critical thinking exercise for your next design: Where will the weld lines be? A weld line forms wherever two flow fronts meet. They are weaker and often visible. You cannot eliminate them, but you can move them.
- Scenario A: You gate in the middle of a bezel. The flow splits and meets on the opposite side. The weld line is visible.
- Scenario B: You gate at the corner. The flow wraps around. The weld line might move, but it is still there.
- Scenario C (Better): You use flow simulation software. You position the gate so the weld line lands on a non-cosmetic surface or in an area that will be covered by another part.
Regarding runner systems:
- Cold Runners: Simple and cheap. Use a full-round or trapezoidal shape to minimize heat loss.
- Hot Runners: Great for high volume. They eliminate waste (no sprue/runner to recycle). However, ensure your temperature control is precise. ABS can degrade if it sits in a hot manifold for too long.
Always design the gate land length to be short (0.5mm to 1.0mm). A long land creates unnecessary pressure loss.
How Critical Is Mold Steel Selection and Surface Finish for ABS?
If you choose soft steel to save money upfront, the mold will wear out quickly, and the surface finish will degrade. ABS is not highly abrasive like glass-filled nylon, but the mold still requires a steel hardness that matches your expected production volume.
For production volumes under 100,000 cycles, P20 steel is an excellent, cost-effective choice for ABS molds. for high-volume production or high-polish requirements, choose H13 hardened steel or S136 stainless steel to maintain mirror finishes and prevent corrosion.
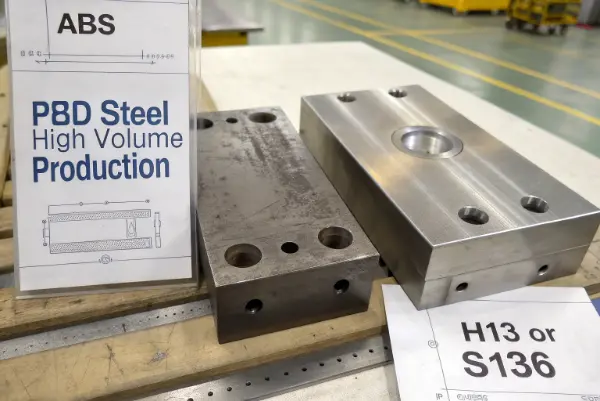
Steel selection is about balancing cost against longevity and finish quality. At CavityMold, we often see clients requesting the hardest, most expensive steel for a prototype run of 500 parts. That is a waste of budget. Conversely, using soft aluminum for a 500,000-part run is a recipe for disaster.
Let’s break down the choices:
- P20 (Pre-hardened): This is the workhorse of the industry. It machines well and polishes to a decent standard. It is perfect for the housings of consumer electronics where you need a good cosmetic finish but not an optical mirror polish.
- H13 (Air Hardened): If your ABS part has complex shut-offs or sliding cores, H13 is better. It is tougher and resists wear. If you plan to run this mold for years, invest in H13.
- S136 (Stainless): While ABS itself isn’t corrosive, sometimes the additives or flame retardants can be. Also, if your factory is in a humid environment (like parts of Asia in the summer), rust is a real threat to P20 molds. S136 resists rust and takes a brilliant mirror polish.
Surface finish also affects ejection. A highly polished surface creates a vacuum seal with the ABS part. It is like putting two sheets of glass together with water in between; they stick. For deep buckets or housings, a very light blast finish (texture) often releases easier than a mirror polish because it breaks that vacuum seal.
Consider the plating or painting requirements too. If you plan to chrome plate your ABS part, the mold surface must be defect-free (SPI A2 or better). Any scratch on the mold will show up magnified on a chrome-plated part.
Conclusion
To summarize, designing molds for ABS requires balancing wall thickness, ensuring adequate draft angles, choosing the right steel, and optimizing gate locations. By focusing on these factors, you ensure a smooth production process and high-quality parts. At CavityMold, we are ready to help you navigate these choices for your next project.