Seeing weird colors on your parts? Frustrated by rejects and unhappy clients? Let’s fix those pesky injection molding color problems. 😉
Color issues in injection molding stem from material problems, processing errors, or equipment faults. Identifying the root cause—be it contamination, poor mixing, temperature issues, or mold defects—is key to solving them effectively.
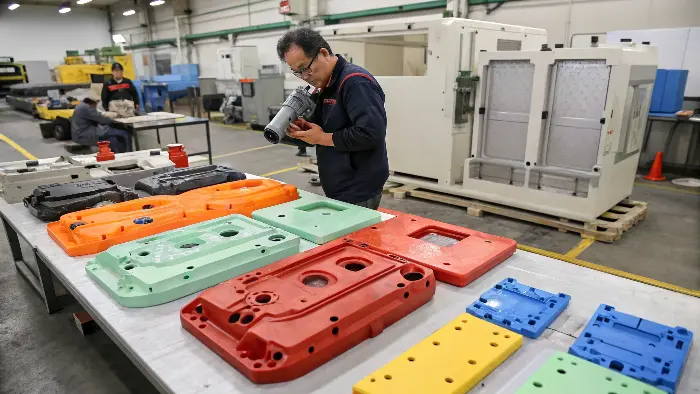
Okay, so you’re pulling your hair out because your beautiful blue parts are coming out… well, not so beautiful blue. I’ve been there! It’s one of the most common headaches in this business, and something a project manager like Alex, juggling deadlines and quality standards, definitely wants to avoid. But don’t worry, we’re going to dive deep into what goes wrong and how you can get back to producing perfectly colored parts. Let’s get to the bottom of this and help you master molding right.
What Causes Discoloration in Injection Molding?
Parts looking off-color or burnt? Wondering what gremlins are messing with your plastic’s hue? Let’s uncover the culprits.
Discoloration is often due to material contamination, resin/pigment degradation from excessive heat or residence time, poor masterbatch dispersion, or even moisture in the material. Pinpointing the source is the first step to a solution.
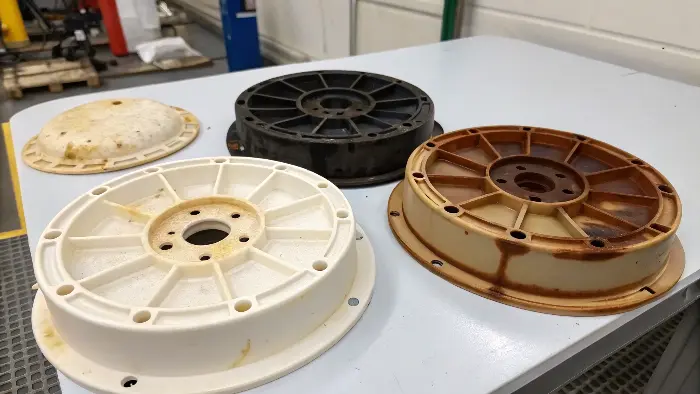
This is a big one, and honestly, discoloration can pop up for a bunch of reasons. It’s like being a detective sometimes! 🕵️♂️ I remember this one time, we had parts coming out with these weird brownish streaks. After a bit of head-scratching, it turned out some cleaning solvent residue was left in the hopper from a previous job – a simple mistake, but it cost us a morning of production and a few gray hairs. So, when your parts aren’t the color they’re supposed to be, what are we looking for?
Material Mayhem
The raw materials themselves can often be the source of your color woes.
- Contamination: This is a classic. Think dirt, dust, oil from handling, or even tiny bits of a different colored plastic from a previous run that didn’t get fully purged. Even a minuscule amount can cause noticeable discoloration or specks.
- Material Inconsistency: Sometimes, you might see variations from one batch of base resin to another, or even in the masterbatch itself. This is why we at CAVITYMOLD always stress the importance of consistent, high-quality raw material suppliers.
- Degradation (Too Hot!): If your plastic or the colorant gets too hot for too long in the barrel, it can literally break down chemically and change color. This often shows up as yellowing, browning, or even black specks (burn marks). This is super common with high processing temperatures or excessively long residence times.
- Moisture: For some plastics, especially hygroscopic ones like nylon, PC, or ABS, too much moisture doesn’t just weaken the part; it can cause splay marks, silver streaks, or even react with certain colorants, leading to discoloration. Proper material drying is absolutely key! I can’t tell you how many times I’ve seen "mysterious" color issues solved by just double-checking the material dryer’s performance and ensuring the resin got enough drying time at the correct temperature.
Processing Pitfalls
Your machine settings and how you run the process play a huge role.
- Temperature Troubles: Too high a melt temperature is a very common cause of burns or color shifts. But, if the temperature is too low, the masterbatch might not melt and mix properly, leading to uneven color.
- Excessive Residence Time: If plastic sits in the hot barrel for too long (maybe during machine stoppages, or if you’re using an oversized barrel for small shot sizes), it degrades. First in, first out is the goal!
It’s often a combination of these factors, but starting your investigation with these material and processing checks usually gets you on the right track to a solution.
What Is Color Variation in Injection Molding?
Seeing streaks, swirls, or uneven patches? Is "consistent color" feeling like an impossible dream? Let’s tackle those variations head-on.
Color variation includes streaks, swirls, or patches of different shades within a part or between parts. It’s typically caused by poor mixing of masterbatch with resin, inconsistent processing parameters, or issues with the masterbatch itself like poor pigment dispersion.
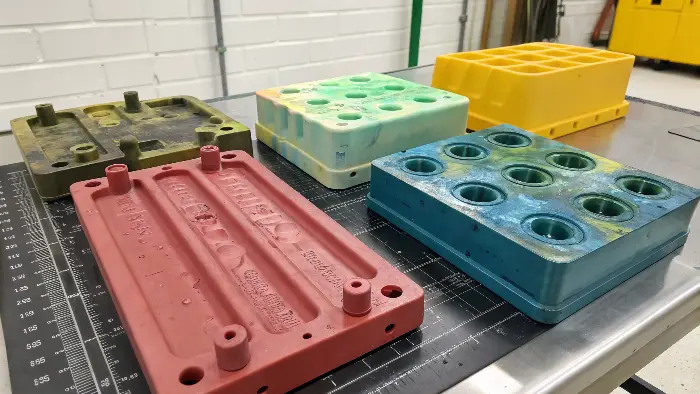
Okay, so general discoloration is one thing, but what about when the color is just… all over the place within the same part, or from one part to the next? This is what we call color variation, and it can make your quality control team pull their hair out, and certainly won’t impress a client like Alex who expects top-notch consistency. I’ve seen parts that look like they have accidental tie-dye patterns when they’re supposed to be a solid, uniform red – definitely not ideal for a high-end consumer electronic casing!
The Usual Suspects for Uneven Color
When I see color variation, my mind immediately jumps to a few key areas, and it’s almost always about how well that color masterbatch is getting mixed in:
- Poor Mixing (Dispersion): This is the big kahuna. If your color masterbatch isn’t mixing thoroughly and evenly with the base resin, you’re gonna get those dreaded streaks, swirls, or blotchy patches. This could be due to several things:
- An incompatible masterbatch carrier resin – if the masterbatch plastic doesn’t melt and flow nicely with the main plastic, they won’t blend.
- The masterbatch itself having poor pigment dispersion – maybe the pigments weren’t mixed well into the carrier when the masterbatch was made.
- An incorrect screw design for the material/colorant combination – some screws are better at mixing than others.
- Insufficient back pressure during the plasticizing (screw recovery) stage – back pressure helps mix things up.
- Too low a melt temperature, making the plastic too viscous (thick) to mix well.
- Inconsistent Let-Down Ratio (LDR): The LDR is the percentage of masterbatch you add to your natural resin. If this isn’t consistent from shot to shot (which can happen with volumetric feeders if they’re not calibrated well or if there are flow issues), the color intensity will vary.
- Processing Parameter Fluctuations: If your temperatures, pressures, or screw speeds are drifting during the production run, each part might get a slightly different "dose" of processing, affecting how the color develops or distributes. Consistency is king!
- Contamination (yes, again!): Sometimes, a small amount of a different colored material (maybe from a previous run that wasn’t purged properly) can get dragged into the mix, causing streaks of an unwanted hue.
I remember a project where we had some faint swirls in a grey ABS part. We tweaked the back pressure up a bit and slightly increased the melt temperature in the rear zones of the barrel, and boom – problem solved! The color evened right out. It’s often about that fine-tuning. For really tough-to-mix colors, we sometimes even recommend using a special mixing nozzle on the injection unit to give that extra bit of blending power.
How to Fix Cloudiness in Injection Molding?
Transparent parts looking hazy or milky? Is that crystal clarity you aimed for lost in a fog? Let’s clear things up.
Cloudiness in transparent or translucent parts is often due to moisture in the resin, material contamination, incorrect processing temperatures (too low), or poor mold surface finish. Proper material drying and optimized processing are key.
Cloudiness, or a hazy appearance, is a real bummer, especially when you’re aiming for those crystal-clear parts, like for medical devices, optical lenses, or some high-end consumer packaging. It just makes the product look cheap or flawed, and if clarity is a functional requirement, it’s a definite reject. I’ve dealt with this a fair bit over my career, especially when working with materials like polycarbonate (PC), acrylic (PMMA), or clear styrene (PS).
Clearing Up the Causes of Cloudiness
So, what makes your beautifully designed clear parts go cloudy? Here’s my go-to checklist when I encounter this issue:
- Moisture, Moisture, Moisture! This is culprit number one, two, and three for many clear, hygroscopic materials like PC, PET, or Nylon. If these aren’t dried thoroughly down to the manufacturer’s recommended moisture content (often very low, like 0.02%) before processing, the trapped moisture turns into steam in the hot barrel. This steam then forms tiny bubbles or voids in the part as it cools, creating that hazy, cloudy look. I always tell people, "Trust your dryer, but verify!" Make sure it’s working correctly, the desiccant is good, and materials get enough drying time at the right temperature.
- Material Contamination: Any foreign particles, even a tiny amount of a different type of clear plastic (with a different refractive index) mixed in, can scatter light and cause haziness. Keep your material handling super clean – dedicated loaders, clean hoppers, the whole nine yards.
- Melt Temperature Too Low: If the plastic isn’t melted homogeneously and to a low enough viscosity, it won’t flow smoothly or pack out the mold cavity properly. This can sometimes manifest as cloudiness or flow marks that look like haze because the material hasn’t fully wetted out the mold surface.
- Mold Temperature Too Low: A cold mold can cause the plastic to "freeze off" too quickly upon contact, before it has a chance to perfectly replicate the highly polished mold surface. This rapid solidification can trap stresses or prevent a smooth surface, leading to a dull or slightly hazy appearance.
- Poor Mold Surface Finish: This is critical for clear parts. If the mold cavities aren’t polished to an absolute mirror finish (for clear parts, this is often an SPI A-1 or A-2 diamond buff finish), the part surface will pick up every tiny imperfection from the mold. The part is only as good as the mold surface it’s formed against!
- Incompatible Additives or Masterbatch: Sometimes, certain additives (like processing aids or internal mold release) or even the carrier resin in a color masterbatch (if you’re adding a slight tint) might not be perfectly compatible or optically clear, contributing to haze. Always test.
I recall a project involving clear PC light pipes for an automotive application. They were coming out slightly hazy, which was a no-go for light transmission. We meticulously double-checked the drying parameters, then slightly bumped up both the melt and the mold temperature, and that did the trick! The parts came out sparkling. ✨ It’s often a systematic approach that wins the day.
What Is the Orange Peel Defect in Injection Molding?
Surface looking like an orange skin instead of smooth? This "orange peel" texture ruining your part’s finish? Let’s smooth things over.
Orange peel is a surface defect resembling an orange’s skin. It’s often caused by low injection speed/pressure, excessive mold coating, low melt/mold temperature, or volatile materials in the resin or on the mold surface.
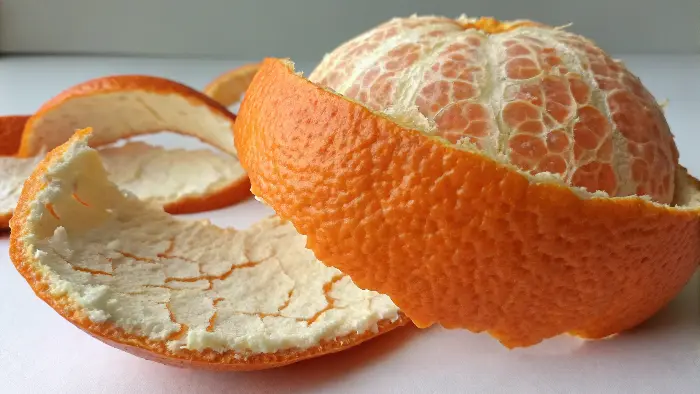
Ah, orange peel. It’s exactly what it sounds like – the surface of your molded part isn’t smooth and glossy as intended, but instead has this fine, slightly bumpy, rippled texture that looks very much like the skin of an orange. It’s a real pain, especially for parts that need a Class A cosmetic finish, like automotive interior or exterior components, appliance housings, or sleek electronic enclosures. It can make even a perfectly colored part look low quality and feel rough to the touch. Not something Alex would want to present to his stakeholders!
Peeling Back the Layers on Orange Peel
What causes this annoying surface texture? It’s usually related to how the molten plastic fills the mold cavity and interacts with the mold surface. The goal is for the plastic to perfectly replicate that smooth, polished steel.
- Low Injection Speed or Pressure: If the plastic is injected into the mold too slowly, or without enough follow-up pressure (pack pressure), it might not press firmly and uniformly against the mold surface. The melt front can be a bit turbulent or start to cool and solidify prematurely before it has a chance to perfectly conform to the mold steel, leading to this textured effect.
- Low Melt or Mold Temperature: Similar to the above, if the plastic melt is too cold (too viscous) or the mold surface itself is too cold, the material becomes sluggish. It doesn’t flow as smoothly and can "freeze off" against the mold wall before properly filling out all the micro-details of the polished surface.
- Excessive or Improper Mold Release Agent: While mold release sprays can help parts eject more easily, using too much of it, or using the wrong type, can interfere with the plastic’s intimate contact with the mold surface. The release agent can create a barrier or react with the hot plastic, causing a textured or splotchy appearance. I always advise using mold release very sparingly, if at all, especially with resins that have good natural lubricity. Often, good part design and mold polish are better solutions.
- Volatiles or Gas Traps: If there are volatile materials in the resin (like residual moisture that hasn’t been properly dried out, or other off-gassing components) or if the mold isn’t vented adequately, these gases can get trapped between the advancing plastic melt front and the mold surface. This trapped gas can disrupt the smooth flow and prevent the plastic from making perfect contact, resulting in surface imperfections like orange peel or blisters.
- Material Properties & Fillers: Some materials are just inherently more prone to it than others, especially if they have high shrinkage rates or contain certain types_of fillers that can affect surface flow.
I remember working on a project involving large, flat ABS panels for an office machine. We were getting a persistent, slight orange peel effect. After trying a few adjustments, a combination of increasing the injection speed slightly and meticulously ensuring all the mold vents were perfectly clear and functional did the trick. Sometimes it’s not one single thing, but a combination of factors. It’s all about ensuring that molten plastic makes perfect, uniform, and sustained contact with that beautifully polished mold surface until it solidifies.
Conclusion
Fixing color issues means careful detective work on materials, process, and mold. Consistent quality comes from understanding these interactions. Master these, and you’ll master your molding! 👍
