

PMMA injection molding is used for clear or light-transmitting parts, but optical quality depends on resin condition, flow, mold design, cooling, and residual-stress control. A part can be dimensionally correct and still fail because of haze, weld lines, bubbles, splay, crazing, flow marks, or birefringence.
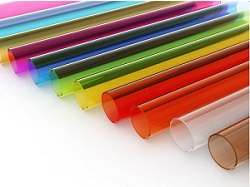
PMMA grades are not interchangeable. A standard transparent grade, impact-modified grade, optical grade, and weatherable grade may have different flow, drying, shrinkage, and performance requirements. Use the selected supplier’s data sheet for the processing window.
Common PMMA injection molding problems
| Problem | Likely areas to investigate |
|---|---|
| Haze or low transmission | Moisture, contamination, degraded resin, mold surface, flow hesitation, or residual stress |
| Silver streaks or bubbles | Moisture, trapped air, volatile contamination, venting, or excessive shear |
| Flow marks or weld lines | Cold front, gate location, fill profile, temperature balance, and wall changes |
| Crazing or cracks | Residual stress, sharp corners, ejection force, chemical exposure, or post-process handling |
| Warp or dimensional drift | Uneven cooling, packing, wall thickness, shrinkage, or mold temperature |
Material preparation and drying
Keep PMMA protected from moisture and contamination, and use the grade-specific drying temperature and time. Record material lot, dryer temperature, residence time, dew point where relevant, and time from dryer to hopper. Under-drying can cause optical defects; excessive heat history can degrade the resin.
Do not diagnose every clear defect as moisture. Compare a controlled virgin-material trial with the normal process and inspect the purge, nozzle, hopper, and conveying path. Check whether the defect follows a material lot or appears only at a particular flow location.
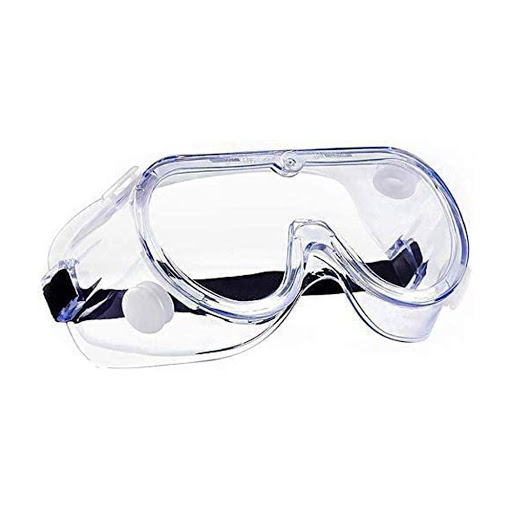
Design and mold controls
- Use generous radii and gradual wall transitions to reduce stress concentration and hesitation.
- Choose a gate location that protects the optical zone and reduces abrupt flow changes.
- Provide adequate vents at the end of fill, around ribs, and near inserts or holes.
- Use a suitable polished surface and protect it from scratches, residue, and texture mismatch.
- Balance cooling so one side of a lens, cover, or light guide does not freeze and shrink differently from the other.
- Design ejection to avoid localized stress on thin or transparent walls.
Process troubleshooting
- Separate material, machine, mold, and part-design causes using controlled trials.
- Check fill pattern and short shots before changing the entire temperature profile.
- Use a stable speed profile and avoid excessive shear at gates, runners, and sharp transitions.
- Confirm packing and gate freeze without over-packing the optical zone.
- Measure haze, transmission, color, dimensions, and stress with the agreed methods.
Higher temperatures or slower speeds may help one defect and worsen degradation or cycle time. The goal is a repeatable window, not one visually good shot.
Optical and functional validation
Define the viewing direction, light source, background, transmission or haze limit, weld-line acceptance, scratch limit, dimensional conditions, and conditioning method. If the part is exposed to chemicals, UV, heat, or assembly stress, include those conditions in validation because residual stress may appear later.
For a PMMA project, the engineering team can review optical zones, gates, cooling, and ejection before the injection molding process is released. Contact Cavity Mold with the grade, part model, and optical requirement.

Technical references
Röhm’s PLEXIGLAS molding-compound reference shows how PMMA grades are selected for injection-molded appearance and application requirements. The Protolabs injection molding guide provides general design and quality considerations.
\n\n
Protect optical quality from the tool concept onward
PMMA appearance can be affected by moisture, residual stress, contamination, flow history, welds, gate vestige, scratches, and uneven cooling. Define whether the part is translucent or must meet a measurable haze, gloss, light-transmission, or cosmetic requirement. Exact grade and additives control drying and processing limits.
\n
- Mark viewing direction, light path, cosmetic zones, gate restrictions, and weld or ejector limits.
- Review gate and vent locations so flow and trapped gas stay out of the optical path.
- Provide stable support during ejection and handling to avoid scratches and stress cracks.
- Measure the selected appearance or optical characteristic under a defined condition.
\n
Use the supplier data sheet for drying and processing limits and validate on the actual mold. BASF’s troubleshooting resource supports symptom screening; the engineering review and engineering review connect grade choice to the control plan.