Picking the perfect color masterbatch feels tricky, right? Worried about bad matches or production headaches? I’m here to help you nail it. 😉
Choosing the right color masterbatch involves matching it to your base polymer, defining color needs, considering processing conditions, end-use requirements, and regulatory compliance. It’s a systematic approach for consistent, quality results.
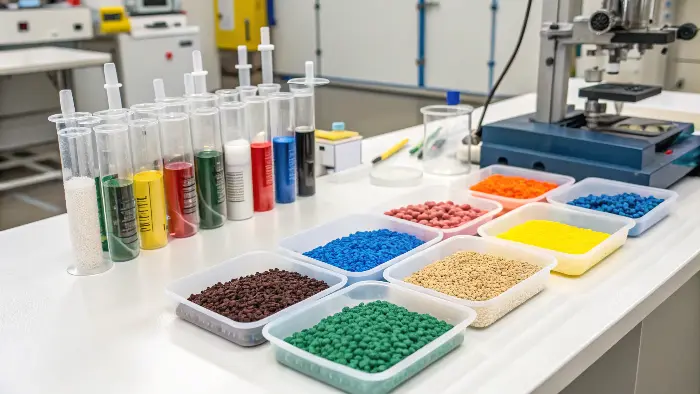
So, you’re ready to bring some color into your plastic parts, but where do you even begin with masterbatches? It can seem like a maze, I know! I’ve been in this game for a while now, working with folks like Alex, our project manager profile, who need reliable solutions. The key isn’t just picking a pretty color; it’s about a smart selection process. Let’s walk through this together, step-by-step, so you can choose your masterbatch like a pro and really master molding right.
How Do I Choose Injection Molding Material?
Stuck on which plastic to use? Does material choice affect your color options? Absolutely, it’s foundational! Let’s figure this out.
Choosing an injection molding material means balancing mechanical needs, thermal properties, chemical resistance, appearance goals (including colorability!), cost, and how easily it processes. This choice directly impacts masterbatch selection.
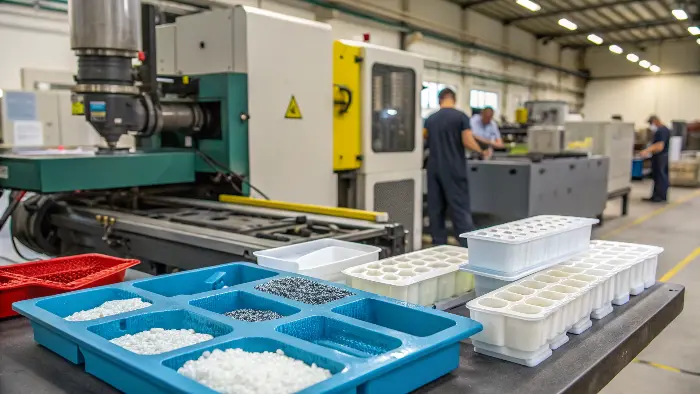
Before we even whisper the word "masterbatch," we gotta talk about the main star: the injection molding material itself. I mean, this is the bulk of your part, right? Choosing this is a big deal, and it has a massive knock-on effect on your color choices. I remember one project early in my career where we picked this amazing, vibrant masterbatch, but the base resin we were trying to pair it with just wasn’t having it – the compatibility was off, and the color looked muddy. Lesson learned the hard way! 😅
Matching Masterbatch Carrier to Base Resin
This is probably the golden rule. The carrier resin in your masterbatch – that’s the plastic the pigment is mixed into – needs to be best buddies with your main molding material. If you’re molding with polypropylene (PP), you’ll ideally want a masterbatch with a PP carrier. If they’re not compatible, the color won’t disperse evenly, and you could end up with streaks, weak spots, or a generally poor finish. It’s like trying to mix oil and water; it just doesn’t end well. So, always, always check this first.
Key Material Properties Influencing Color Outcome
Think about what your part needs to do. Does it need to be super strong? Flexible? Withstand high temperatures? Different plastics have different natural colors (some are milky, some are clear, some are yellowish), and this can affect the final shade. For example, achieving a bright, clean white is easier in a naturally clear or white polymer than in one that’s inherently a bit yellow. Also, some materials process at higher temperatures, so your masterbatch needs to be stable enough not to degrade or change color.
Cost vs. Performance in Material and Color
And then there’s the budget, of course. Engineering plastics with amazing properties can be pricey, and sometimes the masterbatches for them are too. It’s all about finding that sweet spot between the performance you absolutely need, the aesthetic you’re aiming for, and what makes sense cost-wise. Sometimes a slightly more expensive, highly compatible masterbatch can save you money in the long run by reducing rejects and improving cycle times. It’s a balancing act we at CAVITYMOLD help our clients with every day.
What Are the 5 Steps of Injection Molding?
New to injection molding or need a refresher? Wondering where color gets introduced in the whole shebang? Let’s break down the process.
The five main steps are: Clamping (mold closes), Injection (plastic forced in), Dwelling/Packing (pressure maintained), Cooling (part solidifies), and Ejection (part removed). Masterbatch is typically mixed with resin before injection.
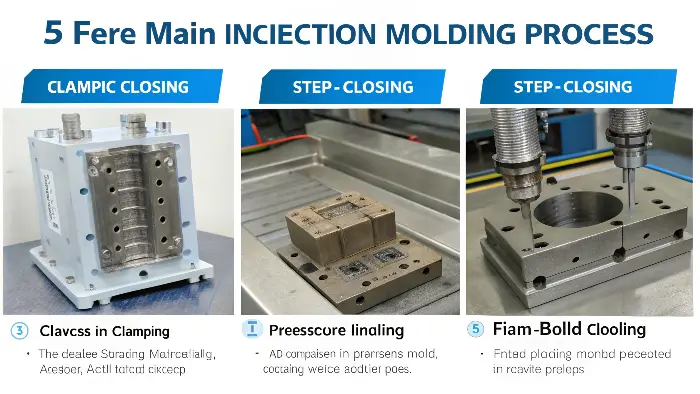
Understanding the basic injection molding cycle is pretty crucial, not just for making parts, but for understanding how your color masterbatch actually becomes part of the final product. It’s a dance of precision, and each step plays a role. I always find it fascinating how these pellets transform!
Step 1: Clamping – Setting the Stage
First up, the two halves of the mold are securely closed by the clamping unit of the molding machine. This creates a tight seal, ready to receive the molten plastic. Think of it as preparing the canvas before you paint. If the mold doesn’t close properly or isn’t aligned, you’re going to have problems like flash, which definitely isn’t a good look, colored or not!
Step 2 & 3: Injection & Dwelling – Where Color Meets Polymer
This is where the magic happens for our masterbatch! The raw plastic pellets, now mixed with our chosen color masterbatch pellets (usually at a specific let-down ratio, say 1-4%), are fed into the machine’s barrel. Here, they’re heated and melted by heater bands and the friction of a reciprocating screw. The screw then pushes this molten, colored plastic mix forward under high pressure, injecting it into the mold cavity. Once the cavity is mostly full, the "dwelling" or "packing" phase begins. Pressure is maintained for a bit to pack more material in, compensating for shrinkage as the plastic cools. Consistent temperature and pressure here are key for even color distribution. I’ve seen issues where temperature fluctuations caused slight color shifts – tiny details matter!
Step 4 & 5: Cooling & Ejection – Locking in the Color
With the cavity filled, the cooling phase starts. Water or oil circulates through channels in the mold to bring the temperature of the plastic down, allowing it to solidify into the shape of the cavity. The cooling time is critical; too short, and the part might warp or have sink marks, which can affect how the color looks. Too long, and you’re just wasting cycle time. Once the part is solid enough, the mold opens, and the ejector pins push the finished, colored part out. Ta-da! 🎉 Your colored part is born. Each of these steps needs to be carefully controlled to ensure not just a good part, but also consistent color.
What Is Color Variation in Injection Molding?
Seeing different shades when you wanted one consistent color? Frustrated by parts that don’t match? This is color variation, a common headache.
Color variation is any noticeable difference in hue, lightness, or saturation between molded parts that are supposed to be identical, or even within different areas of a single part. It’s a quality killer!
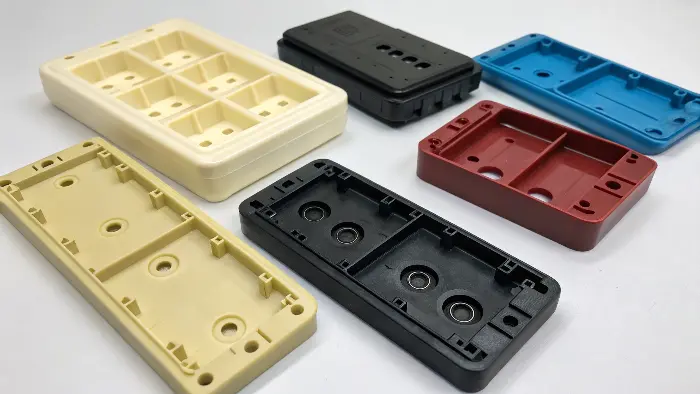
Ah, color variation – the thing that can give project managers like Alex nightmares! You’ve picked your material, you’ve got your masterbatch, you run the machine, and… some parts are a slightly different shade than others. Or worse, one part has streaks or lighter and darker patches. It’s a super common issue, but one we work hard to prevent. I’ve seen it happen, and it’s frustrating for everyone.
Common Culprits Behind Color Shifts
So, what causes this annoying phenomenon? It can be a whole bunch of things. Sometimes it’s the masterbatch itself – maybe it wasn’t dispersed properly during its own manufacturing, or the pigment loading isn’t consistent from batch to batch. More often, it’s about how it’s used. An incorrect let-down ratio (the percentage of masterbatch mixed with the base resin) is a classic. Too little, and the color is weak; too much, and it can be too intense or even cause processing issues. Then there are processing parameters: if the melt temperature, injection speed, or screw RPM fluctuates, the way the masterbatch mixes and melts can change, leading to variations. Even moisture in hygroscopic resins (like Nylon or PC) can wreak havoc on color if the material isn’t dried properly. I remember a case with a client using a beautiful deep blue ABS. They started seeing lighter streaks, and it turned out their material dryer wasn’t performing optimally. A quick fix there, and the color was perfect again!
The Role of Masterbatch Quality and LDR
This is where choosing a good quality masterbatch from a reliable supplier like CAVITYMOLD really pays off. A well-made masterbatch will have highly consistent pigment dispersion and particle size, designed for easy and uniform mixing. And sticking to the recommended Let-Down Ratio (LDR) is crucial. We always provide clear guidelines for our masterbatches. Don’t try to "eyeball" it or stretch your masterbatch too thin to save a few pennies – it often backfires with inconsistent color and rejected parts.
Process Parameters: The Unsung Heroes of Color Consistency
You can have the best masterbatch in the world, but if your injection molding process isn’t stable, you’ll still struggle. Consistent melt temperature, back pressure, screw speed, injection speed, and cooling time are all vital. Any drift in these can affect how the masterbatch is incorporated and how the final color appears. It’s about creating a stable, repeatable process. That’s a big part of "Mastering Molding Right."
What Is the Rule of Thumb for Injection Molding?
Looking for those golden rules that lead to success in injection molding? Want to avoid common pitfalls, especially with color? Let’s talk guidelines.
Key rules of thumb: ensure consistent wall thickness in part design, use proper gating/venting, maintain stable processing parameters, correctly use masterbatch LDR, and thoroughly dry hygroscopic materials. These basics are vital for quality, including color.
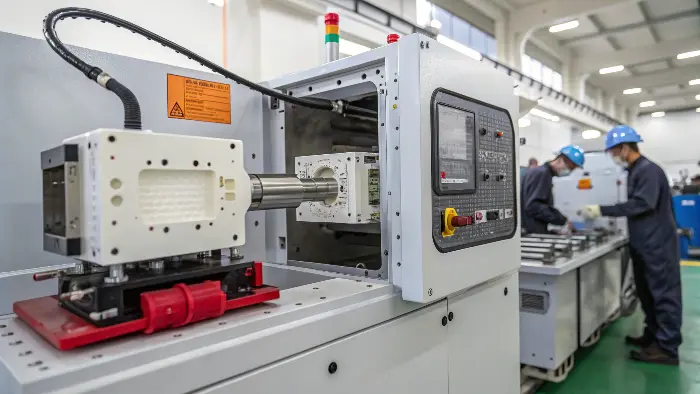
When people ask me for "rules of thumb" in injection molding, especially when color is involved, I always say it starts with the fundamentals. Getting these right makes everything, including achieving perfect color, so much easier. It’s not about secret tricks; it’s about solid engineering and good practice.
Design for Manufacturability: The First Rule
This is huge. A part designed with injection molding principles in mind will mold better, period. A big one here is consistent wall thickness. If you have a part with very thick sections right next to very thin ones, the plastic will cool at different rates. This can cause warping, sink marks, and yes, even apparent color differences because the masterbatch might look different in a thick, slowly cooled section versus a thin, quickly cooled one. I’ve seen parts where a thick boss looked a shade darker than the surrounding thin wall, even with the same material and masterbatch. Also, think about draft angles for easy ejection and radii instead of sharp corners to reduce stress.
Process Control: The Golden Rule for Consistency
Once you have a good design, it’s all about a stable and repeatable process. This means dialing in your temperatures (barrel, nozzle, mold), pressures (injection, pack, back), speeds (injection, screw), and times (injection, cooling, cycle) and then keeping them consistent. Any significant drift here can impact how the masterbatch melts, mixes, and distributes. Using a masterbatch with a good processing window helps, but your machine and operator discipline are key. We often say, "If it ain’t broke, don’t fix it" with process parameters once they’re optimized!
Material Handling: Don’t Skip the Basics!
This might seem obvious, but it’s amazing how often it gets overlooked. Properly drying hygroscopic materials (like Nylon, PC, ABS, PET) is non-negotiable. Moisture in the resin can cause splay, silver streaks, and can even affect the chemical stability of some pigments in the masterbatch, leading to color shifts. Also, ensure you’re using the correct Let-Down Ratio (LDR) for your masterbatch. Too little, and the color will be weak or inconsistent. Too much, and you might oversaturate, waste money, or even affect the mechanical properties of the part. And, of course, keep your raw materials (both resin and masterbatch) clean and free from contamination. A little bit of the wrong stuff can cause big color problems! It’s all part of the attention to detail that we pride ourselves on at CAVITYMOLD.
Conclusion
Selecting the right masterbatch is a careful process, not a guess. Consider material, process, color needs, and end-use. Get these right, and your colored parts will shine consistently. 👍
