Are your injection molding operations constantly hit by unexpected defects, causing frustrating delays and material waste? It’s a common headache when you can’t quickly pinpoint the root cause, right? Well, a systematic approach to evaluation can get you back on track fast.
To effectively evaluate injection molding problems, you need to combine thorough visual inspection of the parts with precise dimensional measurements and, sometimes, more specialized material or process tests. The absolute key is to dig deep and identify the true root cause, which could lie in material properties, the mold design itself, or your machine’s processing parameters.
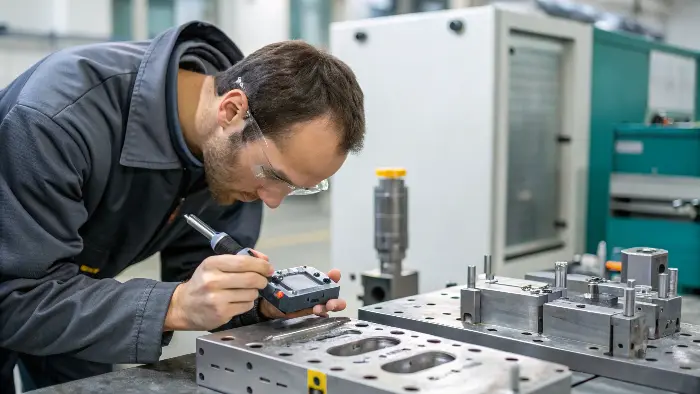
It might sound pretty straightforward on the surface, but really getting into the details of how to do this well can save you a mountain of trouble and, frankly, a lot of money. I’ve seen more than my fair share of molding headaches over the years, and I can tell you, a structured, methodical approach always wins the day. So, let’s break down some of the common areas you need to look at, shall we?
What are the Common Defects in Injection Molding?
Seeing those same ugly flaws – flash, sink marks, short shots – appearing on your molded parts over and over again? It’s incredibly frustrating when these defects ruin an entire batch, and you feel like you’re just chasing your tail. But knowing the usual suspects is half the battle.
Common injection molding defects include issues like short shots (incomplete parts), flash (excess material), sink marks, voids, weld lines, burn marks, warping, and various surface imperfections. Being able to recognize these quickly is the very first step towards effective troubleshooting and finding a lasting solution.
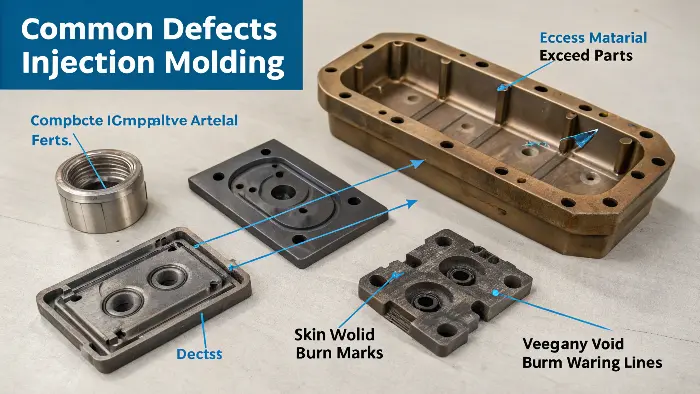
When I first dove into this industry, every time I saw a bad part, it felt like a bit of a personal failure, you know? But then I learned that these defects are just part of the complex dance of injection molding, and each one is trying to tell you a story. It’s almost like being a detective! Understanding these common culprits is absolutely key. It’s not just about seeing a flaw; it’s about understanding what it means. Let’s take a quick look at a few of the big ones that I see crop up time and again.
Common Injection Molding Defects and Their Usual Suspects
| Defect | Description | Potential Causes (Simplified) |
|---|---|---|
| Short Shot | The part is incomplete because the mold cavity didn’t fill completely. | Could be insufficient material injected, low injection pressure or speed, blocked gates, or the plastic solidified too early. |
| Flash | You see a thin layer of excess material forced out of the mold cavity, usually at the parting line. | Often due to low clamp force, damage to the mold surfaces, excessive injection pressure or speed, or the melt being too hot. |
| Sink Marks | These are noticeable depressions on the surface, typically over thicker sections of the part. | Usually caused by insufficient packing pressure or time, melt or mold temperatures being too high, or simply poorly designed thick wall sections. |
| Warping | The part distorts, twists, or bends out of its intended shape after it’s ejected from the mold. | This is often down to uneven cooling, differences in shrinkage rates across the part, incorrect packing pressure, or sometimes issues with the part or mold design itself. |
| Burn Marks | You’ll see black or brown discolored streaks, often found at the end of the material flow path or in trapped areas. | This is usually caused by trapped air overheating due to compression, excessive injection speed, blocked vents in the mold, or the melt temperature being too high. |
I vividly remember one project – we were getting these awful burn marks on a really thin-walled electronics housing. We went through the checklist: material was fine, temperatures seemed okay, speed wasn’t crazy. It turned out that one of the tiny vents in the mold was almost completely clogged up with some old residue. Such a small thing, but it was causing massive problems! So, it’s not just about recognizing the defect by name; it’s about thinking through all the potential pathways that could lead to it. Each defect has its own little signature, and once you get good at reading them, your troubleshooting becomes so much faster. It’s definitely a skill you build up with experience.
How Do You Solve Injection Molding Problems?
So, you’ve successfully identified a defect on your parts, but now you’re scratching your head, wondering how to actually fix it, right? Just randomly tweaking settings – a bit more pressure here, a little less temperature there – can be a costly and super time-consuming game, especially when you need good parts yesterday.
To solve injection molding problems effectively, you need to adopt a methodical, systematic approach. First, clearly identify the specific defect. Then, analyze all potential root causes (think material, machine, mold, and method). Implement corrective actions one at a time, and rigorously verify if the solution worked. Crucially, document every change you make.
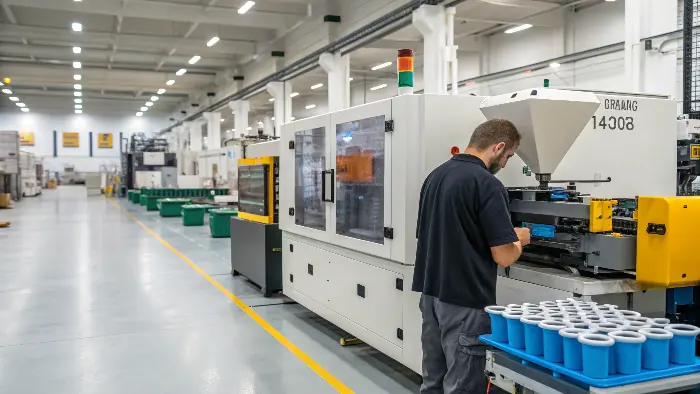
Alright, you’ve spotted the defect. Now for what some might call the fun part – actually fixing it! This is where a lot of folks can get a bit lost in the weeds, just randomly changing machine settings and hoping for the best. I’ve been there myself in my early days, and trust me, it’s not the most efficient path. What you really need is a solid plan of attack. I always like to think of it in terms of the "4 Ms" – that’s Material, Machine, Mold, and Method (some people say "Man" for the operator aspect, which is also valid).
A Structured Approach to Problem Solving
- Isolate the Variable – This is a Big One! Seriously, don’t go changing five different things all at once. If you do, and the problem magically disappears (or gets even worse), you’ll have absolutely no idea which of your changes actually made the difference. I learned this lesson the hard way on a project involving a tricky warping issue. We adjusted cooling time, packing pressure, and melt temperature all in one go. The warping did improve, thankfully, but then we spent ages trying to fine-tune the process afterwards because we couldn’t pinpoint which adjustment had the biggest positive impact. So, my advice: change one single thing, then observe the result carefully.
- Check the Low-Hanging Fruit First – The Easy Wins:
- Material: Is it definitely the correct grade of plastic? Is it properly dried to the manufacturer’s specification? Is there any chance of contamination? These are often the quickest and easiest things to check and rule out.
- Machine Settings: Are all your temperatures (barrel, nozzle, mold), pressures, speeds, and times set within the recommended process window for that material? Has anything been changed recently, perhaps by a different shift operator, without being documented? Sometimes an operator might tweak something with good intentions, but it throws something else off.
- Inspect the Mold – This is Our Bread and Butter at CavityMold:
- Are all the vents clear and not blocked by residue or damage? Trapped air is a common villain.
- Is the cooling system (water channels, etc.) working correctly and efficiently? Uneven cooling is a prime suspect for warping.
- Are there any visible signs of wear, damage, or hobbing on the parting lines, cores, or cavities?
- Is the gate size appropriate for the part and material? Is it blocked or worn?
- Review the Method/Process – How Things Are Done:
- Is the overall cycle time appropriate for the part and material? Too fast can cause issues, too slow hurts efficiency.
- Is the part handling after ejection consistent? How parts are removed and cooled can sometimes influence final dimensions or warp.
And please, document everything! What you changed, what the settings were before and after, what the result was. This builds up an incredibly valuable knowledge base for your team and for future troubleshooting sessions. It’s like creating your own internal troubleshooting encyclopedia. And hey, sometimes you just gotta talk to someone with a bit more gray hair or specific expertise – that’s why having a good, open relationship with your mold maker (like us!) or your material supplier is absolutely golden. Don’t be afraid to ask for help.
What is the Risk Assessment for Injection Molding?
Are you constantly worried about unexpected problems suddenly derailing your entire injection molding project? It’s a valid concern because unforeseen issues can quickly lead to very costly delays, serious quality failures, and sometimes even safety hazards on the shop floor.
Risk assessment in injection molding involves systematically identifying potential hazards and failure modes across the entire process – from the raw material and mold design to machine operation and final part quality. It then analyzes the likelihood and potential impact of these risks to prioritize effective mitigation strategies.
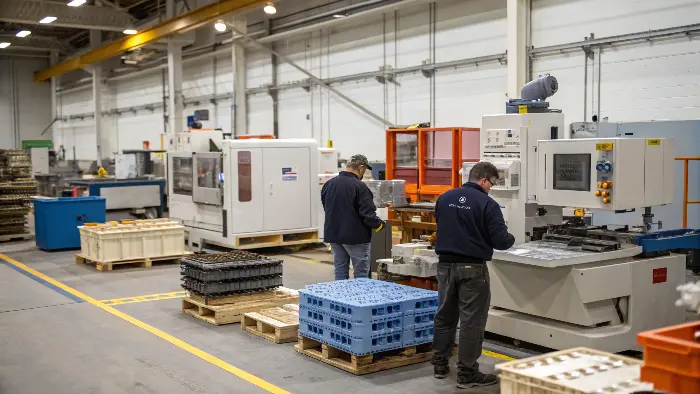
Thinking about what could go wrong well before it actually does is a massive part of being a good project manager – someone like Alex would know this well – or really, anyone involved in manufacturing. It’s not about being a pessimist; it’s about being thoroughly prepared. For injection molding, this means taking a hard look at the whole chain of events. I often encourage our clients at CavityMold to start thinking about this very early on, ideally during the mold design phase, because that’s where many potential problems can be headed off at the pass.
Key Areas for Injection Molding Risk Assessment
| Risk Area | Potential Issues | Mitigation Examples |
|---|---|---|
| Material | Using the wrong grade, material contamination, improper drying leading to defects, batch-to-batch variation affecting process stability. | Implement strict supplier qualification processes, conduct incoming material inspection and testing, ensure proper storage and handling protocols are followed, use first-in-first-out (FIFO) for materials. |
| Mold Design | Poor or insufficient venting leading to burns/shorts, inadequate cooling causing long cycles or warp, structural weak spots in the mold, difficult-to-fill features, overly complex parting lines prone to flash or wear. | Utilize mold flow analysis software during design, conduct thorough DFM (Design for Manufacturability) reviews with experienced mold makers (ahem, like us at CavityMold!), opt for robust mold construction with high-quality materials, ensure proper gate location and sizing. |
| Machine/Process | Incorrect processing parameters set, unexpected machine malfunction or breakdown, inconsistent cycle times affecting part quality, potential for operator error. | Conduct process validation (e.g., Design of Experiments – DOE), implement a regular preventative machine maintenance schedule, provide comprehensive operator training and clear work instructions, utilize automated process monitoring systems where feasible. |
| Part Quality | Parts failing to meet dimensional specifications, unacceptable cosmetic defects (streaks, splay), structural weakness or brittleness, failure to meet functional performance requirements. | Establish clear, objective quality standards and acceptance criteria, develop a robust inspection plan (first-off inspection, in-process checks, final outgoing quality control), use CMM for critical dimensions, perform functional testing as required. |
| Safety | Exposure to hot surfaces (mold, barrel), risk from moving parts (clamp, ejectors), dangers of high pressures (hydraulic, melt), material handling injuries. | Ensure all machine guarding is in place and functional, mandate appropriate Personal Protective Equipment (PPE), verify safety interlocks are working, provide thorough training on emergency stop procedures and safe operating practices. |
I remember a specific project where the client was absolutely insistent on a very, very thin wall section for purely aesthetic reasons. During our DFM review, we immediately flagged this as a high risk for short shots and potential warping. To back this up, we ran mold flow simulations, and sure enough, they confirmed our concerns. By addressing this potential issue before a single piece of steel was cut for the mold, we were able to collaborate with them to slightly adjust the design, incorporate better venting strategies, and plan for very specific processing parameters. This proactive approach saved them a whole lot of potential trouble, rework, and cost down the line. It’s always, always better to catch these things on paper or in a simulation than with a faulty, expensive mold sitting on the press!
What is the KPI for Injection Molding?
Are you finding it difficult to tell if your injection molding operations are truly running as efficiently and effectively as they could be? Without clear, measurable metrics, it’s incredibly hard to track your progress, identify genuine areas for improvement, or even justify new investments in equipment or training.
Key Performance Indicators (KPIs) for injection molding typically include Overall Equipment Effectiveness (OEE), scrap rate, cycle time, machine uptime, and first pass yield (FPY). These metrics are vital for monitoring operational efficiency, output quality, and overall cost-effectiveness.
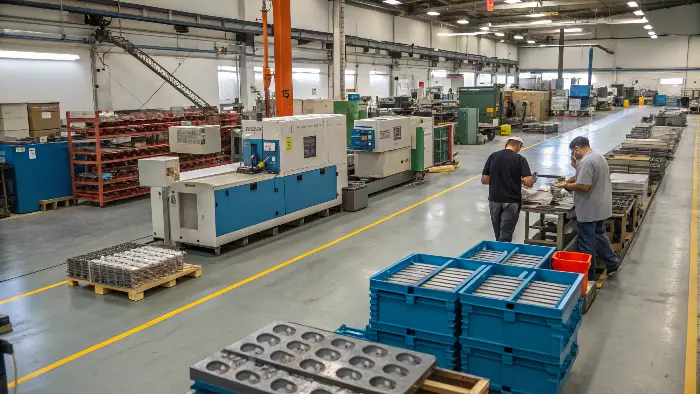
There’s an old saying that I really believe in, especially when it comes to manufacturing: "If you can’t measure it, you can’t improve it." For injection molding, tracking the right Key Performance Indicators (KPIs) is absolutely crucial for understanding how well you’re actually doing and, more importantly, where you can get better. It’s not just about churning out parts; it’s about making them well, making them efficiently, and doing it all cost-effectively. Someone like Alex, in his project management role, would definitely be keeping a close eye on these numbers.
Essential KPIs for Injection Molding Success
| KPI | What it Measures | Why it’s Important |
|---|---|---|
| OEE (Overall Equipment Effectiveness) | A composite metric that combines availability (uptime), performance (speed/cycle time efficiency), and quality (good parts produced). Calculated as: Availability x Performance x Quality. | Gives you a holistic, big-picture view of how well your molding machines are actually being utilized to produce good, saleable parts. World-class OEE is often cited as being around 85%, which is a tough but achievable target. |
| Scrap Rate | The percentage of total parts produced that are defective and have to be discarded or reground (if permissible). | This directly impacts your material costs, wasted production time, and ultimately, your profitability. Lower is always, always better! Every scrapped part is lost money. |
| Cycle Time | The total time it takes for the injection molding machine to complete one full cycle – from mold close to mold open and part ejection. | This directly affects your throughput and overall production capacity. Optimizing this time (without, of course, sacrificing part quality) is absolutely key to improving efficiency and meeting demand. |
| Machine Uptime | The percentage of scheduled production time that your injection molding machines are actually running and producing parts. | This is a key indicator of your machine reliability and the effectiveness of your maintenance programs. Unplanned downtime is a massive productivity killer and can throw schedules into chaos. |
| First Pass Yield (FPY) | The percentage of parts that meet all quality standards on the very first attempt, without needing any rework, touch-ups, or secondary operations. | This reflects the stability and capability of your entire molding process. A high FPY means less wasted effort, less handling, and a more streamlined operation. |
I once worked with a company that wasn’t tracking FPY very closely. They thought their overall scrap rate was "kind of okay," but when we really dug into their FPY numbers, we discovered they were doing an enormous amount of rework, sorting, and fixing parts offline. This was a huge hidden cost and a massive drain on their resources. By shifting their focus to improving FPY, they not only reduced their outright scrap but also significantly cut down on that "hidden factory" of rework. Setting clear, achievable targets for these KPIs and regularly reviewing them with the entire production team can be a powerful driver for continuous improvement. It gives everyone a clear, common goal to work towards. And for someone in Alex’s position, these numbers are absolutely vital for reporting on project health, efficiency, and profitability.
Conclusion
So, when it comes to evaluating injection molding problems, being systematic is your best friend. Make sure you understand the common defects, use a structured problem-solving method, think ahead with risk assessment, and always track your key performance indicators. This approach will definitely save you time, money, and a whole lot of frustration in the long run!
