Are you trying to plan a product launch but feeling stuck on the timeline for your injection mold? The uncertainty can be frustrating. A delay in mold manufacturing can ripple through your entire project, pushing back deadlines and increasing costs. Getting a clear grasp of the mold making timeline is the first step to managing your project effectively.
The time to make a plastic mold typically ranges from 2 to 8 weeks. A simple, single-cavity mold might be ready in 2-4 weeks. In contrast, a complex, multi-cavity mold with intricate features, side actions, or special surface finishes can easily take 6-8 weeks or even longer. The final timeline depends entirely on the mold’s design complexity, size, and the required precision.

Understanding this timeline is crucial for any project manager. I’ve seen projects succeed or fail based on how well this initial phase was planned. The key isn’t just to know the final number of weeks, but to understand why it takes that long. When you understand the process, you can work with your manufacturing partner to optimize every step. Let’s dive into the details that make up this timeline, so you can plan your next project with confidence.
What is the process of plastic mold manufacturing?
Have you ever sent off a final 3D file and wondered what happens next? The mold making process can feel like a black box, making it hard to track progress or understand why delays happen. Let’s pull back the curtain and break down the journey from a digital design to a physical tool that’s ready for mass production.
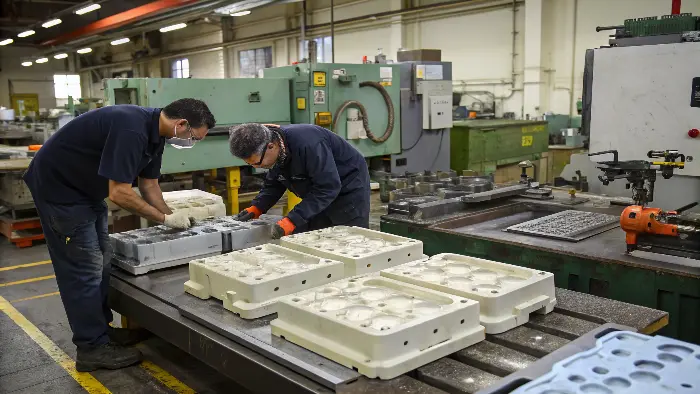
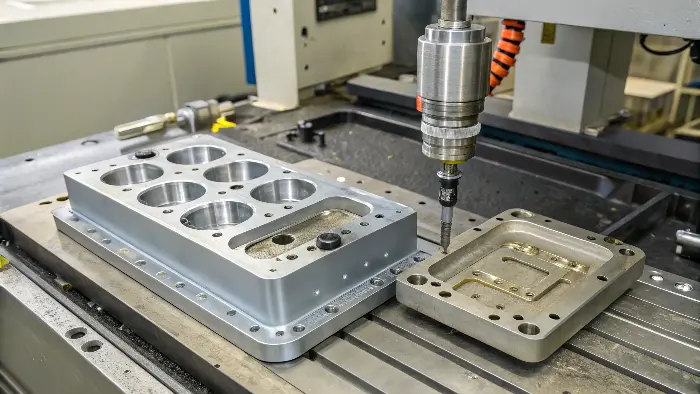
The plastic mold manufacturing process starts with a detailed Design for Manufacturability (DFM) analysis of your part. From there, we move to mold design, ordering the steel, and then CNC machining the core and cavity. This is followed by precision work like EDM for fine details, fitting all components together, and finally, the first mold trial (T1) to test its performance and produce sample parts for your inspection.

Each step in the process is critical and builds upon the last. A mistake in an early stage can cause major problems later on. As a project manager, you know how important clear communication is. At CavityMold, we make sure our partners, like Alex, are kept in the loop at each stage. A typical project flow looks something like this:
Key Stages of Mold Manufacturing
| Stage | Description | Typical Duration |
|---|---|---|
| 1. DFM & Mold Design | We analyze your part design for moldability and then create a detailed 3D design of the mold tool itself. This includes planning for gates, runners, cooling channels, and ejection. | 3-7 days |
| 2. Steel Procurement & Prep | The appropriate mold steel (like P20 or H13) is ordered and cut to size. It’s then squared up and prepared for machining. | 3-5 days |
| 3. Rough CNC Machining | The main shaping of the mold’s core and cavity begins. High-speed CNC machines remove large amounts of steel to create the basic form of the part. | 2-6 days |
| 4. Precision Machining | This stage involves finer CNC work, plus Electrical Discharge Machining (EDM) and Wire EDM for sharp corners, deep ribs, or complex textures that can’t be milled. | 3-10 days |
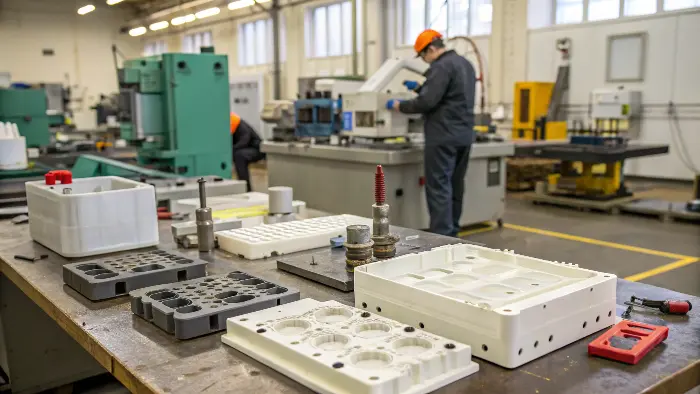
| 5. Fitting & Assembly | All the individual components—the core, cavity, sliders, lifters, ejector pins, and cooling lines—are meticulously polished, fitted, and assembled by skilled toolmakers. | 3-7 days |
| 6. Mold Trial (T1) | The completed mold is installed in an injection molding machine. We run the first shots to produce sample parts (T1 samples). These are inspected and sent to you for approval. | 1-2 days |
As you can see, these steps add up. The duration for each stage, especially machining and assembly, depends heavily on the mold’s complexity. A simple open-and-shut mold will be much faster than one with multiple sliders and lifters for undercuts. Clear and quick feedback from your team during the DFM and T1 sample review is one of the best ways to keep the project on schedule.
How much does it cost to create a plastic mold?
Are you worried about the significant investment needed for a new injection mold? The cost can vary so much that it’s often hard to budget for your project accurately. If you don’t understand what drives the price, you can’t make informed decisions. Knowing the key cost factors will empower you to optimize your design for better value without sacrificing quality.
A plastic mold’s cost can range from a few thousand dollars to over $100,000. A simple prototype mold might cost $2,000-$5,000. A single-cavity production mold for a medium-sized part could be $12,000-$30,000. Large, complex, multi-cavity molds for high-volume production can easily exceed $100,000. The final price is driven by the part’s size, complexity, the type of steel used, and the mold’s required lifespan.

I remember working with a client on a consumer electronics housing. Their initial design required four complex side actions, putting the mold cost at the high end of their budget. By working together during the DFM phase, we identified a few small design tweaks that eliminated two of the side actions. This simple change saved them nearly 30% on the tooling cost and shortened the manufacturing time by over a week, without affecting the product’s function or appearance. This is why understanding the cost drivers is so important.
Main Factors Influencing Mold Cost
Here’s a breakdown of what contributes to the final price tag:
- Part Complexity: This is the biggest driver. Features like undercuts, threads, or tight tolerances require mechanisms like sliders, lifters, or unscrewing cores. These add significant design, machining, and assembly time, which directly increases cost. The more complex the part, the more expensive the mold.
- Mold Material (Steel): The type of steel used is critical. For low-volume runs or prototypes, we might use a pre-hardened steel like P20. For high-volume production or when using abrasive plastics (like glass-filled nylon), we need to use a harder, more durable tool steel like H13 or S136. Hardened steels cost more and take longer to machine.
- Number of Cavities: A mold can be designed to produce one part per cycle (single-cavity) or multiple parts (multi-cavity). A multi-cavity mold has a much higher upfront cost, but it dramatically lowers the price per part during production. The decision depends on your required production volume.
- Surface Finish: A standard machine finish is the most affordable. If your part requires a textured surface or a mirror-like, high-polish finish (like for a lens), this requires many hours of skilled manual labor, which adds to the cost.
By considering these factors early in the design phase, you can make smart trade-offs that align with your budget and production goals.
Can mold grow on plastic, and how long does it take?
Have you ever noticed a strange film or fuzzy spots on plastic parts, especially after they’ve been in storage? You might be worried it’s biological mold, which can ruin product quality and even be a health concern. Let’s clear up this common point of confusion and discuss the conditions that allow this to happen.
Yes, biological mold (a type of fungus) can grow on the surface of plastic. However, the mold doesn’t eat the plastic itself. It feeds on surface contaminants like dust, oils from fingerprints, or organic residues. Growth can start in just 24-48 hours if the conditions are perfect: moisture, a food source (the contaminants), and a warm temperature. Proper cleaning and storage are the best ways to prevent it.

It’s important to distinguish between the two types of "mold" we discuss in our industry. When we at CavityMold talk about a "plastic mold," we mean the steel tool used to manufacture parts. But when a customer asks about "mold on plastic," they are almost always referring to biological fungus. Understanding this difference is key to solving the right problem. A high-quality steel mold prevents manufacturing defects, while proper handling and storage prevent biological contamination on the final parts.
How Biological Mold Grows on Plastic Parts
For fungus to grow, it needs three things. If you remove any one of these, you can prevent growth.
- Moisture: This is the most critical factor. High humidity (>60%), condensation from temperature changes, or trapped water can provide the moisture mold needs to thrive.
- Food Source: Plastic itself is generally not a food source. Mold feeds on what’s on the surface. This includes dust, dirt, oils from handling, sugars, and even some mold release agents if not cleaned off properly.
- Temperature: Most molds grow best in warm, dark, and stagnant environments. Temperatures between 20-30°C (70-85°F) are often ideal.
How to Prevent Biological Mold on Your Plastic Products
Preventing this is a matter of process control after the parts are molded.
- Thorough Cleaning: Ensure parts are cleaned after molding to remove any residues, especially for food-grade or medical products.
- Proper Handling: Minimize direct handling or use gloves to prevent transferring oils and contaminants to the part surface.
- Controlled Storage: Store parts in a clean, dry environment with low humidity. Using sealed bags with desiccant packs can be very effective for long-term storage.
- Antimicrobial Additives: For applications where mold growth is a serious risk (e.g., bathroom products, medical devices), special antimicrobial additives can be mixed into the plastic resin during manufacturing. These additives inhibit the growth of mold and bacteria on the part’s surface.
By controlling the environment around your plastic parts, you can ensure they remain clean and free of biological growth throughout their lifecycle.
Conclusion
In short, making a plastic mold takes 2 to 8 weeks, depending on its complexity. This timeline is driven by a detailed process from design to testing. The cost is tied directly to the part’s design, materials, and required finish. By working with an experienced partner, you can navigate these factors to ensure your project is a success.
