
Are you struggling to achieve consistent, high-quality results in your injection molding projects? These inconsistencies can lead to wasted materials, missed deadlines, and soaring costs. Understanding and mastering the critical process parameters is the key to unlocking flawless, repeatable production runs and taking control of your outcomes.
The critical process parameters in injection molding are the core variables you control, like melt temperature, injection pressure, holding time, and cooling rate. Mastering them involves setting precise values based on your material, mold, and part design. This control is what ensures part consistency, prevents defects, and optimizes cycle times, guaranteeing high-quality results from the first part to the last.
I get it, the sheer number of variables in injection molding can feel overwhelming. It seems like a complicated dance of pressure, temperature, and time. But what if you could break it down into simple, manageable steps? We’re going to walk through each critical parameter, one by one. You’ll learn what they are, why they matter, and how to set them correctly. Let’s dive in and demystify the process together.
What are the critical parameters of injection molding?
Ever wonder why some injection molded parts come out perfect while others are full of defects? This inconsistency can derail your project, causing delays and budget overruns. It often feels like you’re just guessing. The secret to consistency isn’t luck; it lies in a few key variables that control the entire process.
The critical parameters are the core settings that dictate molding success. They primarily include melt temperature, injection pressure and speed, holding pressure and time, and cooling time and temperature. These variables directly influence how the plastic flows, fills the mold, and solidifies. Mastering them is essential for preventing defects like sink marks, warp, and short shots.
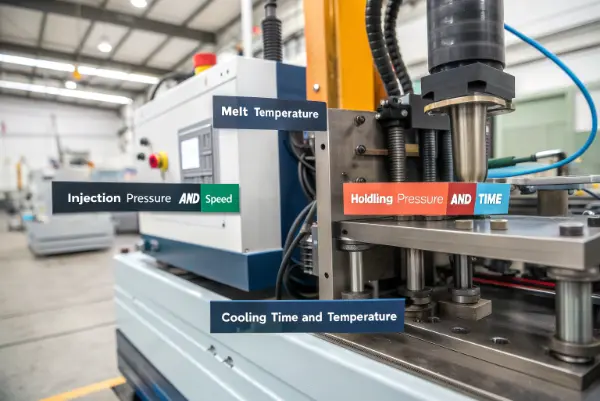
To really master molding, you have to understand what each of these parameters does. Think of them as the levers you pull to get the exact result you want. I’ve spent years adjusting these settings, and I’ve learned that each one has a specific job.
The Main Groups of Parameters
We can group these settings into a few main categories. Temperature, pressure, and time are the big three.
- Temperature Settings: This includes the temperature of the plastic as it melts (melt temperature) and the temperature of the mold itself (mold temperature). Getting the temperature right ensures the plastic flows like it should and cools properly to form a solid part with a good surface finish.
- Pressure Settings: This covers the force used to push the plastic into the mold (injection pressure) and the pressure applied after the mold is full to compensate for shrinkage (holding pressure). Proper pressure ensures the mold is completely filled without causing flash.
- Time and Speed Settings: These parameters control the duration of each phase. Injection speed, holding time, and cooling time all work together to define the total cycle time. A faster cycle is cheaper, but it can’t come at the cost of quality.
Here’s a simple table to break it down:
| Parameter Group | Specific Parameter | What It Controls | Common Issues if Incorrect |
|---|---|---|---|
| Temperature | Melt Temperature | Plastic viscosity and flowability | Degradation (too high), Short Shots (too low) |
| Mold Temperature | Cooling rate, surface finish, shrinkage | Warpage, Poor Finish, Internal Stress | |
| Pressure | Injection Pressure | Filling the mold cavity completely | Short Shots (too low), Flash (too high) |
| Holding Pressure | Compensating for material shrinkage | Sink Marks (too low), Overpacking/Stress (too high) | |
| Time/Speed | Injection Speed | How fast the mold is filled | Shear Burns, Jetting, Weld Lines |
| Cooling Time | Part solidification and stability | Warpage (too short), Long Cycle Times (too long) |
Understanding this relationship between the setting and the result is the first step. Every time I start a new project, I review this mental checklist. It helps me anticipate problems before they even happen.
Are there standard process parameters for every project?
You might be looking for a simple, one-size-fits-all settings list for your chosen plastic material. But using generic numbers often leads to poor results because every project is unique. This can be frustrating, as what worked last time might fail completely on a new mold.
No, there are no universal "standard" process parameters. While material data sheets provide a starting range for settings like melt temperature, these are just guidelines. The ideal parameters are unique to your specific combination of the molding machine, mold design, part geometry, and wall thickness. True standard parameters are those you develop and document for a specific job once it’s running perfectly.
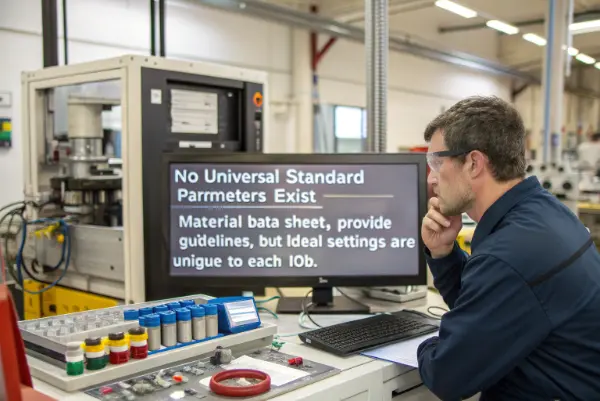
The idea of a "standard" is appealing, but in practice, it’s a bit of a myth. I remember early in my career, I tried to apply the exact same parameters from a simple part to a more complex one, just because they used the same ABS material. The result was a disaster—short shots and terrible surface finish. That lesson stuck with me. The material datasheet is your starting point, not your final answer.
Why "Standard" is a Starting Point, Not a Destination
Think of the material supplier’s data sheet as a map of the general region. It tells you the safe operating window. For example, it might say the melt temperature for a specific polycarbonate should be between 280°C and 320°C. That’s a huge range. Where you set it within that range depends on other factors.
- Part Geometry: A part with very thin walls needs the plastic to flow easily. So, I would probably set the melt temperature and injection speed on the higher side of the standard range to reduce its viscosity. For a thick-walled part, I might do the opposite to prevent sink marks.
- Mold Design: The design of the runners and gates dramatically affects how plastic flows. A mold with a long, complex runner system will need more injection pressure than a simple, direct-gated mold. You have to adjust your parameters to push the material through the mold’s unique path.
- Machine Specifications: Not all injection molding machines are the same. An older hydraulic machine might not react as quickly as a modern all-electric one. You need to know your machine’s capabilities and adjust your settings to match its performance.
So, how do we create our own "standard" for a project? Through a process called process development or process optimization. We start with the recommendations and then run systematic tests, adjusting one parameter at a time until we get the perfect part. Once we find that sweet spot, we document everything. These documented settings become the "standard" for that specific job. This ensures that every time we run that mold, we can replicate the exact same high-quality result.
How do you set process parameters in injection molding?
You understand the key parameters, but now you’re facing the machine. Where do you even begin? Setting the parameters can feel like a high-stakes guessing game, where wrong moves lead to wasted time and material. It’s easy to feel lost without a clear, systematic approach.
Setting process parameters begins with the material supplier’s data sheet. Use it to establish a safe starting point for melt and mold temperatures. From there, use a two-stage scientific molding approach. First, fill the mold to about 95-98% full on the first stage (injection). Then, use the second stage (holding/packing) to finish filling and compensate for shrinkage. Adjust systematically from there.
I always tell new engineers to think like a scientist. Don’t just randomly turn knobs. You need a method. The most reliable method I’ve found is based on the principles of scientific or decoupled molding. It separates the process into logical phases, making it much easier to troubleshoot.
A Step-by-Step Guide to Setting Your Process
Let’s walk through a simplified version of how we set up a new mold at CavityMold. This disciplined approach saves us countless hours.
Start with Safety and Basics: Before injecting any plastic, we verify the mold and machine settings. We use the material data sheet to set the initial barrel temperatures, creating a temperature profile that gradually heats the plastic from the rear of the barrel to the nozzle. We also set a safe, low mold-clamping pressure.
The Fill-Only Study (First Stage): The goal here is to determine the right injection speed and pressure to fill the mold without packing it.
- We disable the holding pressure and time (set them to zero or a minimal value).
- We do a series of "short shots," starting with a small amount of material and gradually increasing it until the part is about 95-98% visually full.
- During this, we adjust the injection speed to solve any cosmetic issues like jetting or blush. This helps us find the optimal fill time.
Introducing the Holding Pressure (Second Stage): Once the fill stage is set, we turn our attention to packing the part.
- We re-enable the holding pressure. The purpose of this pressure is to add that last 2-5% of material and compensate for shrinkage as the plastic cools.
- We determine the right amount of holding pressure by molding parts at different pressures and weighing them. We look for the point where the part weight stabilizes. This tells us the cavity is packed out properly without being overpacked, which can cause stress and flash.
- We then determine the holding time by finding out how long it takes for the gate to freeze solid.
Optimizing the Cooling and Cycle Time: With the filling and packing phases set, the final piece is cooling.
- Cooling time is usually the longest part of the cycle. We set it based on the material’s properties and the thickest section of the part. The goal is to cool the part just enough so it can be ejected without warping or damage.
- We reduce the cooling time in small increments until we see any deformation in the part upon ejection. Then we add a small safety margin back in.
By following this logical, decoupled process, you’re not just guessing. You’re making informed decisions based on what the plastic is actually doing inside the mold.
What is a critical factor affecting the cost of injection molding?
You’re managing a budget and need to keep costs down. It’s tempting to focus only on the price of the mold or the raw material. But if you ignore other factors, you can end up with unexpectedly high production costs that blow your budget apart.
The most critical factor affecting the ongoing cost of injection molding is cycle time. While mold complexity and material price are major upfront costs, the cycle time dictates your long-term production expense. Every second saved on the cycle time translates directly into lower machine-hour costs, higher output, and a lower price-per-part over the entire production run.
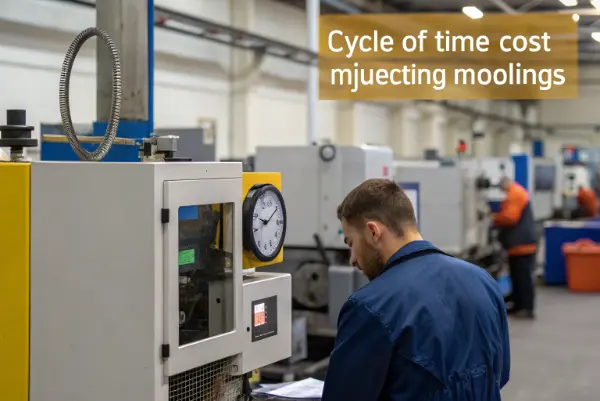
I’ve seen this play out time and time again. A client might choose a cheaper mold, but if that mold is poorly designed and requires a long cycle time, it ends up costing them far more in the long run. At CavityMold, we focus on designing molds for efficiency, because we know that’s where our clients find the most value. It’s not just about making a part; it’s about making it efficiently and cost-effectively.
Breaking Down the Impact of Cycle Time
Let’s look at why cycle time is so powerful. Your total cost per part is heavily influenced by the cost of running the injection molding machine, which is billed by the hour. A shorter cycle means you produce more parts in that hour.
Cooling Time – The Biggest Contributor: The longest phase in most molding cycles is cooling. The part has to sit in the mold until it’s rigid enough to be ejected. A well-designed mold with optimized cooling channels can dramatically reduce this time. This is where investing in smart mold design, like conformal cooling, really pays off. For a part with a 30-second cycle, if 20 seconds is cooling, reducing that cooling time by just 5 seconds cuts your overall cycle time by nearly 17%.
Part Design and Wall Thickness: The design of the part itself is a huge factor. The thicker the wall section, the longer it takes to cool. As a product designer, Alex knows this well. We always advise our clients to design parts with the minimum wall thickness needed for strength and to keep that thickness as uniform as possible. This single design choice can have the biggest impact on cycle time.
Automation and Ejection: How the part is removed from the mold also contributes to the cycle. A part that ejects cleanly and quickly is ideal. If an operator has to manually remove each part, the cycle time increases and becomes less consistent. Designing for automation, like using robotic part removal, can stabilize and shorten the overall cycle.
Here’s a simple cost illustration:
| Scenario A (Poorly Optimized) | Scenario B (Well Optimized) | |
|---|---|---|
| Machine Rate | $50 / hour | $50 / hour |
| Cycle Time | 45 seconds | 30 seconds |
| Parts per Hour | 80 parts | 120 parts |
| Machine Cost per Part | $0.63 | $0.42 |
As you can see, a 15-second reduction in cycle time leads to a 33% reduction in the machine cost for each part. When you’re making thousands or millions of parts, those savings add up incredibly fast. This is why we always say, "Master the cycle time, master the cost."
Conclusion
Mastering the critical process parameters—temperature, pressure, and time—is the foundation of successful injection molding. By moving beyond generic standards and developing a systematic, data-driven approach for each project, you can take full control. This ensures consistent quality, minimizes waste, and ultimately lowers your cost per part.