Tired of manual insert loading slowing you down? Inconsistent placements and high labor costs eating into profits? You know automation could be the answer, but the path to getting there, and proving it’s worth it, seems daunting.
Automating insert molding involves robots or custom systems placing inserts into the mold. A solid ROI analysis compares investment against savings in labor, scrap, and cycle time. Successful implementation needs careful planning, choosing the right tech, and good project management to boost efficiency and quality.
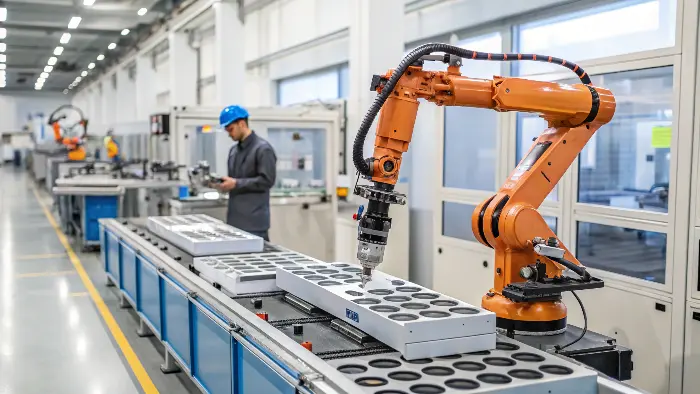
Thinking about taking the plunge into automating your insert molding? It’s a big step, I get it. But the rewards – oh man, they can be huge! I’ve seen companies transform their production lines. But before you jump in, let’s talk about how to make sure it’s the right move for you and how to do it smartly. It’s not just about buying a robot; it’s about a whole strategy.
How Do You Calculate the ROI for Insert Molding Automation Accurately?
Worried that the big upfront cost of automation won’t actually pay off? It’s a common fear, especially when the numbers seem fuzzy. You need a clear picture of the return on investment before you can confidently pitch it or sign off on it.
To calculate ROI for insert molding automation, tally up all investment costs (robot, tooling, integration, training). Then, quantify savings from reduced labor, lower scrap rates, faster cycle times, and improved quality. The formula is (Net Profit / Cost of Investment) x 100%.
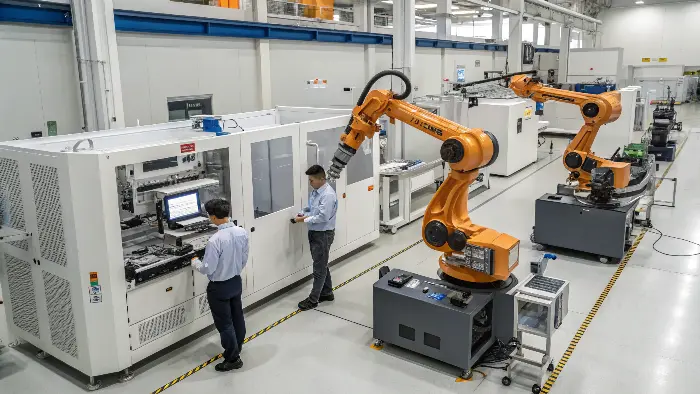
Calculating the ROI for automating insert molding isn’t just a back-of-the-napkin thing – well, it can start there, but you need to get granular. I always tell folks like Alex, our project manager friend, to think beyond just the cost of the robot. There’s the end-of-arm tooling (EOAT), any necessary safety guarding, integration with your existing molding machine, and don’t forget training for your team! These are your Investment Costs.
Then, the fun part: the Savings and Gains.
- Labor Costs: This is usually the biggest one. How many operators can be reassigned? What are their fully burdened labor rates?
- Reduced Scrap: Robots are consistent. Humans, bless ’em, can have off days. Fewer misloaded inserts mean less scrap. We had a client who cut their scrap rate by 70% on one tricky part! That was a game-changer for them.
- Increased Throughput: Robots don’t need coffee breaks or get tired. Cycle times can often be reduced and become much more predictable. This means more parts per shift.
- Improved Quality & Consistency: Precise placement every time leads to better part quality and less variation. This can reduce inspection costs and customer returns.
- Operator Safety: Removing repetitive, sometimes awkward manual loading tasks can improve ergonomics and reduce injury risk. This has a cost benefit too!
Here’s a simplified way to look at it:
| Cost/Benefit Category | Examples | Impact on ROI |
|---|---|---|
| Initial Investment | Robot, EOAT, guarding, integration, programming, training | Negative |
| Ongoing Costs | Maintenance, utilities, spare parts | Negative |
| Labor Savings | Reduced operator hours, reassigned staff | Positive |
| Material Savings | Lower scrap rates, less material waste | Positive |
| Productivity Gains | Faster cycle times, increased uptime | Positive |
| Quality Improvements | Reduced defects, fewer customer complaints | Positive |
| Intangible Benefits | Improved safety, better process control | Positive (harder to quantify but real!) |
Once you have these numbers, the basic ROI formula is: (Total Savings - Total Costs) / Total Costs * 100%. Or, more simply, calculate the payback period: Total Investment / Annual Savings. Most companies I talk to look for a payback period of 1-3 years. It really helps to build a strong business case, and honestly, makes those budget meetings a lot less stressful.
What Types of Automation Systems Work Best for Insert Molding?
Feeling overwhelmed by all the different automation options out there? Picking the wrong system for your specific insert molding needs can be a costly mistake, leading to inefficiencies or a system that just doesn’t quite cut it. You want the right tool for the job, not just any tool.
For insert molding, common automation includes 6-axis robots for flexibility, SCARA robots for speed in planar tasks, and custom pick-and-place units for simpler applications. The best choice depends on insert complexity, required precision, cycle time, and budget. Vision systems are often key.
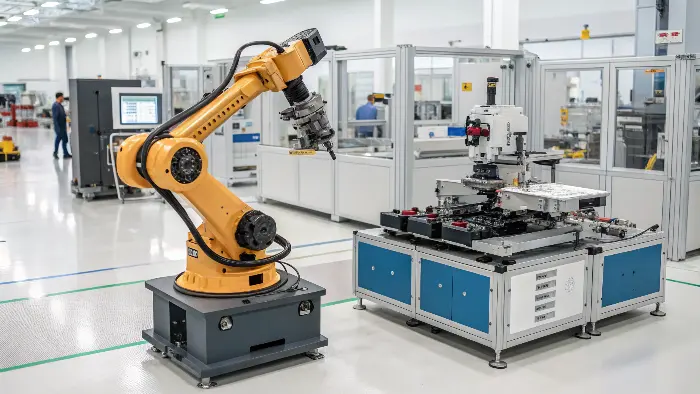
Choosing the right automation system for your insert molding setup is a bit like picking the right car – a sports car is great, but not if you need to haul lumber! It really depends on what you’re trying to do. I’ve seen all sorts of setups in my time, and what works for one company might not be ideal for another.
Here are some common players:
- 6-Axis Articulated Robots: These are the super-flexible champs. They can pick inserts from various orientations, navigate complex paths into the mold, and even perform secondary tasks like inspection or part removal. Think of them for tricky insert geometries or when you need to reach deep into a mold. They are generally more expensive and require more skilled programming, but their versatility is unmatched. We often recommend these when a client, maybe someone like Alex, has a wide variety of parts or expects future product changes.
- SCARA Robots (Selective Compliance Assembly Robot Arm): These guys are fast and precise for tasks in a horizontal plane. If your inserts are presented consistently and need to be placed directly down into the mold, a SCARA can be a very cost-effective and speedy solution. They are simpler to program than 6-axis robots, which can be a big plus.
- Cartesian/Gantry Robots: These operate on X-Y-Z axes. Good for larger work envelopes or when you need to cover a wide area, perhaps servicing multiple machines or handling large trays of inserts.
- Custom Pick-and-Place Units: For very simple, high-volume applications with straightforward insert placement, a dedicated, custom-built mechanism can sometimes be the most economical. These are less flexible, though, so if your part changes, you might be stuck.
Key components often include:
- End-of-Arm Tooling (EOAT): This is the "hand" of the robot. It needs to be designed specifically for your inserts – grippers, vacuum cups, magnets, you name it. Sometimes, a multi-function EOAT can handle different inserts or also remove the finished part. This is where good design really shines.
- Vision Systems: Crucial for many applications! A camera can locate inserts in a tray (even if they’re a bit jumbled), inspect them for defects before loading, and verify correct placement in the mold. This adds a layer of intelligence and robustness. I remember a project where a vision system saved the day by catching slightly bent inserts before they went into the mold and caused damage – phew!
- Insert Feeding Systems: How will the robot get the inserts? Bowl feeders, tray handlers, tape-and-reel feeders – the choice depends on the insert type and volume.
The "best" system? It’s the one that meets your specific needs for precision, speed, flexibility, and budget. We at CavityMold always start by understanding the application deeply before recommending a solution. It’s about finding that perfect fit.
What Are the Key Steps to Successfully Implement Insert Molding Automation?
Got the budget approved for automation but feeling unsure about how to actually do it? A poorly managed implementation can lead to delays, cost overruns, and a system that doesn’t deliver. You need a clear roadmap to get from idea to a smoothly running automated cell. Trust me, winging it is not the way.
Successful implementation involves a phased approach: detailed assessment of needs, thorough planning and design (including mold modifications), careful vendor selection, meticulous installation and integration, comprehensive team training, and a structured ramp-up to full production. Communication is key throughout!
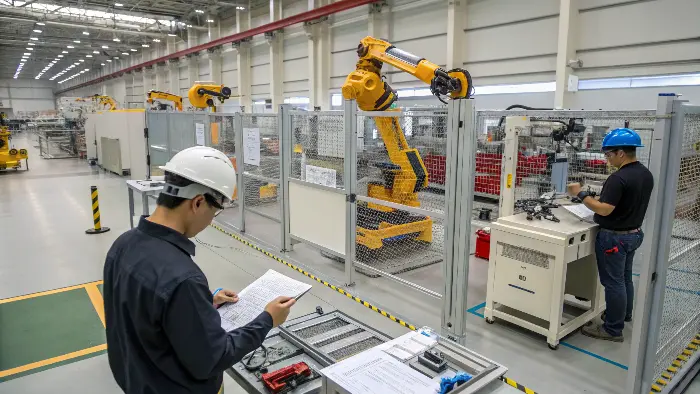
Alright, so you’ve decided to automate, and the ROI looks good. Now for the execution! This is where a project manager like Alex really shines, but even for seasoned pros, a structured approach is vital. I’ve seen projects go sideways because a step was skipped or rushed – it’s like baking a cake and forgetting the flour! Here’s how we generally advise breaking it down:
-
Detailed Assessment & Feasibility:
- Really dig into the current process. What are the exact pain points? Don’t just assume; measure!
- Define clear objectives: What does success look like (e.g., cycle time reduction by X%, scrap reduction by Y%)? Make them SMART goals.
- Are your inserts suitable for automation? Consistent quality and presentation are key. Sometimes, a small tweak to the insert design can make automation much easier.
- Consider your mold: Does it need modifications for robot access or insert placement verification? We often work with clients to adapt their existing CavityMold tools or design new ones with automation in mind. This is a big one!
-
Planning & System Design:
- Develop a detailed specification for the automation system. Get nitty-gritty.
- Layout planning: How will the robot, feeders, and molding machine fit together? What about safety guarding? Think about material flow and operator access.
- EOAT design: This is critical. It needs to handle your specific inserts reliably. Prototype if you can.
- Integration plan: How will the robot "talk" to the molding machine? This needs to be seamless.
-
Vendor Selection (if outsourcing):
- Get quotes from experienced integrators. Look at their track record with similar applications. Don’t just go for the cheapest! Reliability and support are huge. Ask for references!
-
Installation & Integration:
- This is where the physical build happens. Ensure proper mechanical and electrical connections.
- Programming the robot and integrating it with the molding machine controller. This can take time to get just right.
-
Testing & Commissioning:
- Thoroughly test the system. Run it with actual inserts and parts. Try to break it (safely!).
- Factory Acceptance Test (FAT) at the integrator’s site, then Site Acceptance Test (SAT) at your facility. Don’t skip these.
-
Training:
- Train your operators, maintenance staff, and engineers. They need to understand how to run, troubleshoot, and maintain the system. This is often underestimated but so important. Empower your team!
-
Ramp-up & Production Support:
- Start production slowly and monitor closely. Fine-tune as needed. Expect some teething issues.
- Ensure you have ongoing support from the vendor.
It sounds like a lot, and it can be, but breaking it into these manageable stages makes a huge difference. Good communication between all parties – your team, the automation provider, and your mold maker (hopefully us at CavityMold!) – is the secret sauce. Seriously, talk, talk, talk!
What Common Challenges Might You Face When Automating Insert Molding?
Worried about those unexpected hiccups that can derail an automation project? Even with the best plans, challenges can pop up, causing frustration and delays. Knowing what to watch out for can help you prepare and navigate these bumps more smoothly. It’s like knowing there might be potholes on a road – you can drive more carefully.
Common challenges include inconsistent insert quality or presentation, complex insert geometries requiring sophisticated handling, integrating the automation with older molding machines, ensuring reliable part detection, and having skilled personnel for operation and maintenance. Proactive planning helps mitigate these.
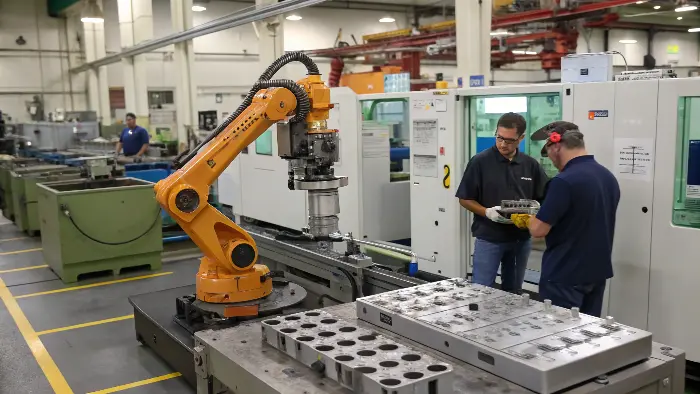
So, you’re on the path to automation, which is awesome! But let’s be real, it’s not always a walk in the park. I’ve seen a few curveballs thrown in my time, and it’s good to be aware of potential challenges. Forewarned is forearmed, right? And trust me, a little preparation goes a long way.
Here are some common ones we see:
- Insert Variability: This is a biggie. If your inserts aren’t consistent in size, shape, or quality, the robot will struggle. Automation loves consistency. You might need to tighten specs with your insert supplier or add an inspection step before loading. I remember one project where tiny burrs on the inserts, almost invisible to the eye, were causing jams. A quick deburring step solved it – sometimes it’s the small things!
- Complex Insert Geometries: Very small, very flexible, or oddly shaped inserts can be tricky for an EOAT to grip and place accurately. This might require more sophisticated (and expensive) tooling or vision guidance. Sometimes you have to get really creative with the gripper design.
- Mold Design Limitations: Sometimes, an existing mold wasn’t designed with automation in mind. There might not be enough space for the robot to access the cavity, or no features to help locate/secure the insert precisely before the mold closes. This is where partnering with a mold maker like CavityMold early on is beneficial – we can design for automation from the start, making your life way easier down the road.
- Integration with Existing Equipment: Getting a new robot to communicate seamlessly with an older injection molding machine can sometimes be a headache. Different communication protocols, older controllers… it requires good integration expertise. It’s like trying to get your new smartphone to talk to a ten-year-old computer.
- Part Detection & Verification: How do you know the insert is actually in the right place and secure before you close that expensive mold? Sensors, vision systems – these are crucial but need to be robust and reliable. False positives or negatives can stop production or, worse, lead to mold damage. Yikes!
- Cycle Time Mismatches: The robot might be super fast, but if the molding cycle is the bottleneck (or vice-versa), you won’t get the full benefit. The whole cell needs to be balanced like a well-oiled machine.
- Skilled Personnel: Automated systems need people who understand how to operate, troubleshoot, and maintain them. Investing in training is key, as is having access to good technical support. You can’t just set it and forget it entirely.
Don’t let this list scare you! Most of these challenges can be overcome with good planning, smart design choices, and working with experienced partners. It’s all part of the journey to a more efficient and reliable production process. And hey, overcoming challenges is what makes us better, right?
Conclusion
Automating insert molding is a significant step, but with careful ROI analysis, smart system choices, and a solid implementation plan, the benefits are massive. It’s about boosting efficiency, quality, and your bottom line. We at CavityMold are here to help you Master Molding Right, every step of the way!
