Are you tired of seeing perfectly good production runs ruined by ugly sink marks on your thick-walled plastic parts? These defects spoil the look of your product and can even weaken it, leading to costly rejections and delays. It’s a frustrating problem, but there is a definitive solution.
Gas-Assisted Injection Molding (GAIM) is a superior method for eliminating sink marks in thick-walled parts. It uses pressurized nitrogen gas to create hollow channels inside the part, compensating for material shrinkage from the inside out. This ensures uniform pressure during cooling, resulting in a flawless, sink-free surface finish where conventional molding often fails. It’s a proactive way to achieve part quality.
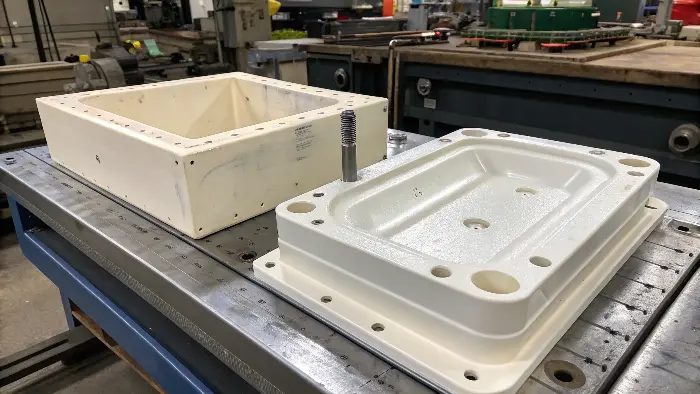
I’ve spent years helping clients battle these exact issues. Sink marks are a persistent headache, especially when you need a part that is both thick and cosmetically perfect. In my experience at CAVITYMOLD, I’ve seen that to really beat them, you first need to understand where they come from. It’s not just about a bad process; the problem often starts much earlier. Let’s dig into the fundamental causes so you can stop them for good.
What causes sinks in injection molding?
Do you see a perfect part come out of the mold, only to watch ugly depressions form as it cools down? This guessing game costs time and money, making your production unpredictable and stressful. Understanding the root cause is the first step to finally fixing the problem and gaining control over your quality.
Sink marks are caused by non-uniform cooling and shrinkage in the plastic part. The outer surface of the part cools and solidifies first. As the molten plastic in the thicker core continues to cool and shrink, it pulls the still-soft outer surface inward, creating a depression. This is most common in areas with thick sections, ribs, or bosses where there’s a large mass of material.
I remember a project with a client, a project manager a lot like Alex, who was making a thick handle for a piece of industrial equipment. They kept getting deep sinks right over the internal ribs, and it was a major roadblock. The problem lies in how plastic behaves when it cools. When molten plastic is injected into a mold, it starts cooling from the outside in because the steel mold walls are much cooler. The plastic touching the steel solidifies first, forming a rigid skin.
But the plastic in the center, especially in a thick section, stays molten for much longer. All plastics shrink as they cool from a molten state to a solid state, and this shrinkage is significant. The already solid outer skin tries to hold its shape, but the immense pulling force from the shrinking core is often too strong. It pulls the skin inward, creating the sink mark. It’s like a balloon deflating inside a weak chocolate shell. The primary culprits are always related to material volume and the rate of cooling.
To make it clearer, here are the main factors that contribute to sink marks:
| Factor | Description | Impact on Sink Marks |
|---|---|---|
| Wall Thickness | The thickness of the part or specific sections within it. | This is the number one cause. Thicker walls take much longer to cool and shrink more, creating a strong vacuum effect that causes deep sinks. |
| Material Properties | The type of plastic resin being used for the part. | Crystalline materials like Polypropylene (PP) or Nylon (PA) have higher shrinkage rates than amorphous materials like ABS or Polycarbonate (PC), making them more likely to sink. |
| Mold Temperature | The surface temperature of the mold cavity itself. | A mold that is too hot will slow down the cooling of the outer skin, leaving it weaker and more susceptible to being pulled in by the shrinking core material. |
| Packing Pressure & Time | The pressure used to "pack out" the mold with plastic after it’s filled. | Insufficient packing pressure or holding time means there isn’t enough material forced into the cavity to compensate for the shrinkage as the part cools. |
| Gate Location & Size | The point where the plastic enters the part. | A small gate or one located far from a thick section can freeze off too early. This stops packing pressure from reaching the area where it’s needed most. |
How to avoid sink marks in design?
Are you tired of finding sink marks during production, forcing costly and time-consuming mold modifications? Fixing these issues after the tool is cut is a nightmare for any project manager and can derail a timeline. The good news is that you can design these problems out from the very beginning.
To avoid sink marks in design, focus on maintaining a uniform wall thickness throughout the part. Where thick sections are absolutely necessary, core them out to reduce material volume. You should also follow proper rib and boss design rules, ensuring their thickness is only 50-60% of the main wall they are attached to. This minimizes local mass and differential shrinkage, preventing sinks from forming.
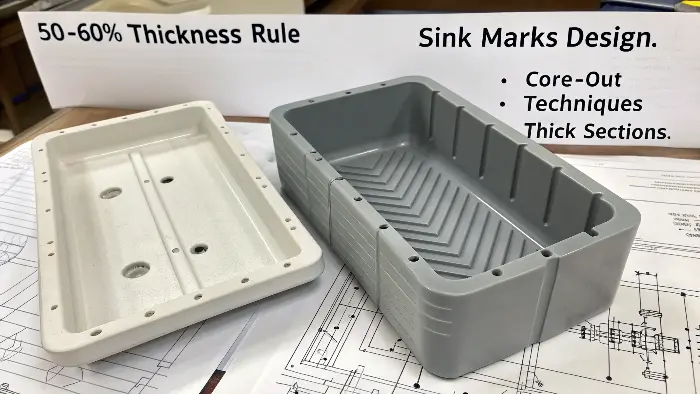
As an engineer, I always say that about 90% of molding problems can be solved on the drawing board, long before any steel is cut. For project managers, pushing your design team to stick to these principles is one of the most important things you can do. The golden rule is uniform wall thickness. A part should be designed so that the plastic flows through it like a smooth river, not a series of wide lakes connected by narrow streams. When the plastic flows into a mold with a consistent thickness, it cools and shrinks at a relatively even rate. This dramatically reduces the internal stresses that cause both sinks and warpage.
Of course, sometimes you need a thick section for strength or function. In that case, you should not make it solid. You must core it out. This means creating a hollow section on the non-cosmetic side of the part. You get to keep the thick outer profile for structure but remove the huge volume of material from the inside that would have caused the shrinkage. A classic example is a boss designed to accept a screw. A solid, thick boss is a guaranteed sink mark on the other side. A properly designed boss is cored out and often connected with thin ribs. These ribs must also follow design rules to prevent creating new sink marks.
Let’s break down these essential rules for ribs and bosses:
| Design Feature | Guideline | Rationale |
|---|---|---|
| Rib Thickness | The base of a rib should be 50-60% of the nominal wall thickness it is attached to. | This prevents a large mass of material from building up at the intersection, which would cool slowly and cause a sink on the opposite cosmetic surface. |
| Rib Height | Limit rib height to less than 3 times the nominal wall thickness. | Tall ribs can be difficult to fill and can cause cooling and ejection problems. If you need more stiffness, it is better to add more short ribs than one tall one. |
| Rib Draft | Apply a draft angle of at least 0.5 to 1 degree on each side of the rib. | This is critical for helping the part release cleanly from the mold without scrapes or damage. |
| Boss Design | Always core out a boss from the underside and connect it with ribs, not a solid disk. | This follows the same logic as coring out any thick section. It removes the mass of material that is the root cause of sink marks. |
Making sure these rules are followed during the CAD stage is non-negotiable if you want to produce high-quality, defect-free parts.
How to get rid of sink marks in injection molding?
Your parts have sink marks, but the design is already locked and the mold is made. Now you’re stuck trying to fix it at the press, tweaking parameters with mixed results and wasting valuable machine time. There are process adjustments you can make, but for thick parts, a different technology is the real answer.
You can reduce minor sink marks by adjusting molding parameters like increasing holding pressure and time, lowering melt or mold temperature, or increasing shot size. However, for thick-walled parts, the most effective solution is Gas-Assisted Injection Molding (GAIM). GAIM proactively prevents sinks by using internal gas pressure to pack out the part, guaranteeing a perfect surface finish.
So, the design is final, the mold is on the machine, and you’re seeing sinks. What can you do right now? A skilled process technician will start adjusting the machine’s settings. The first thing we usually try is to increase the holding pressure, which is also called packing pressure. After the mold is mostly filled, we apply this pressure to force more material into the cavity to compensate for shrinkage. Increasing the pressure or the amount of time it’s applied can definitely help, but there is a limit. Too much pressure can cause the plastic to squeeze out of the parting line, creating flash, or it can build stress into the part.
Next, we might lower the melt temperature. Hotter plastic shrinks more than cooler plastic. By lowering the temperature, we reduce the total amount of shrinkage that happens. The trade-off is that the plastic becomes thicker and harder to inject. We can also lower the mold temperature. This helps the outer skin of the part set up faster and become stronger, making it more resistant to being pulled in. However, these are all balancing acts. For a truly thick part, like one with a 10mm wall, these tweaks often aren’t enough. You can fight it all day and still get unacceptable sink marks. This is precisely why we recommend Gas-Assisted Injection Molding (GAIM) at CAVITYMOLD for these challenging parts.
Here’s a comparison of the methods:
| Method | How it Works | Pros | Cons |
|---|---|---|---|
| Conventional Process Tweaks | Adjusting injection pressure, temperature, and time to force more material into the mold to fight shrinkage. | No mold modification is needed. It can sometimes solve minor sink issues. | Often ineffective for thick sections. Can create other problems like flash or stress. It is a very delicate balancing act. |
| Gas-Assisted Injection Molding (GAIM) | After a partial shot of plastic, pressurized nitrogen gas is injected into the molten core. The gas forms a hollow channel and applies uniform pressure from the inside out as the part cools. | It eliminates sink marks completely, even in very thick parts. It also reduces part weight and cycle time. | The mold must be specially designed for GAIM. It requires gas injection control equipment. |
For that client with the thick handle I mentioned earlier, we switched their project to a new GAIM mold. The result was immediate. The sink marks disappeared completely on the very first trial. As a bonus, the parts were lighter and cooled faster, which reduced their cycle time by nearly 30%. For challenging thick-walled parts, GAIM isn’t just a fix; it’s a better way to mold.
How to get rid of burn marks in injection molding?
Your parts are coming out with unsightly black or brown streaks near the end of the fill path. These burn marks are not only ugly, but they are also a sign of a process problem that can weaken the part. Understanding why air gets trapped and how to let it escape is the key to preventing them.
Burn marks are caused by trapped air in the mold cavity that gets rapidly compressed and superheated by the incoming molten plastic, which scorches the material. To get rid of them, reduce the injection speed to give air more time to escape. You must also ensure the mold has adequate venting at the locations where burns occur. Lowering the melt temperature can also help.
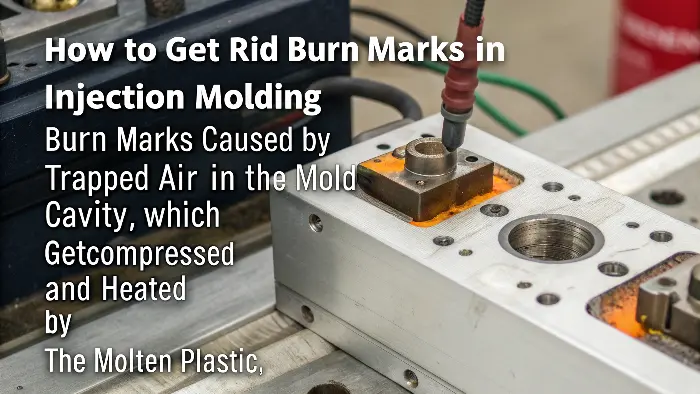
Now let’s talk about another common enemy: burn marks. While sink marks are a cooling and shrinkage problem, burn marks are an air problem. I once worked on a thin-walled electronics enclosure that kept getting black spots at the very last point to fill. The client thought the material itself was degrading, but the issue was trapped gas inside the mold.
Think of what happens in a diesel engine—air is compressed until it gets hot enough to ignite fuel without a spark plug. The exact same thing happens inside a mold. As we inject plastic at high speed and pressure, it races through the cavity and pushes the air that was in there ahead of it. If that air has nowhere to go, it gets trapped in a corner and is compressed almost instantly. This compression happens so fast that the air temperature skyrockets, easily reaching a point where it scorches the plastic front. This creates those characteristic black or brown "diesel burns."
The solution is to either slow down the process or give the air an escape route. The most fundamental fix is proper venting. Vents are very shallow channels, typically only 0.01-0.03mm deep, that are precisely machined into the parting line of the mold. They are too small for the thick molten plastic to flow into, but they allow the trapped air to escape easily. If you see burn marks on a part, the first thing I check is if there is a vent located nearby. If not, the mold needs to be modified to add one.
Here are some process adjustments you can try if you can’t modify the mold right away:
| Parameter Adjustment | How It Helps Prevent Burns | Potential Trade-Offs |
|---|---|---|
| Reduce Injection Speed | This gives the air more time to escape through existing vents before it gets trapped and compressed. | This can increase your overall cycle time. It might also cause short shots if the plastic cools before the mold is completely filled. |
| Lower Melt Temperature | This reduces the overall heat in the system. The compressed air may still get hot, but the cooler plastic is less likely to actually scorch. | This makes the plastic thicker and more resistant to flow, which may require higher injection pressure. |
| Check Clamp Tonnage | If the clamp tonnage is set too high, it can crush the existing vents shut, preventing air from escaping. Lowering it can open them back up. | The clamp force must be high enough to prevent mold flash. Fine-tuning is required here. |
| Add or Enlarge Vents | This is the most direct and permanent solution. Add vents at the very end of the fill path where the burns are occurring. | This requires mold modification, which means machine downtime and cost. |
Fixing burn marks is all about managing airflow. It’s a different challenge than sink marks, but both require a deep understanding of what is happening inside that closed steel mold.
Conclusion
Eliminating sink marks starts with smart design, focusing on uniform walls and cored-out sections. For challenging thick parts where design alone isn’t enough, Gas-Assisted Injection Molding is the definitive solution. It guarantees a perfect finish, proving that the right process makes all the difference in modern manufacturing.
