Are you trying to protect fragile electronic components but find that traditional manufacturing methods are too harsh? The extreme pressure and heat of standard injection molding can easily damage sensitive circuits, leading to high failure rates and wasted money. Low pressure injection molding provides a gentle, effective way to encapsulate and protect your parts without risk.
Low pressure injection molding (LPM) is a specialized process that uses thermoplastic materials at very low pressures, typically from 1.5 to 40 bar. It’s designed to gently encapsulate and seal delicate components like printed circuit boards (PCBs), sensors, and connectors. This method provides robust protection against moisture, dust, and vibration without damaging the sensitive electronics, making it a superior alternative to high-pressure molding or potting.
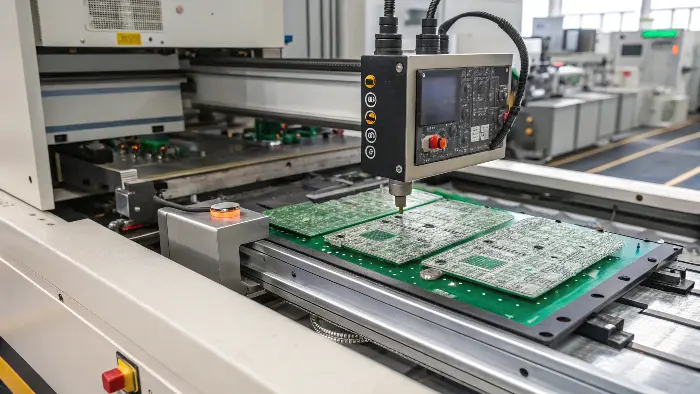
It’s a fantastic technology, but to truly appreciate why it’s so effective, we need to start with the basics. The difference between "high pressure" and "low pressure" is more than just a number; it defines the entire approach to manufacturing a part. To really understand the benefits of LPM, let’s first look at what we consider normal pressure in the world of injection molding.
What is the pressure in injection molding?
When you hear the term "injection molding," you probably imagine a process that uses a lot of force, but do you know how much? Not understanding these pressures can lead to choosing the wrong process, causing part defects or even damaging expensive molds. Let’s clarify the typical pressures involved so you can make better decisions for your projects.
In conventional high-pressure injection molding, the injection pressure is immense, usually ranging from 350 to 2,000 bar (or 5,000 to 30,000 PSI). This powerful force is essential for pushing molten plastic into every corner and detail of a complex mold cavity. It ensures the part is fully formed, dimensionally accurate, and has a high-quality surface finish.
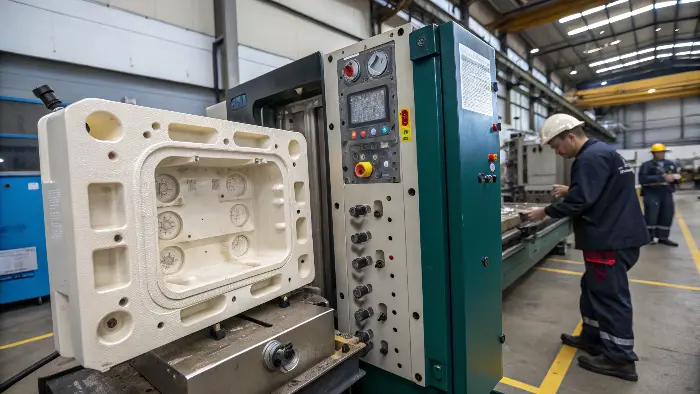
When we talk about pressure in injection molding, we are usually referring to two distinct forces that are critical to the process. It’s important not to confuse them, as they serve very different purposes. I remember a project early in my career where we miscalculated the required injection pressure. The parts came out with ugly sink marks and weren’t fully formed—a classic "short shot." It was a costly mistake, but it taught me a valuable lesson about getting the fundamentals right.
Injection vs. Clamping Force
The two main forces at play are the injection pressure and the clamping force. The injection pressure is the force used to push the molten plastic into the mold, while the clamping force is the force that holds the two halves of the mold shut against that injection pressure.
| Feature | Injection Pressure | Clamping Force |
|---|---|---|
| Purpose | Fills the mold cavity with molten plastic. | Holds the mold closed during injection. |
| Typical Force | 350 – 2,000 bar (5,000 – 30,000 PSI) | Measured in tons (e.g., 100 tons) |
| Direction | Pushes material into the mold. | Pushes the two mold halves together. |
| Key Factor | Overcomes material viscosity and flow resistance. | Counteracts the injection pressure to prevent flash. |
This high pressure is necessary because most standard thermoplastics, like ABS, polycarbonate, and nylon, are quite thick (viscous) even when melted. A huge amount of force is needed to push this thick material through narrow channels and into intricate shapes before it cools down. This also means the molds themselves must be incredibly strong, usually made from hardened steel, to withstand these forces cycle after cycle.
What is low injection pressure?
Now that you understand the immense force used in standard molding, what happens when your parts simply can’t survive that kind of pressure? Using thousands of PSI on a delicate circuit board or sensor is a recipe for disaster. You would crush the very components you’re trying to protect. This is where understanding "low pressure" becomes a game-changer for your projects.
Low injection pressure is a dramatically reduced force, typically between 1.5 and 40 bar (about 20 to 600 PSI). This gentle pressure is just enough to allow a very fluid, hot-melt adhesive material to flow smoothly around a component. It encapsulates the part completely without exerting any damaging force, which is the core principle of low pressure molding (LPM).
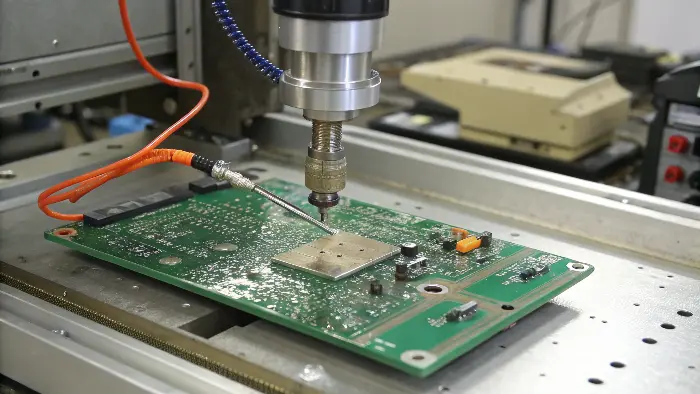
The secret to low pressure molding isn’t just turning down the dial on a standard machine; it’s a completely different approach that starts with the material itself. You can achieve such low pressures because the materials used in LPM are specially designed to flow very easily when melted. This is the key difference that makes the entire process possible and so effective for protecting fragile items.
The Material Makes the Difference
The materials used for LPM, often based on polyamide or polyolefin, are unique. When heated, they have a very low viscosity, meaning they flow more like warm honey than the thick toothpaste-like consistency of traditional plastics. Because the material flows so freely, it doesn’t require high pressure to fill the mold. This gentle process ensures that delicate components, like wires, solder joints, and tiny sensors, are not disturbed or damaged. This fundamental difference also impacts everything from cycle time to tooling costs.
| Feature | High-Pressure Molding | Low-Pressure Molding (LPM) |
|---|---|---|
| Injection Pressure | 350 – 2,000 bar | 1.5 – 40 bar |
| Material Viscosity | High | Very Low |
| Material Type | ABS, PC, PP, etc. | Polyamides, Polyolefins (Hot-melts) |
| Mold Material | Hardened Steel | Aluminum |
| Cycle Time | Longer (cooling) | Shorter (fast solidification) |
Because the clamping forces are also much lower, the molds don’t need to be made from expensive, hardened steel. We can often use aluminum for LPM molds, which is faster to machine and much more cost-effective. This is a huge advantage for projects with lower production volumes or those that require rapid prototyping.
What is LPM in manufacturing?
You’ve heard the term LPM and understand the concept of low pressure, but what does the process actually look like on the factory floor? Without a clear picture, it’s just another industry acronym. You might be missing out on a process that could solve your biggest encapsulation challenges and dramatically improve your production efficiency. Let’s walk through the LPM process step-by-step.
LPM, or Low Pressure Molding, is a manufacturing process used to encapsulate and protect components, particularly electronics. The process involves placing a component, like a PCB, into a mold set. The mold is then closed, and a molten thermoplastic material is gently injected at low pressure. This material cools and solidifies in seconds, forming a sealed, protective shell around the component.
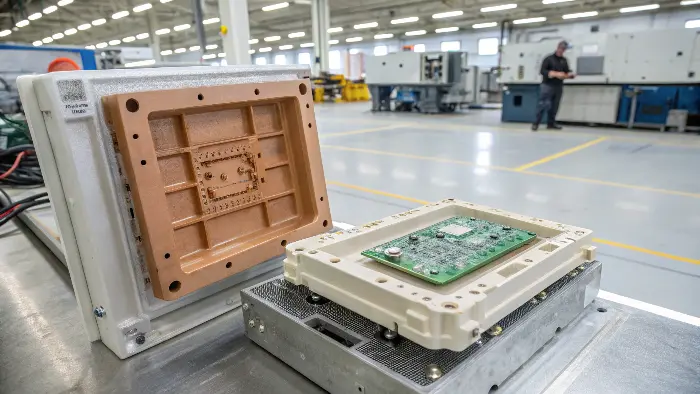
The beauty of the LPM process is its simplicity and speed. I once worked with a project manager, Alex, who was struggling with potting his company’s industrial sensors. Potting was a slow, messy, and inconsistent process that involved mixing two-part epoxies and waiting hours for them to cure. When we switched his project to LPM, we took his cycle time from over an hour down to just 45 seconds per part. It completely transformed his production line and improved the product’s reliability.
The Step-by-Step LPM Process
The LPM workflow is straightforward and efficient, making it easy to integrate into an existing assembly line. It can be handled by an operator or fully automated with robotics for high-volume production.
- Component Placement: First, an operator carefully places the electronic assembly, connector, or sensor into the bottom half of the aluminum mold. The component rests in a custom-designed cavity that holds it securely in place.
- Mold Closing: The machine brings the top half of the mold down to close the set. The clamping force is low, just enough to create a seal without stressing the mold or the part inside.
- Gentle Injection: The molten polyamide material is injected into the mold at a very low pressure. It flows smoothly and evenly around the component, filling all voids and creating a complete encapsulation without displacing fine wires or damaging solder joints.
- Rapid Cooling: The hot-melt material solidifies very quickly upon contact with the cooler mold. This cooling and curing process typically takes between 10 to 50 seconds, depending on the part size.
- Ejection and Finish: The mold opens, and the finished, fully encapsulated part is removed. It’s ready for the next stage of assembly immediately—no secondary curing or cleaning is required.
This rapid cycle time is one of the biggest advantages of LPM over traditional methods like potting.
What is low pressure molding used for?
The LPM process sounds great in theory, but where is it actually making a difference in the real world? Knowing a technology exists is one thing, but seeing how it’s applied helps you understand if it’s the right solution for your own products. Let’s explore the key applications where LPM has become the go-to choice for protecting sensitive and valuable components.
Low pressure molding is primarily used for encapsulating delicate electronic components that require protection from the environment. Its most common applications include sealing printed circuit boards (PCBs), overmolding connectors to create strain relief and a waterproof seal, protecting sensors from moisture and vibration, and creating integrated housings for LED lighting systems. It is the ideal solution wherever electronics need robust protection without being damaged during manufacturing.
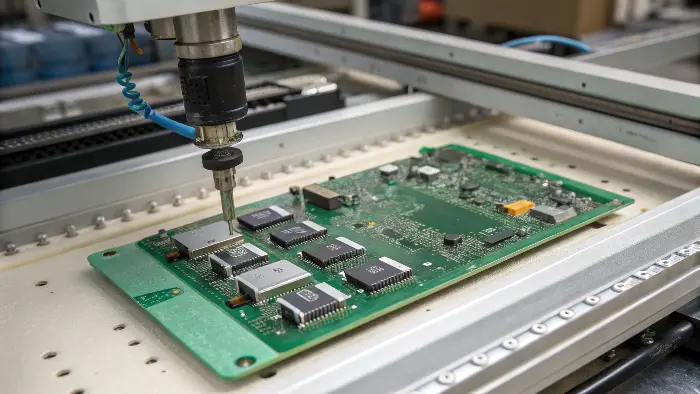
The versatility of LPM is one of its greatest strengths. Because it’s so gentle, it can be used on a wide range of components that would be destroyed by the heat and pressure of traditional injection molding. This has opened up new design possibilities across many industries, allowing engineers to create more compact, durable, and reliable products than ever before.
Key Industries and Applications
LPM provides a unique combination of gentle encapsulation and tough protection, making it invaluable in several key markets. It creates a watertight seal that is also excellent at absorbing shock and vibration.
- Automotive: In vehicles, electronics are exposed to extreme temperatures, moisture, and constant vibration. LPM is used to seal engine control units (ECUs), overmold cable assemblies, and protect the vast number of sensors used in modern cars.
- Consumer Electronics: LPM is perfect for creating waterproof seals on connectors like USB-C ports, protecting the internal circuitry of smart devices, and providing strain relief for headphone and charging cables.
- Industrial Controls: For industrial machinery, components need to withstand harsh factory environments. LPM is used to encapsulate switches, control modules, and sensors to protect them from dust, oil, and moisture.
- Medical Devices: In the medical field, reliability is non-negotiable. LPM is used to overmold connectors and cables for diagnostic equipment, ensuring a secure connection that can withstand repeated use and sterilization processes.
- LED Lighting: LPM is widely used to create waterproof seals and durable housings for outdoor and industrial LED lighting fixtures, protecting the delicate electronics from the elements and ensuring a long service life.
Essentially, if you have a delicate component that needs to survive in a tough environment, LPM is a solution you should seriously consider.
Conclusion
In short, low pressure molding is a gentle, fast, and highly effective process for protecting electronics. It uses low-viscosity materials and low injection pressures to create a perfect, waterproof seal without damaging fragile components. For many applications, it is a superior alternative to high-pressure molding or messy potting, offering a streamlined and reliable solution.
