Struggling with your insert molding projects? It’s a common headache when things go wrong, leading to delays and wasted materials. You want smooth production, but sometimes it feels like you’re just hitting roadblocks. Understanding the core design factors is your first step to success.
Successful insert molding tool design really boils down to a few key things: smart insert placement, ensuring material compatibility between the insert and the plastic, clever gate design, and building a tough, reliable tool. Get these right, and you’ll see better parts and a smoother manufacturing flow, trust me.
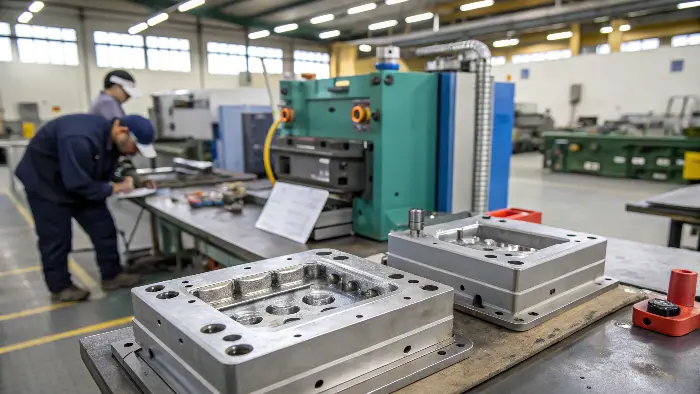
So, you’re aiming to get your next insert molding project just right, huh? It’s a fantastic way to make complex parts, combining different materials for unique functions. But, and it’s a big but, the tool design is where many projects either fly or fail. I’ve seen it happen countless times. Let’s break down what really makes a difference, so you can avoid the common pitfalls and get those perfect parts rolling off the line.
How Crucial is Insert Material Selection for Tool Design?
Picking the wrong material for your insert? Oh boy, that can cause a world of pain – think poor bonding with the plastic, unexpected stress from heat differences, or even damage to your expensive mold. It’s like trying to build a house on a shaky foundation. Let’s talk about making smarter choices.
Choosing the right insert material is absolutely vital. It directly impacts how the plastic flows and bonds, the stresses within the part, and even how long your mold lasts. Compatibility isn’t just a buzzword here; it’s the cornerstone of a good insert molded part.
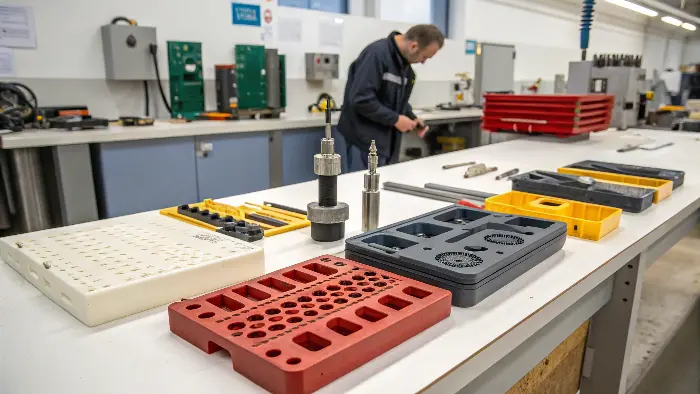
When we talk about insert material, it’s not just about the insert itself; it’s about how that material interacts with everything else, especially the plastic and the mold. I remember a project years ago where we used a metal insert with a significantly different thermal expansion rate than the plastic. During cooling, the parts were warping like crazy! It was a tough lesson. You’ve got to consider a few things here.
Matching Thermal Properties
This is a big one. If your insert expands or contracts way more or less than the plastic around it as it heats and cools, you’re asking for trouble. This can lead to:
- Internal stresses in the part, making it weaker.
- Warpage, as I mentioned.
- Cracks in the plastic or even the insert.
- Poor sealing if the insert is meant to create a barrier.
We always look at the Coefficient of Thermal Expansion (CTE) for both the insert material and the plastic. The closer they are, generally, the better.
Ensuring Chemical and Physical Compatibility
The insert material needs to play nice with the molten plastic. Some plastics can be quite aggressive and might corrode certain metals over time. Also, the surface of the insert needs to allow for good adhesion with the plastic. Sometimes, a super smooth insert surface isn’t actually what you want if mechanical locking is key. We also consider:
- Strength: Can the insert withstand the injection pressures and the temperatures without deforming?
- Conductivity: If your insert needs to conduct heat or electricity, this is obviously a primary factor. This also affects how the plastic cools around it.
Here’s a simplified look at some common pairings:
| Insert Material Type | Common Compatible Plastics | Key Considerations for Tooling |
|---|---|---|
| Brass | ABS, PC, Nylon | Good thermal conductivity, may require specific gate locations to avoid erosion. |
| Stainless Steel | PEEK, PPS, most engineering plastics | High strength, corrosion resistance, may need pre-heating considerations in the tool. |
| Aluminum | PP, PE, ABS | Lightweight, good conductivity, softer so tool design must protect it. |
| Ceramic | High-temp plastics | Brittle, requires careful handling features in the tool, excellent insulation. |
Choosing the right insert material from the get-go saves so many headaches down the line. It’s not just about the part; it’s about designing a tool that can handle that material effectively and produce good parts consistently.
What Are the Key Design Considerations for the Inserts Themselves Before Tooling?
Are your actual inserts causing molding headaches? Sometimes, features like super sharp corners, or tricky undercuts that look good on paper, can make the tool design a nightmare and lead to all sorts of part defects. Let’s think about designing inserts for molding, not just for function.
Designing the inserts with the molding process in mind is super important. Things like how it will be held, its tolerances, and surface features directly affect how complex the tool needs to be, the final part quality, and honestly, how easy (or hard) your life will be during production.
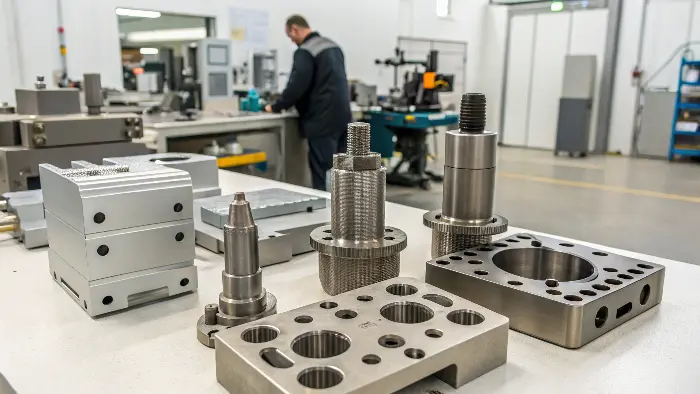
Before we even think about cutting steel for the mold, the design of the insert itself needs a lot of thought. I’ve seen projects where the insert design was so complex it made robust tool design almost impossible, or at least incredibly expensive. We always try to work with our clients to optimize the insert design for moldability. It’s a partnership.
Designing for Secure Retention
How will the plastic hold onto the insert? You can’t just rely on a smooth surface. The plastic needs something to grip.
- Knurling: Creates a rough, patterned surface for better mechanical grip.
- Grooves/Undercuts: Allows plastic to flow into these features, creating a strong lock. But, be careful with undercuts that could trap the part in the mold!
- Shoulders/Flanges: These can help position the insert and provide a surface for the plastic to flow against and lock onto.
The goal is to prevent the insert from pulling out or twisting in the final part under normal use. We had a case with an electronic connector where the pins would loosen over time because the initial design didn’t have enough retention features. A small tweak to add a tiny groove made all the difference.
Tolerances and Fit: A Balancing Act
The insert needs to fit snugly into the mold cavity, but not too snugly.
- Too loose: The insert can shift during injection, leading to inconsistent wall thickness or misplaced inserts. Molten plastic might also flash around it.
- Too tight: Can damage the mold over time, make insert loading difficult (especially for automation), or even crack brittle inserts.
We need to define clear tolerances for the insert dimensions and the corresponding pocket in the mold. It’s a bit of a balancing act, really, and often depends on the insert material and the molding plastic.
Avoiding Problematic Geometries
Some shapes are just asking for trouble in an insert molding scenario:
- Sharp internal corners on the insert (where plastic flows into): These can create stress concentrations in the plastic.
- Very thin sections on the insert: These might bend or break under injection pressure.
- Large, flat surfaces parallel to the mold opening: These can trap air.
Thinking about how the plastic will flow around the insert and how the part will be ejected helps to identify these potential issues early on. Simple is often better!
How Does Gate Design and Location Affect Insert Molding Outcomes?
Ever had issues with gates in insert molding? Maybe the insert gets pushed out of place, or you get ugly marks on your part. Bad gate placement is a classic way to mess up an otherwise good insert molding job. It’s a common pitfall, but one we can definitely avoid with a bit of planning.
Gate design and where you put it are super critical in insert molding. They control how the plastic flows around your carefully placed insert. Get it right, and you prevent the insert from moving, get a complete fill, and reduce stress on the insert itself. It’s a game-changer.
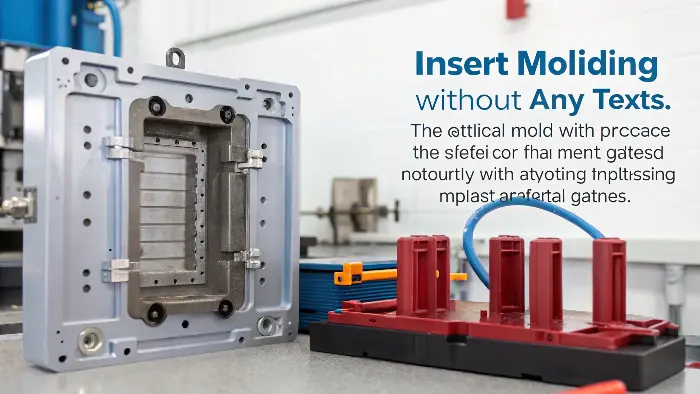
Gating is one of those things that seems simple, but in insert molding, it has a few extra layers of complexity. I always tell my team: "Think about where the plastic is going and what it’s going to hit." You don’t want that first shot of high-pressure plastic blasting directly onto a delicate insert. That’s a recipe for disaster – I’ve seen inserts get bent or completely dislodged.
Choosing the Right Gate Type
There are many gate types, but some are better suited for insert molding than others.
- Tab Gate: Often a good choice. It allows the plastic to flow into the cavity more gently and can be positioned to avoid direct impact on the insert. The tab is then trimmed off later.
- Submarine (Tunnel) Gate: Can be great for automatic de-gating, but you need to be careful about its placement relative to the insert to avoid stress or "jetting" that could dislodge the insert.
- Direct (Sprue) Gate: Usually for single-cavity molds. It provides a strong flow but needs to be carefully managed if an insert is nearby.
The choice often depends on the part geometry, the plastic material, and the insert’s sensitivity.
Strategic Gate Placement
This is where the real art and science come in.
- Avoid Direct Impingement: As I said, don’t aim the gate directly at the insert, especially if it’s delicate or has critical positioning. Instead, gate into a thicker section of the part or use a feature to deflect the flow.
- Balance the Flow: If you have multiple gates or a large part, ensure the flow is balanced. Unbalanced flow can create uneven pressure, pushing the insert to one side. We use mold flow simulation extensively for this at CavityMold. It helps us visualize how the plastic will fill the cavity and interact with the insert.
- Consider Weld Lines: Where the plastic flows meet, you get weld lines. Try to position gates so that weld lines don’t form in critical areas of the part or directly over an area where the insert needs strong adhesion.
Impact on Insert Stability and Part Quality
Proper gating directly contributes to:
- Insert Stability: Preventing movement or damage during injection.
- Complete Fill: Ensuring plastic reaches all areas around the insert.
- Cosmetics: Minimizing gate marks and flow lines on visible surfaces.
- Reduced Stress: Gentle filling reduces stress on both the insert and the surrounding plastic.
It’s worth spending the extra time upfront to get the gating strategy right. It saves a ton of headaches and scrap later on.
Why is Secure Insert Placement and Support So Vital in the Mold?
Are your inserts playing hide-and-seek in the mold during injection? It’s a super frustrating problem when they shift, leading to a pile of scrap parts and potentially even a damaged tool. This often comes down to how well the insert is held in place before the plastic hits it. Let’s make sure they stay put.
Holding inserts securely in the mold cavity before and during injection is absolutely non-negotiable. Good placement and solid support stop them from moving, ensure you get consistent part quality every time, and critically, protect your expensive mold from getting dinged or worse.
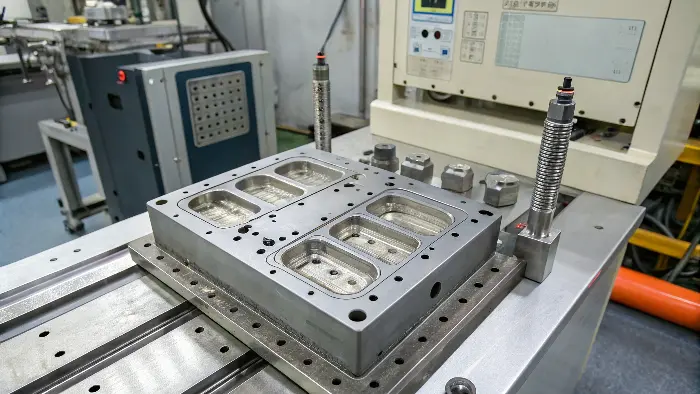
You can have the best insert material and the most perfectly designed insert, but if it moves around in the mold when that molten plastic comes rushing in, all that good work is for nothing. I remember one project early in my career where we struggled with this. The inserts were small pins, and they kept getting bent. It turned out the pockets holding them weren’t quite deep enough, and the injection pressure was just too much. A small adjustment to the tool, and the problem vanished. It really highlighted how critical this aspect is.
Methods for Holding Inserts Firmly
There are several ways we ensure inserts stay exactly where they need to be:
- Locator Pins/Bosses: These are features machined into the mold steel that mate with features on the insert, providing precise positioning.
- Custom Pockets: The cavity is shaped to cradle the insert. The fit here is crucial – not too tight, not too loose.
- Magnets: For ferrous inserts, magnets embedded in the mold can be a very effective way to hold them in place, especially for automated loading. We’ve used this successfully on many projects.
- Spring-Loaded Mechanisms: These can apply gentle pressure to hold an insert against a surface until the mold closes.
- Pre-Loading by Mold Action: Sometimes, the closing action of the mold itself can secure the insert, perhaps by clamping it between mold halves or with slides.
Designing for Precise Location and Repeatability
It’s not just about holding the insert; it’s about holding it in the exact same spot every single time.
- Clearances and Tolerances: The gap between the insert and the mold steel needs to be carefully controlled. Too much, and it’ll move. Too little, and loading becomes difficult or you risk damaging the mold or insert.
- Lead-ins: Chamfered edges or tapered features on the mold or insert can help guide the insert into place smoothly, which is especially important for automated systems.
- Poka-Yoke (Mistake-Proofing): Designing the insert and pocket so the insert can only be loaded in the correct orientation. This is a lifesaver in high-volume production.
Automation and Insert Loading
If you’re planning for automation (and for many projects, this is a must for efficiency), how the insert is held becomes even more critical. Robots aren’t as forgiving as human hands. The mold design needs to facilitate easy and repeatable loading by the robotic arm. This means clear access, robust locators, and sometimes sensors to confirm the insert is correctly placed before the cycle starts. We often design end-of-arm tooling (EOAT) for the robot in conjunction with the mold features to ensure a perfect handshake.
Getting insert placement and support right is fundamental. It’s one of those behind-the-scenes details that makes a huge impact on the final product quality and the efficiency of your molding operation.
What Role Does Mold Material and Construction Play in Insert Molding Longevity?
Is your insert mold showing signs of wear and tear way too soon? The unique demands of insert molding, like the constant loading of inserts and specific pressure points, can really put a strain on a tool. Picking the right mold materials and ensuring solid construction isn’t just a good idea; it’s essential for a long, productive life.
The choice of mold material and how robustly the tool is built are super important for insert molding tools. They need to handle the stresses of inserts being loaded, often by automation, and the pressures of the molding process itself, day in and day out, to ensure a long life and consistent parts.
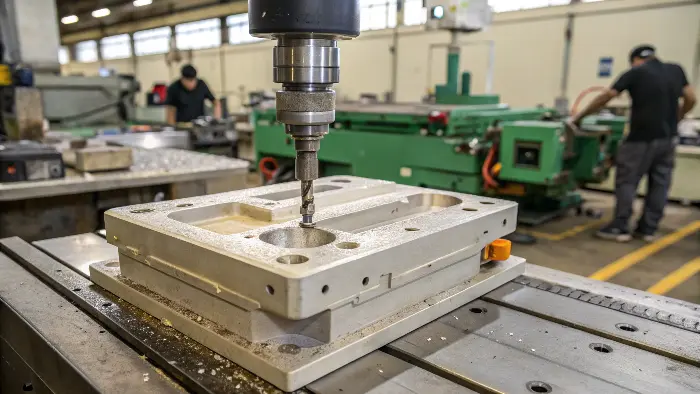
An insert mold isn’t just any mold. It often has more moving parts (if slides are needed for insert features) and specific areas that see a lot of focused wear, like where the inserts are seated or where shut-offs occur around them. I’ve seen molds made from less-than-ideal steel start to show wear around insert pockets pretty quickly, leading to flash and inconsistent parts. It’s a classic case of "penny wise, pound foolish." Investing in good steel and solid construction pays off.
Selecting the Right Tool Steel
The type of steel you choose for your mold is a big decision.
- Pre-Hardened Steels (e.g., P20): Good for lower to medium volume production. It’s easier to machine, which can save on initial tool cost. However, it’s softer and will wear faster, especially in critical areas around inserts.
- Through-Hardened Steels (e.g., H13, S7): These are tougher and more wear-resistant, making them ideal for high-volume production or when molding abrasive materials. They cost more and take longer to machine, but the longevity is usually worth it. For many of our insert molding projects at CavityMold, especially those with tight tolerances around the inserts, we lean towards hardened steels for the cavity and core inserts.
- Stainless Steels (e.g., 420 SS): Offer corrosion resistance, which can be important if you’re molding PVC or if the mold will be stored in humid conditions.
The choice depends on expected production volume, the type of plastic being molded (some are more abrasive or corrosive), and the complexity of the insert and part.
Surface Treatments for Wear Resistance
Even with good steel, certain areas of an insert mold benefit from extra protection:
- Nitriding: A heat treatment process that hardens the surface of the steel, improving wear resistance.
- Coatings (e.g., TiN, CrN): These thin, hard coatings can significantly reduce friction and wear, especially on shut-off surfaces or areas that see a lot of rubbing from inserts during loading.
We often recommend specific treatments for areas around insert pockets or on moving components within the mold to extend their life.
Robust Mold Base and Guiding Systems
The foundation of the mold needs to be solid.
- Mold Base Material: Using a quality mold base ensures stability and alignment.
- Guiding System: Leader pins and bushings must be robust and well-lubricated to handle the precise alignment needed, especially if the mold has delicate features for holding inserts. Any slop here can lead to damage or inconsistent parts.
- Cooling Channel Design: Effective cooling is always important, but around inserts, it can be particularly tricky. You need to cool the plastic without overcooling the insert (which could cause condensation or affect adhesion). Careful placement of cooling channels, sometimes using conformal cooling, is key.
A well-built mold is an investment. For insert molding, where precision and durability are paramount, skimping on materials or construction quality is a shortcut to problems.
Conclusion
So, as you can see, getting insert molding tool design right involves a whole bunch of interconnected factors. From picking the perfect insert material and designing it smartly, to nailing the gate location and ensuring the mold itself is built like a tank – it all matters. Master these, and you’re well on your way to successful, efficient production. Here at CavityMold, we live and breathe this stuff, always aiming to help you Master Molding Right!
