Are you tired of seeing defects like sink marks and warpage ruin your production runs? These issues often trace back to one culprit: incorrect mold temperature. This can cost you time, money, and materials. Understanding how to troubleshoot mold temperature is key to perfect parts.
To troubleshoot mold temperature defects, first identify the specific issue, like sink marks, warpage, or short shots. Then, systematically adjust the mold temperature up or down based on the defect. For example, raising the temperature can help with short shots, while lowering it might reduce sink marks. Always monitor changes closely and document the results for consistent quality control and a stable process.
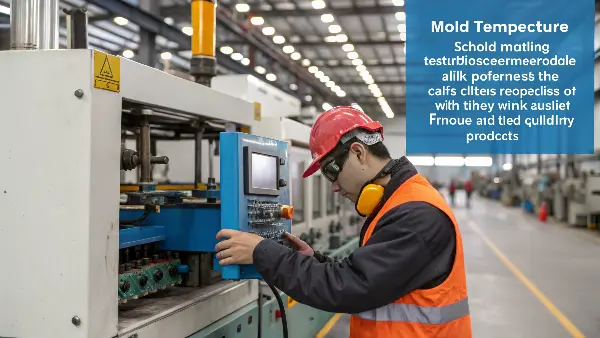
Getting the mold temperature right can sometimes feel more like an art than a science. But it’s not magic. It’s about control and understanding the process. In my years as an engineer, I have seen countless projects succeed or fail based on this single variable. So, how do we get a firm grip on it? It all starts with understanding the fundamentals of temperature control in the first place. Let’s dive into what that really means for our molds and our final products.
What is the temperature control for injection molding?
Do you ever feel like you’re just guessing when setting your mold temperature? This uncertainty can lead to inconsistent part quality and frustrating trial-and-error adjustments. You need a reliable system. Proper temperature control gives you the precision needed for predictable, high-quality results every single time.
Mold temperature control is the process of regulating the surface temperature of the mold cavity during the injection molding cycle. This is done using a Mold Temperature Controller (MTC) or a thermolator, which circulates a fluid like water or oil through channels in the mold. The goal is to maintain a stable temperature that allows the plastic to fill the mold properly and cool at a controlled rate for optimal part quality.
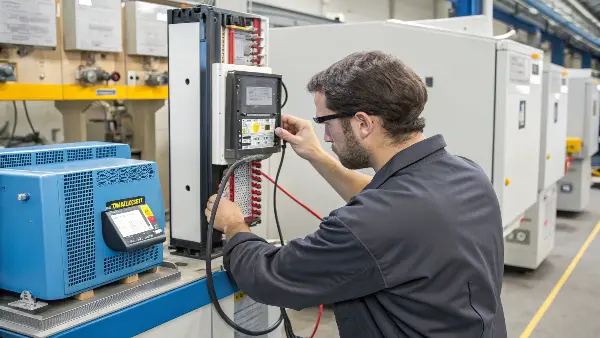
Temperature control is a critical part of the injection molding process, and getting it right impacts everything from part appearance to structural integrity. It’s a constant balancing act between heating and cooling the mold. The molten plastic injects a massive amount of heat into the steel, and the MTC’s job is not just to heat the mold to a setpoint, but also to actively remove that heat at a controlled rate.
Why Temperature Control is Non-Negotiable
The temperature of the mold surface directly influences how the plastic material behaves. For semi-crystalline materials like Nylon or Polypropylene, the mold temperature affects the level of crystallinity, which in turn determines the part’s final properties like stiffness, chemical resistance, and shrinkage. For amorphous materials like Polycarbonate or ABS, it affects the amount of molded-in stress. A mold that’s too cold can freeze the material too quickly, trapping high levels of stress and making the part brittle. A hotter mold allows the polymer chains to relax before solidifying, resulting in a more stable and robust part. This control is also essential for managing cycle time. A colder mold removes heat faster, allowing for a shorter cycle, but a hotter mold often produces a better surface finish and less stress.
The Two Main Systems: Water vs. Oil
The fluid used in the MTC is a major factor in its capability. The two most common types are water-based and oil-based units. I remember a project involving polycarbonate lenses where we struggled with flow lines. Our standard water MTC just couldn’t get the mold hot enough. We switched to a high-temperature oil unit, and the difference was night and day. The surface finish was perfect. It taught me that your control system must match your material’s needs.
| Feature | Water-Based MTC | Oil-Based MTC |
|---|---|---|
| Temperature Range | Typically up to 90-120°C (pressurized) | Up to 350°C or higher |
| Heat Transfer | Excellent, very efficient | Good, but less efficient than water |
| Maintenance | Requires water treatment to prevent scale/rust | Oil needs periodic filtering and replacement |
| Cost | Generally lower initial and running costs | Higher initial cost and fluid replacement cost |
| Safety Concerns | Leaks are less hazardous but can cause slips | Hot oil leaks pose a significant fire and burn risk |
How do you check the temperature of a mold?
Your MTC is set to 80°C, but are you sure the mold surface itself is actually 80°C? An MTC measures the temperature of the fluid leaving the unit, not the steel. Assuming the setpoint equals the actual temperature can lead you to troubleshoot the wrong problem, wasting hours of valuable production time. Knowing how to accurately measure the mold surface temperature gives you the real data you need.
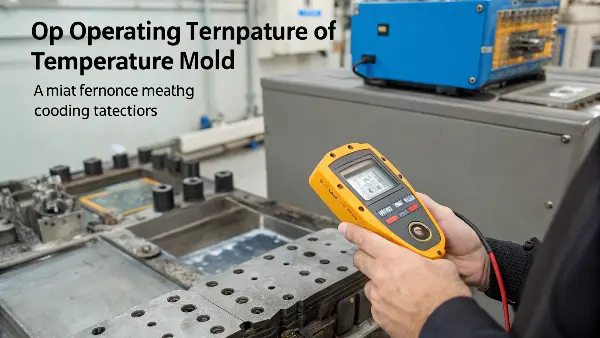
To check the temperature of a mold, the most common methods are using a contact pyrometer or a non-contact infrared (IR) thermometer. For the best accuracy, you should measure several points on both the cavity and core surfaces of the open mold, right after a part is ejected. This gives you a true reading of the surface temperature during the crucial cooling phase, rather than just relying on the thermolator’s settings.
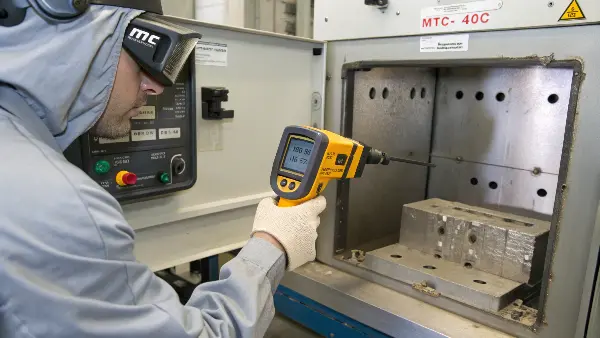
Relying only on the MTC display is a common mistake. The heat from the injected plastic, combined with potential inefficiencies in the cooling channels, means the actual mold surface temperature can be very different from the MTC setting. Verifying the temperature directly on the steel is the only way to know for sure what conditions your plastic parts are experiencing.
Contact vs. Non-Contact Methods
There are two primary tools for this job, each with its own pros and cons.
- Contact Pyrometers: These use a thermocouple probe that you physically touch to the mold surface. They are highly accurate for a specific point, giving you a precise reading. However, they are slow to use if you need to measure many locations, and there’s a risk of scratching highly polished or delicate mold surfaces.
- Infrared (IR) Thermometers: These non-contact guns are fast and convenient. You just point and shoot. They measure the infrared energy radiating from the surface. The main drawback is that their accuracy can be affected by the surface’s emissivity—a shiny, reflective mold can fool an IR gun into giving a lower reading. You have to be mindful of the surface finish and the angle of measurement. For a comprehensive view, a thermal imaging camera is an excellent, though more expensive, tool. It shows you the complete temperature map, instantly highlighting any hot or cold spots.
Best Practices for Accurate Measurement
To get data you can trust, you need a consistent process. I always train my team to create a "temperature map" during the initial mold setup. It’s a simple a diagram of the mold where we record temperatures at key locations.
- When to Measure: The best time is immediately after the mold opens and the part is ejected. This is the moment the next cycle begins, so this temperature directly impacts how the next shot fills and cools.
- Where to Measure: Don’t just check one spot. Measure multiple locations on both the moving and fixed halves of the mold. Key areas include near the gate, at the end of fill, and in both thick and thin sections of the part. This helps you diagnose issues like uneven cooling, which often causes warpage.
- Consistency is Key: Always measure at the same points in the molding cycle. This allows you to track changes accurately if you make adjustments or want to compare runs from different days. This simple practice has saved us from countless headaches over the years.
What are some common defects that can occur in injection molded parts?
You’ve just pulled a sample from your latest production run, only to find the parts are warped, brittle, or full of ugly marks. These defects can bring your entire schedule to a halt and lead to costly rejections from your client. By learning to identify these common problems, you can quickly pinpoint the root cause, and often, the trail leads right back to mold temperature.
Common injection molding defects include sink marks, warpage, short shots, flash, burn marks, and flow lines. Many of these are directly linked to improper mold temperature. For example, a mold that is too cold can cause short shots and poor surface finish, while a mold that is too hot or cools unevenly can lead to sink marks and warpage. Identifying the specific defect is the first step in troubleshooting.
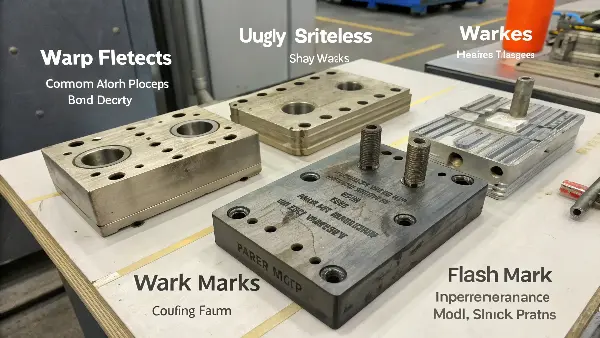
Almost every molder has a box of scrap parts showing these classic defects. While issues can also come from pressure, speed, or the material itself, mold temperature is one of the most powerful variables you can adjust to fix them. Understanding the relationship between a specific defect and the mold temperature allows you to make targeted, effective changes instead of just guessing.
Tying Defects to Mold Temperature
The first step in solving a problem is correctly identifying it. Once you know what kind of defect you’re dealing with, you can make an educated guess about the temperature adjustment needed. I once worked on a long, flat electronics housing that kept bowing. We measured the mold and found the cavity side was running 10°C hotter than the core. By adjusting the MTCs to balance the temperatures, the part came out perfectly flat. This shows how critical uniform cooling is. Here’s a quick guide to connect common defects with their likely temperature-related causes.
| Defect | Likely Temperature Cause | Potential Solution |
|---|---|---|
| Sink Marks | Mold is too hot, or there are hot spots in thick sections. The surface solidifies too slowly, allowing the core to pull it inward as it shrinks. | Lower the overall mold temperature. Improve cooling near thick sections with baffles or bubblers. |
| Warpage | Uneven cooling between the mold’s core and cavity, causing differential shrinkage. | Adjust the temperature on one mold half to balance cooling. Check for blocked cooling lines. |
| Short Shots | Mold is too cold. The plastic freezes before it can completely fill the cavity. | Increase the mold temperature. Check for proper flow rate from the MTC. |
| Flow/Weld Lines | Mold is too cold. The separate melt fronts are too cool to merge together seamlessly. | Increase the mold temperature to keep the plastic hotter for longer. |
| Flash | Mold might be too hot, lowering the plastic’s viscosity so much that it escapes through parting lines. | Lower the mold temperature to make the plastic slightly more viscous. Also, check clamp tonnage. |
| Brittleness | Mold is too cold. This can create high levels of internal stress, especially in crystalline materials that need time to form their structure. | Increase the mold temperature to allow for proper annealing and stress relaxation. |
What are the factors to maintain the operating temperature of a mould?
You’ve set the perfect temperature and verified it with a pyrometer, but your process still drifts. Part quality varies from the start of the shift to the end. An unstable process is an unprofitable one. It’s impossible to achieve consistent, high-quality production with a fluctuating mold temperature. Focusing on the key factors for maintaining temperature will give you the stability you need.
To maintain the operating temperature, focus on three key factors: the mold’s cooling channel design, the Mold Temperature Controller’s (MTC) performance, and regular maintenance. An efficient cooling circuit, a properly sized MTC with a good flow rate, and clean, scale-free channels are all essential. These elements work together to remove heat consistently and keep the mold at its target temperature cycle after cycle.
Achieving a stable process temperature isn’t a "set it and forget it" task. It’s an active system that depends on good design, proper equipment, and diligent upkeep. When any one of these elements fails, your process control suffers. Heat from the molten plastic must be removed consistently with every single cycle.
The Blueprint: Cooling Channel Design
It all starts with the mold itself. At CavityMold, we know that the design of the cooling channels is fundamental to performance. The channels must be placed close enough to the cavity surface to effectively remove heat, and their diameter must be large enough to allow for sufficient turbulent flow. For complex parts with deep ribs or cores, we often use advanced techniques like conformal cooling. These channels are designed to follow the part’s contour, providing much more uniform temperature control than straight-drilled lines. A well-designed cooling circuit is the foundation for a stable process.
The Heartbeat: The MTC and Fluid Flow
Your MTC is the heart of the system. Its job is to pump fluid at a consistent temperature and flow rate. A common mistake is to think a powerful MTC is only for hot molds. In reality, a high-flow MTC is just as critical for "cold" molds, as its job is to pull a large amount of heat out of the steel very quickly. The key here is achieving turbulent flow within the cooling channels. Turbulent flow scrubs the channel walls and is far more efficient at transferring heat than slow, smooth laminar flow. Your MTC must have enough pumping power to achieve this for your specific mold.
The Long Game: Maintenance and Housekeeping
Over time, cooling channels can become clogged with rust, scale, and grime, especially when using untreated water. This buildup acts as an insulator, drastically reducing cooling efficiency. I once visited a customer whose cycle times had slowly crept up over several months. We pulled their mold, flushed the cooling lines, and the amount of rust that came out was incredible. After a proper cleaning and descaling, their cycle time dropped by 15%. This is why a regular maintenance schedule for both the molds and the MTC units is not optional; it’s essential for long-term, stable production.
Conclusion
Mastering mold temperature isn’t about finding a single magic number. It is about managing an entire system. By understanding how to control, measure, and maintain your mold’s temperature, you can solve defects before they start. This turns troubleshooting from a frustrating chore into a predictable, data-driven science.
