Struggling with inconsistent shot sizes or annoying defects in your molded parts? It’s a common headache in injection molding, leading to wasted material and time. But what if a simple machine setting could significantly improve your results? Understanding back pressure might just be the key you’re looking for.
The main purpose of back pressure in injection molding is to ensure consistent shot volumes, improve melt homogeneity, and reduce defects. It achieves this by compressing the molten plastic, promoting uniform density, aiding in colorant and additive mixing, and helping to expel trapped air or volatiles.
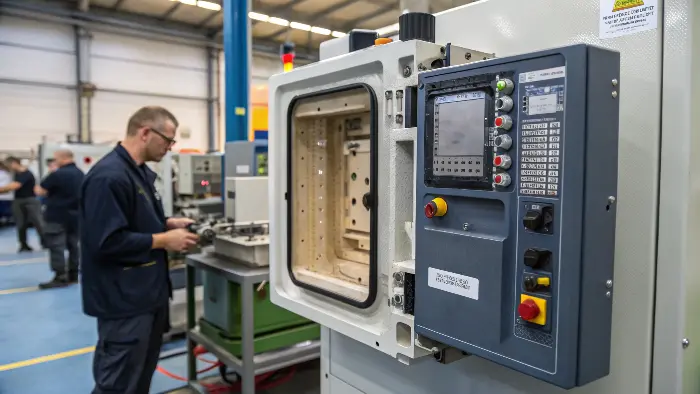
So, we’ve touched on why back pressure is a big deal. But to really get a grip on it, and to use it effectively in your projects, we need to dig a bit deeper. Let’s break down what it actually is and how it works its magic in the molding machine. Trust me, getting this right can save you a lot of trouble down the line.
What is back pressure and why is it important?
Ever wondered about those subtle settings on an injection molding machine and how they impact your final product? Back pressure is one of those crucial parameters that often gets overlooked. Ignoring it can lead to a host of problems, from weak parts to visual blemishes. Let’s clarify what it is.
Back pressure is the resistance the screw encounters as it retracts and plasticates material for the next shot. It’s important because it directly influences melt density, temperature uniformity, and the mixing of additives, ultimately affecting the quality and consistency of your molded parts. Think of it as controlled resistance.
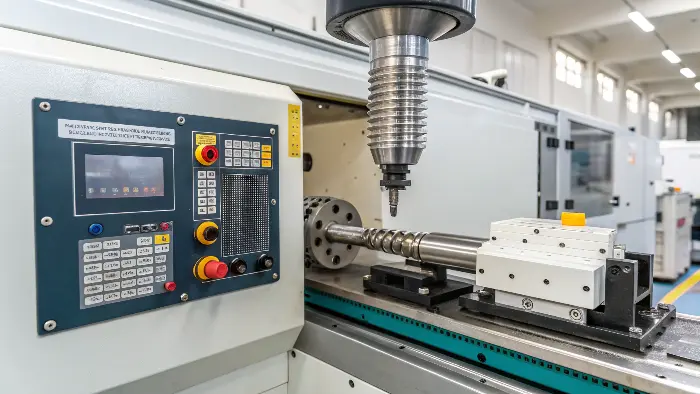
Okay, so let’s really get into the nitty-gritty of back pressure. Imagine the screw in your injection molding machine. As it rotates to melt and convey plastic pellets forward, it also needs to move backward to make space for this newly melted material. Back pressure is essentially a controlled hydraulic pressure applied to the back of this screw during its recovery phase. It’s like telling the screw, "Hey, don’t retract too easily; I want you to work a bit harder as you prepare the next shot."
Why is this "making it work harder" so important?
- Melt Density: By resisting the screw’s backward movement, we’re essentially compacting the molten plastic in front of it. This helps to squeeze out any trapped air or volatiles that might have been in the pellets or generated during melting. A denser, more uniform melt means fewer voids or bubbles in the final part. I remember one project where we had persistent splay marks; adjusting the back pressure was a game-changer.
- Temperature Homogeneity: The shearing action caused by the screw rotation against this resistance generates additional frictional heat. This helps to ensure the melt is at a more uniform temperature throughout. No cold slugs, no overly hot spots – just a nice, consistent melt. This is super important for materials that are sensitive to temperature variations.
- Mixing: If you’re using colorants or other additives, back pressure helps to mix them more thoroughly into the base resin. The increased shear and residence time in the barrel under pressure promote better dispersion. We once had issues with color streaking, and a slight increase in back pressure, along with checking our screw design, really helped even things out. It’s like, you wouldn’t want your cake batter to have clumps of flour, right? Same idea here.
So, it’s not just some random setting; it’s a fundamental control for melt quality. Getting it right means you’re one step closer to perfect parts, every time.
What is the function of back pressure in injection molding?
You know that feeling when a batch of parts comes out with frustrating inconsistencies? Sometimes the issue lies in how the plastic melt was prepared. Back pressure plays a vital role here, acting as a quality control step before injection. Understanding its function can help you troubleshoot and optimize your process.
The primary function of back pressure is to improve the quality and consistency of the molten plastic. It does this by ensuring uniform melt density, promoting thorough mixing of materials and additives, aiding in the removal of volatiles, and contributing to a more stable shot weight.
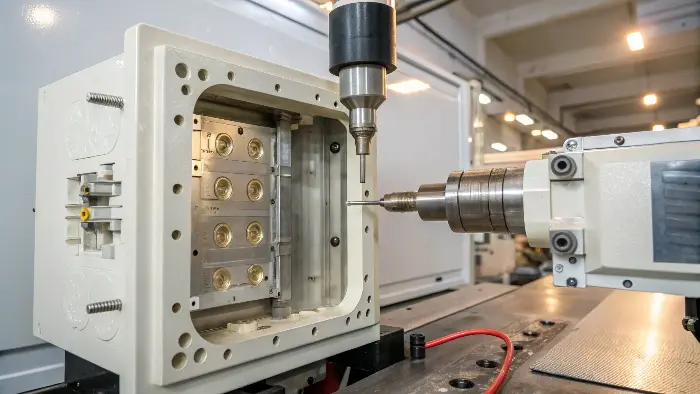
So, we’ve established what back pressure is. Now, let’s talk about its specific functions – what it actually does during that crucial plastication stage. I like to think of it as a diligent gatekeeper for melt quality. It’s working behind the scenes, making sure everything is just right.
Here are its key functions:
- Ensuring Consistent Melt Density: This is a big one. As the screw rotates and retracts, the back pressure forces the molten plastic to be more compacted. This squeezes out air and volatiles, leading to a more uniform density. Why does this matter? A consistent melt density translates directly to more consistent shot weights and, ultimately, more dimensionally stable parts. I’ve seen projects where slight variations in part weight were causing assembly issues, and fine-tuning the back pressure helped stabilize things. It’s all about repeatability.
- Improving Melt Homogeneity (Temperature & Mix): The resistance from back pressure increases the shear on the plastic. This extra work generates heat, which helps to even out temperature variations in the melt. If you have cold pellets still trying to melt or some areas getting too hot, back pressure can help homogenize the temperature. It also significantly improves the mixing of colorants, fillers, or any other additives. Think of it like kneading dough – the more you work it (within reason!), the better mixed it becomes. This is especially true for those tricky engineering resins.
- Venting Volatiles: Some materials, especially hygroscopic ones like nylon or PET, can release moisture or other gases when heated. Back pressure helps to push these volatiles back towards the hopper, allowing them to escape rather than getting trapped in the melt and causing defects like splay or bubbles in the final part. Of course, proper material drying is the first line of defense, but back pressure provides an additional safeguard. It’s an extra layer of protection.
- Stabilizing Screw Recovery: By providing a consistent resistance, back pressure helps the screw to retract in a more controlled and repeatable manner. This contributes to a more consistent melt cushion and overall process stability. It’s about making the machine’s movements predictable.
It’s really about preparing the best possible "dose" of plastic for injection. A little bit of well-managed stress on the material here pays off big time in the final product.
What is the back pressure applied for?
Knowing that back pressure exists is one thing, but understanding why and when to apply it is where the real skill comes in. Are you trying to get rid of streaks, improve part strength, or just get more consistent results? Back pressure is a tool, and like any tool, knowing its applications is key.
Back pressure is applied to achieve specific improvements in the molding process and final part quality. This includes enhancing melt uniformity, ensuring consistent shot sizes, improving the dispersion of colorants and additives, reducing voids and sink marks, and sometimes even helping to manage shear-sensitive materials.
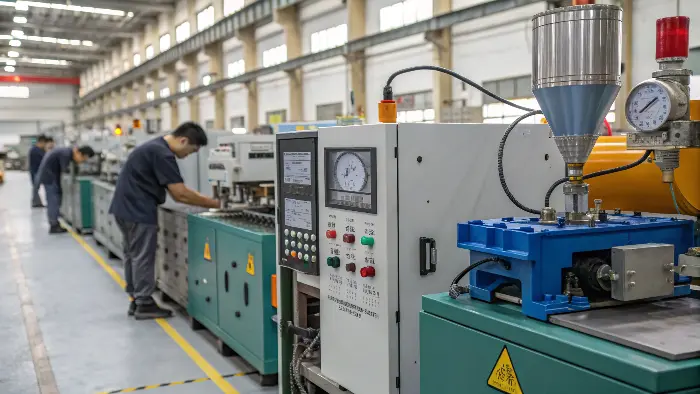
Alright, let’s get practical. When do we actually dial up or adjust the back pressure, and what are we trying to achieve? It’s not just about setting it and forgetting it; it’s about using it strategically. I’ve learned over the years that specific problems often point towards back pressure adjustments. It’s one of those things where experience really helps you dial it in.
Here are some common scenarios where back pressure is specifically applied:
- Improving Color Dispersion: If you’re seeing streaks or swirls of color in your parts, it often means the colorant isn’t mixing thoroughly with the base resin. A moderate increase in back pressure can significantly improve this by increasing the shear and mixing action in the barrel. I remember a client struggling with this on a consumer product where aesthetics were paramount. A careful adjustment to back pressure, along with checking their masterbatch, did the trick. Sometimes it’s the simplest things!
- Reducing Splay or Silver Streaks: These defects are often caused by moisture or trapped volatiles. While proper material drying is crucial (I can’t stress this enough!), back pressure helps by compressing the melt and pushing these gases back towards the hopper, allowing them to escape. It’s like squeezing a sponge – the pressure helps expel what’s trapped inside.
- Achieving Consistent Shot Weight: This is fundamental for part consistency. Back pressure helps create a denser, more uniform melt, which leads to more repeatable shot volumes being prepared by the screw. If your part weights are all over the place, back pressure is one of the first settings I’d look at (after checking material consistency, of course). This was a lifesaver on a medical device component I worked on, where precision was absolutely critical.
- Minimizing Voids or Bubbles: Similar to splay, internal voids can be caused by trapped air or gas. The compacting effect of back pressure helps to minimize these, leading to stronger, more solid parts.
- Enhancing Mechanical Properties (Indirectly): By ensuring a more homogenous melt and better fusion, back pressure can contribute to improved mechanical strength and reduced internal stresses in the molded part. A well-mixed, well-melted material simply performs better. It’s about making the material itself as good as it can be.
However, it’s a balancing act. Too much back pressure can cause its own set of problems, like:
- Material Degradation: Excessive shear and longer residence times at high temperatures can degrade some plastics, especially sensitive ones like PVC or some acetals.
- Increased Cycle Time: The screw takes longer to recover if it’s fighting against high back pressure. Time is money, as they say.
- Higher Energy Consumption: More work means more energy.
- Screw Wear: Over time, consistently high back pressure can lead to increased wear on the screw and barrel.
So, the goal is to find the optimal back pressure for your specific material, machine, and part design – enough to get the benefits, but not so much that it causes new issues. This often involves a bit of experimentation and careful observation. We usually start low (say, 50-100 psi hydraulic, which translates to a higher plastic pressure) and gradually increase it, monitoring the melt temperature, screw recovery time, and part quality. It’s a bit of an art and a science.
How does back pressure specifically prepare the melt for injection?
We’ve talked about what back pressure is and its general functions. But how does this controlled resistance during screw recovery directly translate to a better injection phase? It’s all about setting the stage for a perfect shot, and back pressure is a key stagehand in this process. You want that leading actor – the molten plastic – to be perfectly prepped for its big scene.
Back pressure prepares the melt for injection by ensuring the material in front of the screw is uniformly heated, thoroughly mixed, properly densified, and free of trapped gases. This results in a consistent volume of high-quality melt ready for precise injection into the mold cavity.
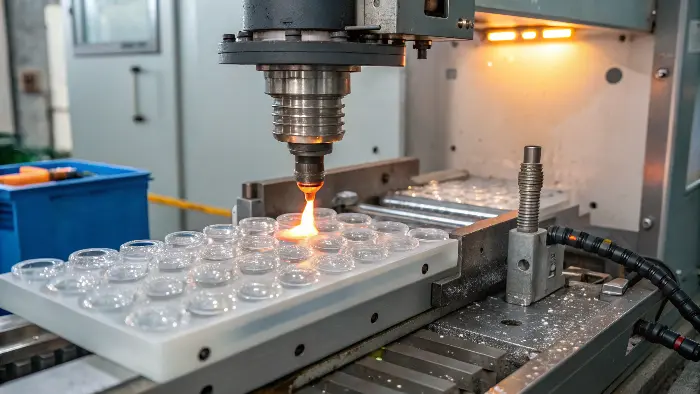
So, let’s zoom in on that moment just before injection. The screw has retracted, preparing a "shot" of molten plastic. How has back pressure, applied during that screw recovery (plastication) phase, specifically set up this shot for success? It’s all about the quality of that melt. If the melt isn’t right, nothing else will be.
Think of it this way: the injection phase is where the magic happens – the melt is forced into the mold. But the quality of that magic heavily depends on the preparation. Here’s how back pressure contributes:
- Ensuring a Homogeneous Thermal Profile: As the screw rotates against the back pressure, the shearing action generates frictional heat. This is crucial. It helps to eliminate any cold slugs or unmelted pellets that might have lingered. When the melt is injected, you want every bit of it to be at the right, consistent temperature. This ensures uniform flow into the mold and prevents issues like flow lines or weak spots caused by temperature variations. I’ve seen cases where parts failed prematurely, and inconsistent melt temperature, which back pressure could have helped mitigate, was a contributing factor. It’s like trying to pour lumpy gravy – not good.
- Achieving Optimal Melt Density: The compression caused by back pressure squeezes out air and volatiles. This means the melt in front of the screw is denser and more uniform. When this dense melt is injected, it fills the cavity more predictably. This is vital for achieving consistent part weight and dimensions. Without adequate back pressure, you might be injecting a "fluffier," less consistent melt, leading to variations. This is especially important for parts with tight tolerances.
- Guaranteeing Thorough Mixing: If you’re using colorants, fillers, or other additives, back pressure ensures they are intimately mixed with the base resin. Imagine injecting a melt where the colorant isn’t evenly dispersed – you’d get streaky, unacceptable parts. Back pressure acts like an intensive mixer, ensuring that what gets injected is a uniform blend. We once had a project with a flame retardant additive; proper dispersion was critical for performance, and back pressure played its part. You need that additive everywhere it’s supposed to be!
- Creating a Consistent Melt Cushion: While the melt cushion itself is controlled by other settings (like screw position cut-off), the consistency of the melt prepared before the cushion is formed is influenced by back pressure. A stable screw recovery, aided by back pressure, leads to a more repeatable amount of material being prepared, which in turn helps maintain a consistent cushion. This cushion is vital for the packing phase.
Essentially, back pressure is like the final quality check and preparation step for the melt before it’s asked to perform its main task of filling the mold. It ensures the plastic is in its best possible state – hot, mixed, dense, and ready to go. This meticulous preparation is what allows for a smoother, more predictable injection phase and, ultimately, higher quality parts. It’s a subtle but powerful influence, and honestly, getting it right just makes my job easier and our clients happier.
Conclusion
In essence, back pressure is a critical setting in injection molding that ensures melt quality. By controlling resistance during screw recovery, it promotes uniform density, thorough mixing, and consistent shot volumes, directly impacting the final part’s integrity and appearance. Mastering it is key to efficient, high-quality production at CavityMold.
